There's something about the first warm weekend in March that makes you want to do something with your hands. Not a major project—just something small, creative, and seasonal that doesn't require a trip to a specialty craft store or three hours of cleanup. Easy spring DIY crafts work best when they fit into the rhythm of a regular afternoon, not when they demand tools you don't own or skills you're still learning.
Spring is a forgiving season for crafting. The themes are soft—flowers, nests, pastels, greenery—and the materials are often things you already have or can find for a few dollars. A bundle of faux stems, some ribbon, a thrifted frame, or a handful of supplies from the dollar store can become something that adds lightness to your home without feeling overly precious or fragile.
The best spring crafts are the ones you'll actually display. Not projects that sit in a closet because they didn't turn out quite right, but simple, approachable ideas that work even if your cutting isn't perfect or your glue gun skills are basic. These are crafts that make your space feel seasonal without announcing that you spent all weekend on them.
If you've been wanting to make something but don't know where to start, spring is the right time. The pressure is low, the aesthetic is forgiving, and the results feel personal in a way store-bought decor never does.
Painted Terra Cotta Pots for Spring Stems
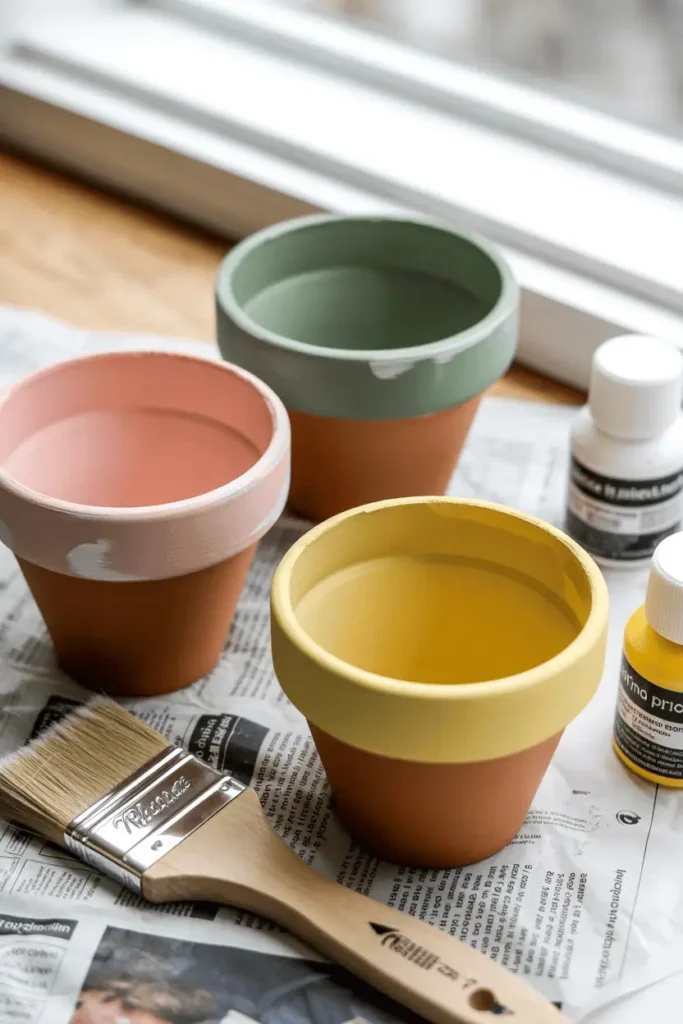
Small terra cotta pots are inexpensive, easy to find, and take paint beautifully. A few coats of acrylic paint in soft pastels—blush pink, sage green, pale yellow—turn basic pots into vessels that feel intentional and handmade.
You don't need artistic skill. Solid colors work just as well as patterns, and imperfect brush strokes add character rather than ruining the look. Once the paint dries, seal with a matte varnish if you plan to use them for real plants, or leave them as-is for faux stems and dried flowers.
These painted pots work on windowsills, shelves, or clustered together on a kitchen counter. They're also thoughtful handmade gifts that people actually use, which makes them a good option if you're crafting with the intention to sell or give away.
Quick styling tip: Paint the inside rim of the pot in a contrasting color for a small detail that elevates the whole piece without extra effort.
Simple Floral Wreaths Using a Wire Frame
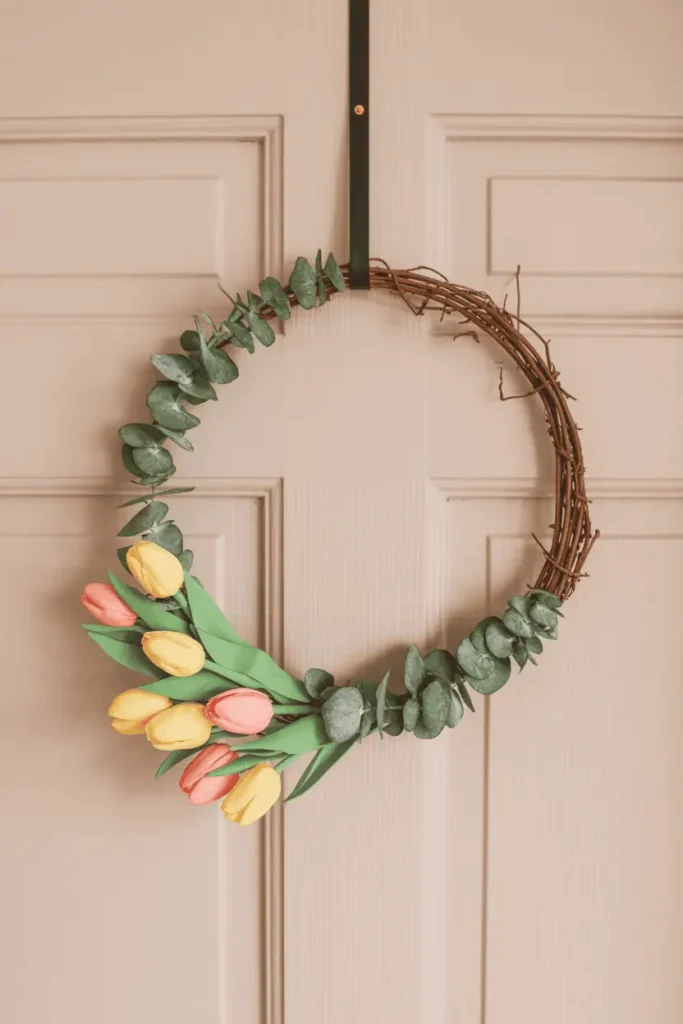
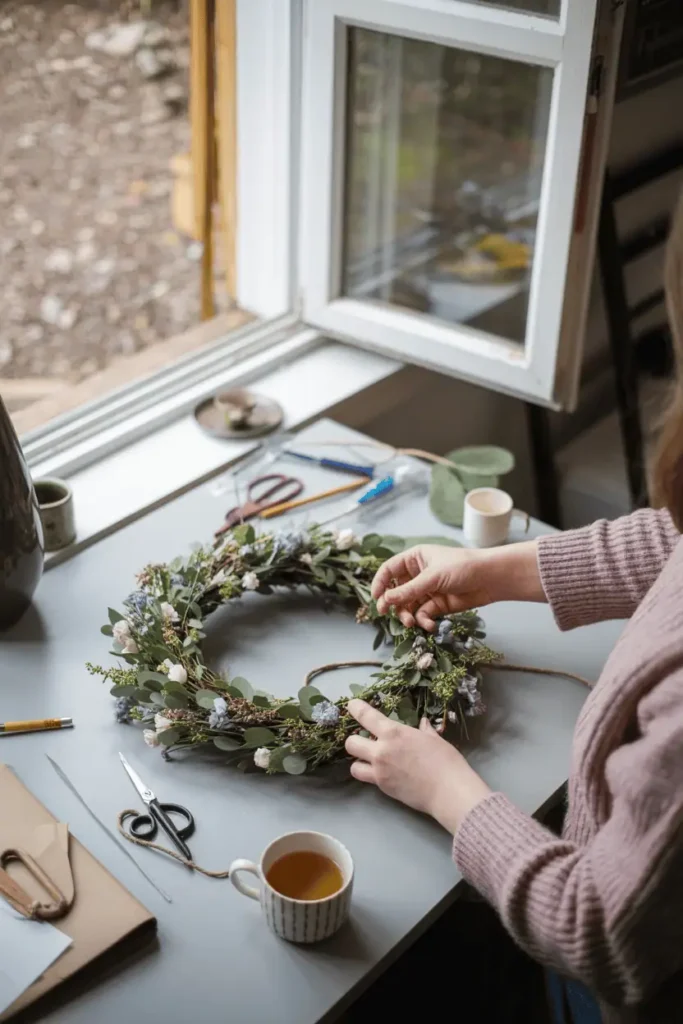
Wire wreath frames cost a few dollars and can be wrapped with faux greenery, ribbon, or fabric strips to create a base for seasonal decorations. Spring wreaths don't need to be elaborate—a simple grapevine or wire frame wrapped in eucalyptus garland with a few tucked stems creates a soft, natural look.
Hot glue makes attaching florals easy. Choose a few coordinating blooms—faux tulips, ranunculus, or daisies—and cluster them on one side of the wreath rather than spreading them evenly around. This asymmetrical approach feels more modern and less craft-fair.
Hang wreaths on front doors, interior doors, or lean them against a mirror or wall. They're lightweight enough that removable hooks work well, which matters if you're renting or don't want to put holes in walls.
DIY Spring Garland for Mantels or Shelves
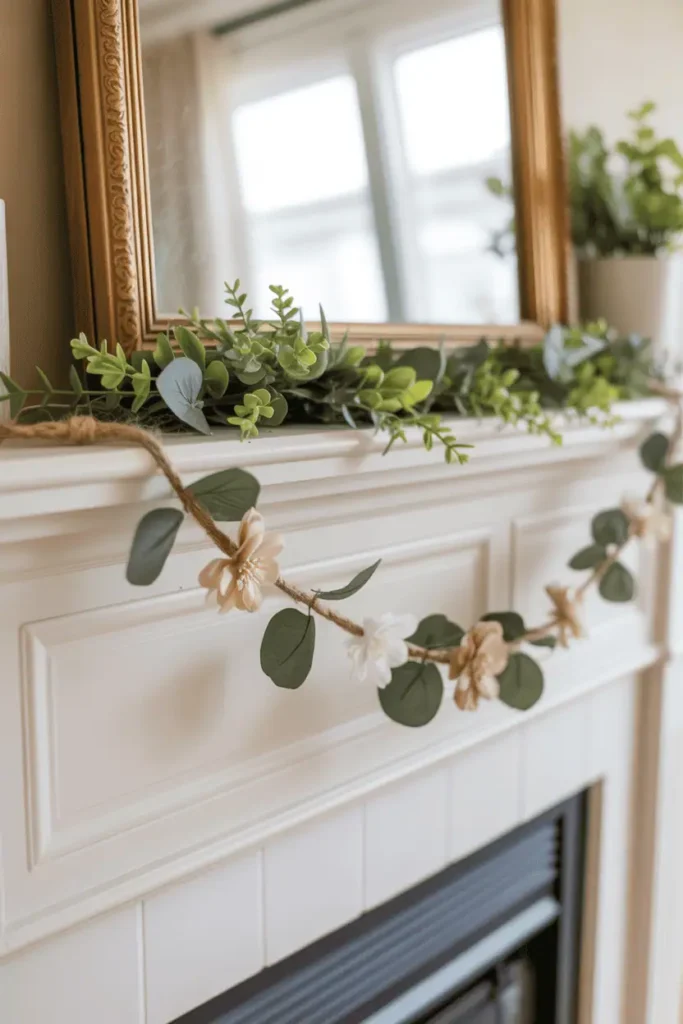
Garlands add softness to hard surfaces like mantels, shelves, or the top of a bookcase. Making your own lets you control the length, fullness, and color palette in a way that store-bought versions don't.
Start with a base—jute twine, ribbon, or thin rope—and attach elements using hot glue or small clips. Faux eucalyptus stems, fabric flowers, or even folded paper shapes work well. Space elements unevenly for a more organic look rather than perfectly measured intervals.
Spring garlands can stay up for weeks without looking dated. Swap out a few elements as the season progresses—add Easter eggs in early April, replace them with more florals by late April—to keep the garland feeling current without starting over.
Pressed Flower Frames That Look Polished
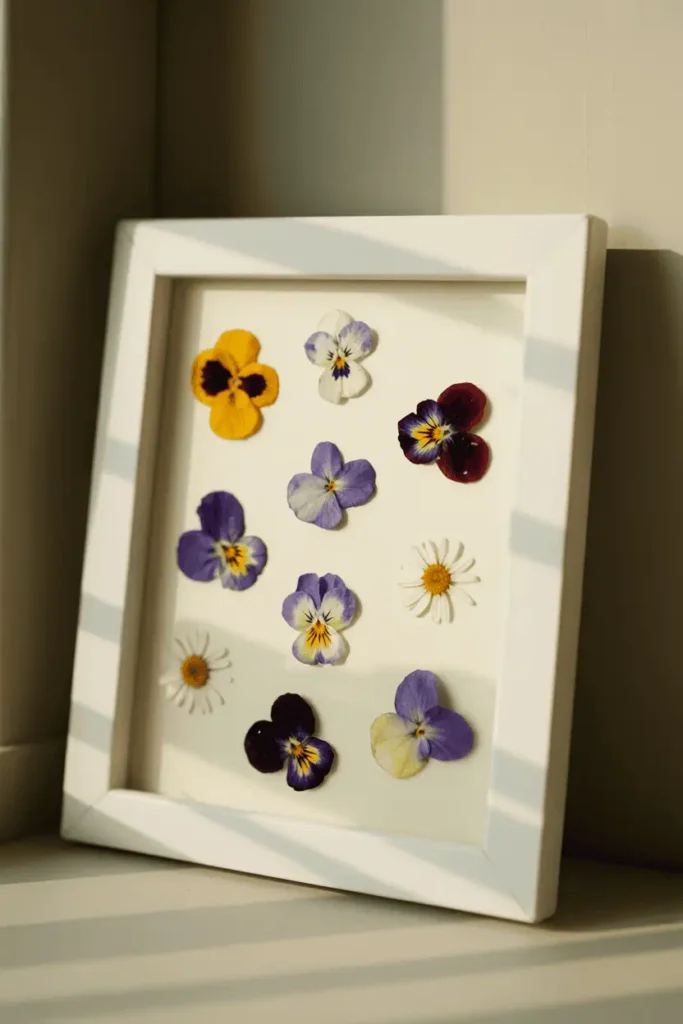
Pressing flowers is slower than most crafts, but the process itself is meditative and the results feel timeless. Tuck fresh spring blooms—pansies, violets, small daisies—between the pages of a heavy book with parchment paper on either side. Leave them for two weeks.
Once pressed, arrange the dried flowers on cardstock or watercolor paper inside a simple frame. Use tweezers to position them carefully, then secure with a tiny dot of craft glue. The glass of the frame holds everything in place, so you don't need much adhesive.
These framed pieces work as wall art, propped on shelves, or given as gifts. They're delicate but surprisingly durable behind glass, and they capture the fleeting beauty of spring in a way that feels more personal than a print.
Mason Jar Vases Wrapped in Twine or Fabric
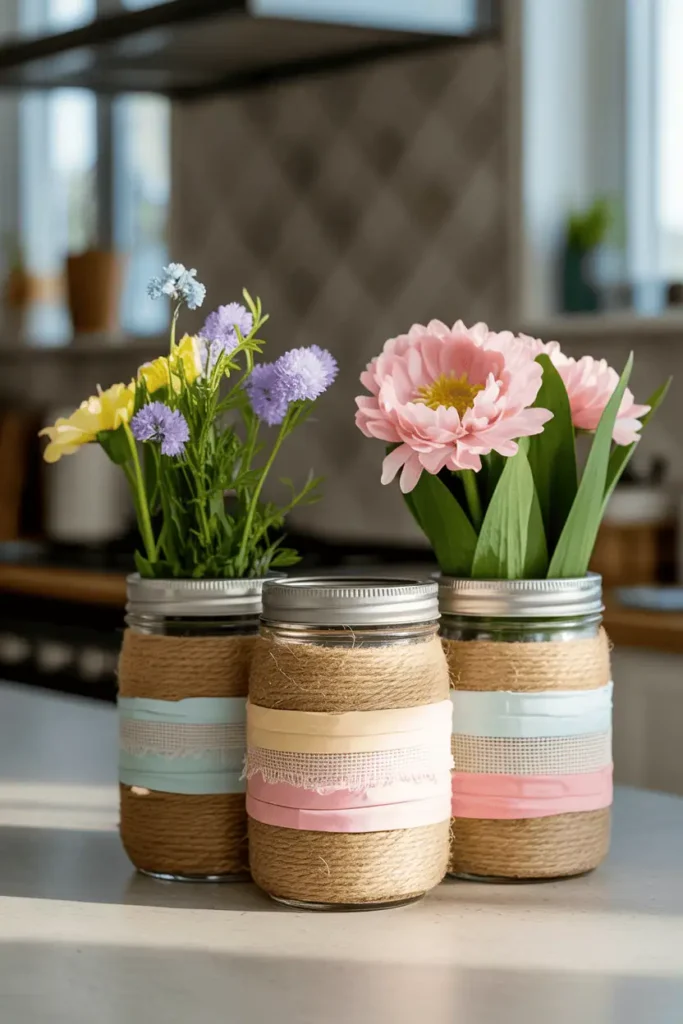
Mason jars are endlessly reusable, and transforming them into spring vases takes less than ten minutes. Wrap the jar in jute twine starting at the base and working up, securing the ends with hot glue. Or cut a strip of pastel fabric or burlap, wrap it around the jar, and tie with ribbon.
These wrapped jars work for real or faux flowers and look good clustered in groups of three or five. They're also practical for organizing—use them to hold kitchen utensils, craft supplies, or bathroom items when they're not holding stems.
Keep in mind: If you're using these for fresh flowers, make sure any glue or fabric stays above the waterline to avoid deterioration.
Spring Napkin Rings Using Natural Materials
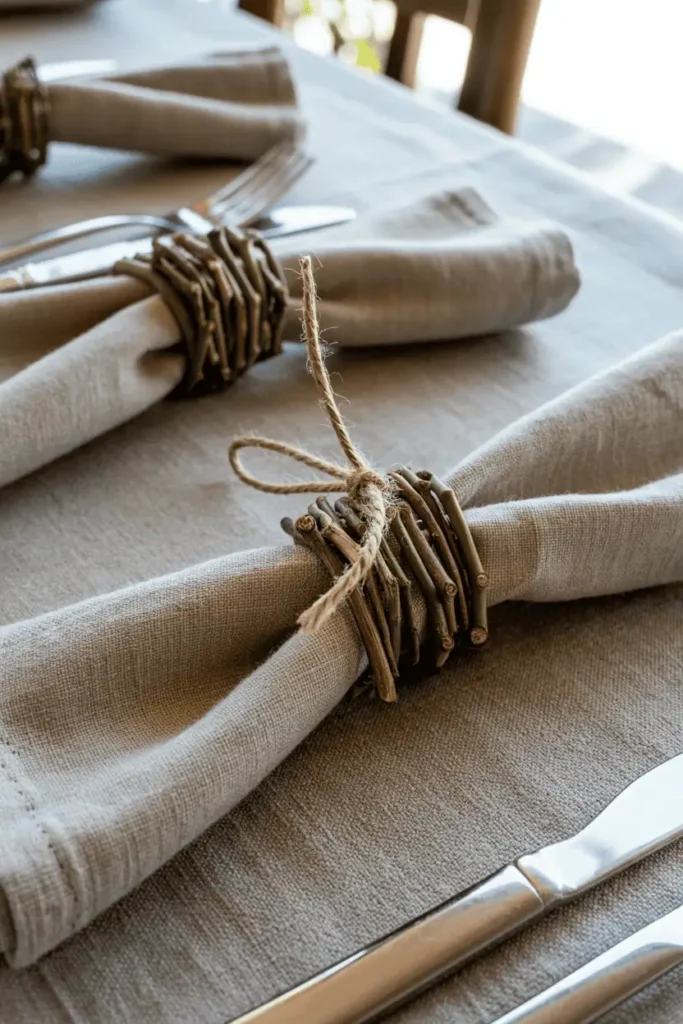
Cloth napkins feel more special with simple handmade rings. Cut small branches into 4-inch lengths and tie them into bundles with twine or thin ribbon. Or wrap wire into loose circles and attach small faux flowers with floral tape.
These napkin rings work for Easter brunch, spring dinner parties, or just everyday meals when you want the table to feel a bit more thoughtful. They're also easy enough for group crafting if you're making them with friends or family.
Store them in a small basket or drawer and bring them out whenever you're setting a table. They don't take up much space and they last for years if handled gently.
Painted Wooden Bead Garlands
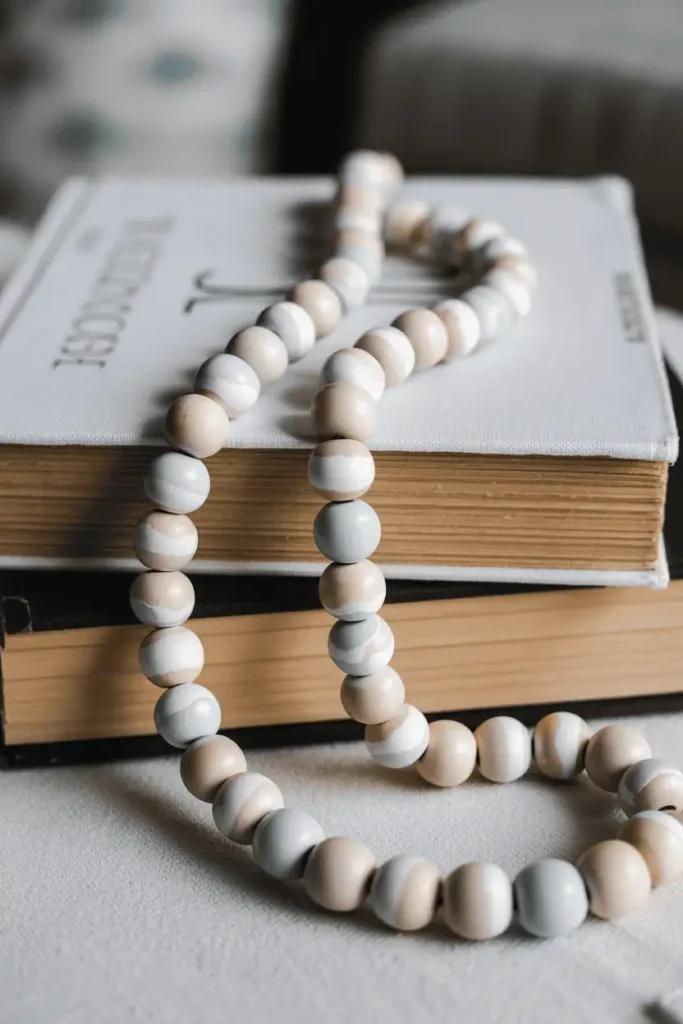
Wooden bead garlands have been popular for a few years, and spring is a good time to make a seasonal version using pastel paints. Buy unpainted wooden beads in varying sizes, paint them in soft spring colors, and string them on jute twine or leather cord once dry.
These garlands drape well over books, in bowls, or across trays. They add texture and a handmade quality without being overly decorative or themed. You can also make shorter versions to hang from drawer pulls, doorknobs, or cabinet handles.
The painting process is simple—dip each bead halfway into acrylic paint and let dry on parchment paper. Two-toned beads feel more interesting than solid colors and give the garland dimension.
Dollar Store Spring Crafts That Don't Look Cheap
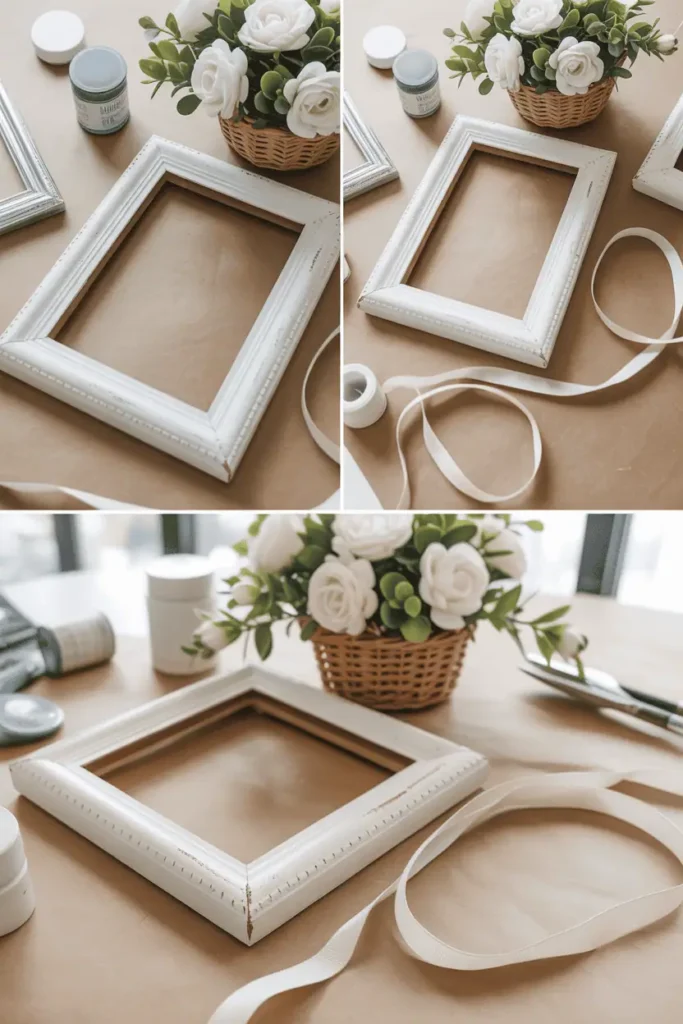
Dollar stores carry seasonal items that work as bases for DIY projects—small baskets, faux flowers, plain frames, wooden signs, glass vases. The trick is transforming them enough that they don't read as dollar store finds.
Paint wooden signs or frames in softer colors. Disassemble faux flower stems and use individual blooms in new arrangements. Wrap plain baskets with fabric or ribbon. These small adjustments make inexpensive items feel custom and intentional.
Dollar store crafts are especially useful if you're making multiples—favors, gifts, or items to sell. The low cost allows for experimentation without financial stress if something doesn't work out.
Spring Flower Crafts Using Paper
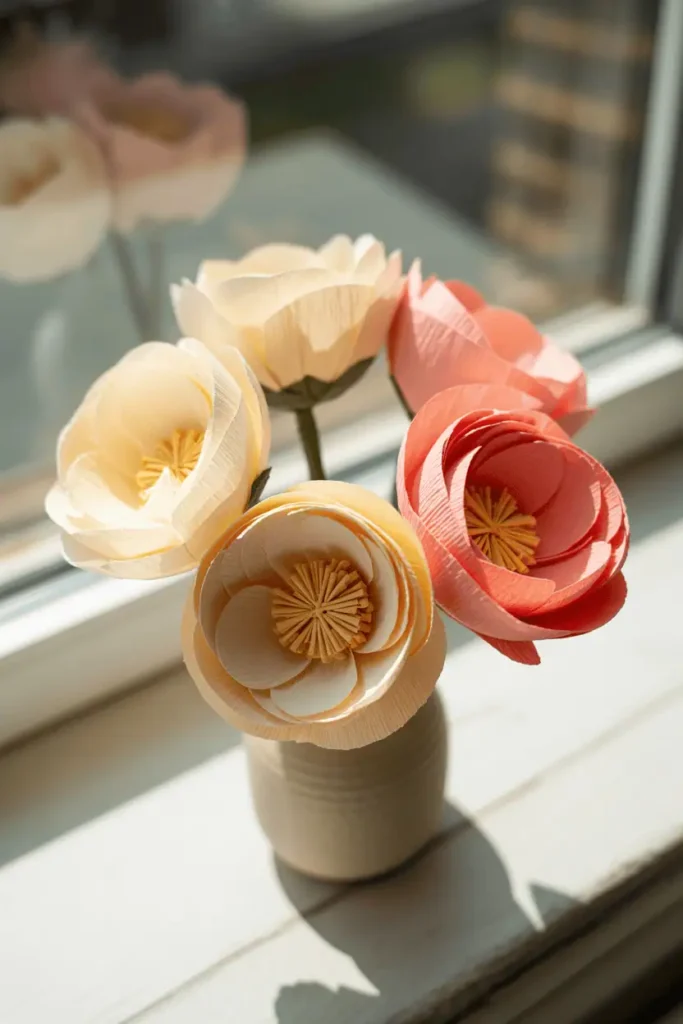
Paper flowers have come a long way from elementary school tissue paper pom-poms. Crepe paper and cardstock can be shaped into surprisingly realistic blooms that last indefinitely and don't require watering.
Start with simple shapes—five-petaled flowers like cosmos or anemones—and layer them for dimension. Tutorials are widely available online, and most require only paper, scissors, glue, and floral wire. The process is repetitive but not complicated, which makes it good for crafting while watching TV or listening to podcasts.
Use paper flowers in wreaths, arrangements, or as single stems in bud vases. They photograph well and hold up in spaces where real flowers would wilt—bathrooms without windows, hot kitchens, or rooms that get intense afternoon sun.
Simple Easter Crafts That Work for Adults
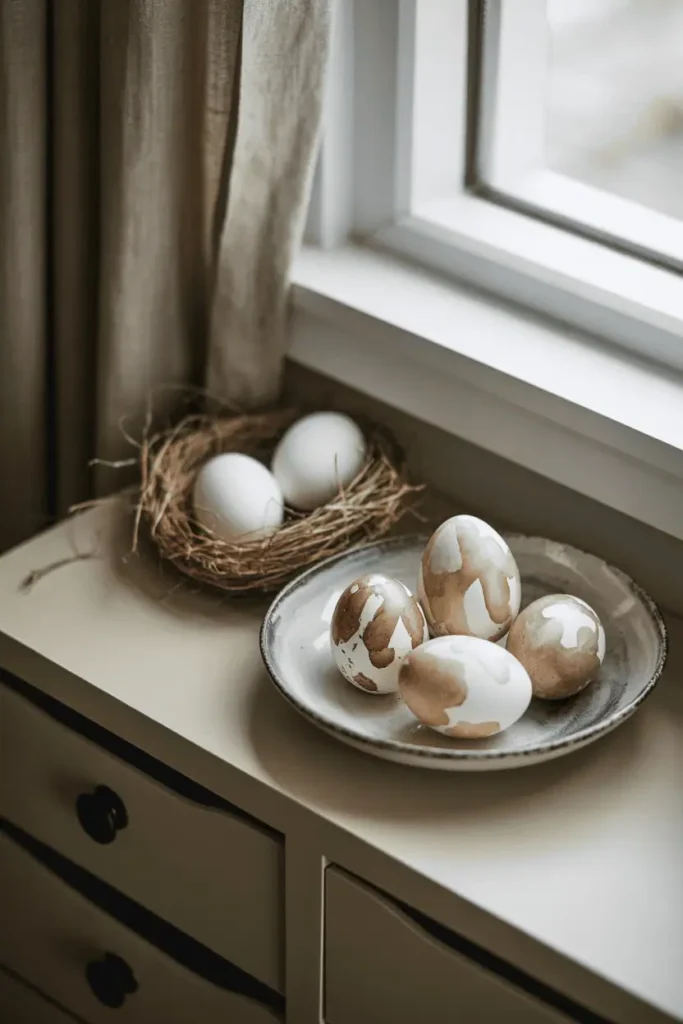
Easter crafts don't need to feel childish. Subtle nods to the holiday—natural eggs, nests, soft pastels, botanical prints—work for adult spaces without looking like kindergarten decorations.
Try decorating blown eggs with watercolor washes or natural dyes, then displaying them in a shallow bowl or on a cake stand. Create small nests using twine or raffia and tuck in speckled eggs or small florals. These pieces work on mantels, dining tables, or entryway consoles.
Adult Easter crafts lean toward the organic and understated. The goal is to acknowledge the season without overwhelming your regular decor or creating something you'll need to hide when guests come over.
Fabric Scrap Banners for Spring
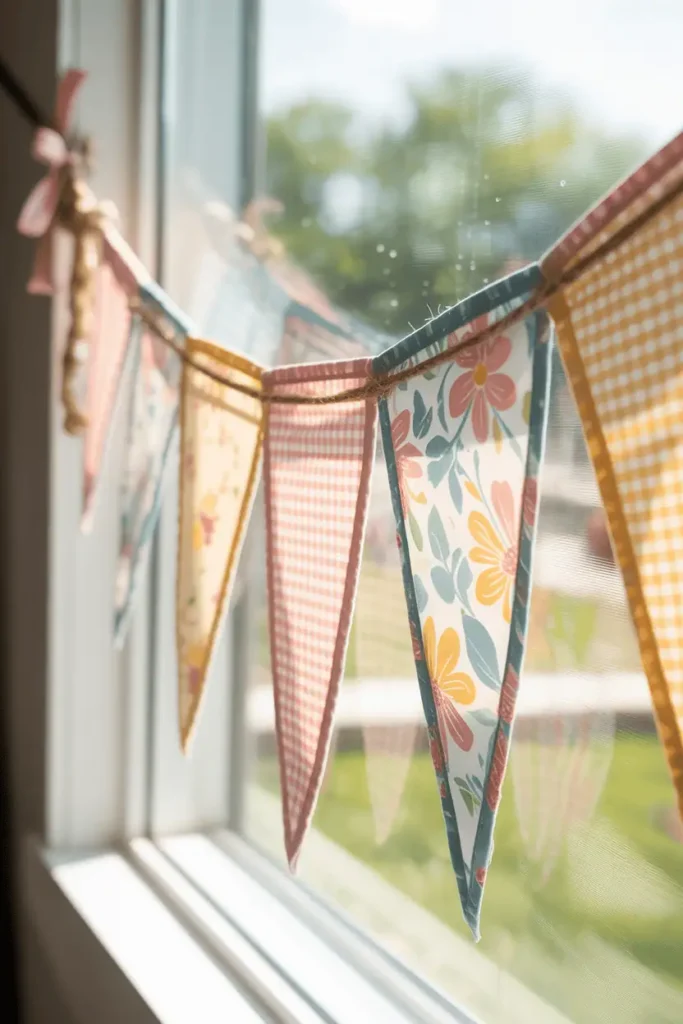
If you sew or have fabric scraps, spring banners are a practical way to use remnants. Cut fabric into triangles or rectangles, fold the top edge over jute twine or ribbon, and sew or glue in place. Mix patterns and solids in coordinating spring colors—soft florals, gingham, stripes, pastels.
Banners add softness to hard edges and work in unexpected places—across a window, above a bed, along a porch railing. They're lightweight and forgiving, so even if your cutting isn't perfectly straight, the overall effect still works.
Fabric banners can be folded and stored flat, which makes them more practical than rigid decorations that require dedicated storage space. Bring them out each spring and they'll feel like old friends rather than items you need to remake.
Decoupaged Trays Using Spring Napkins
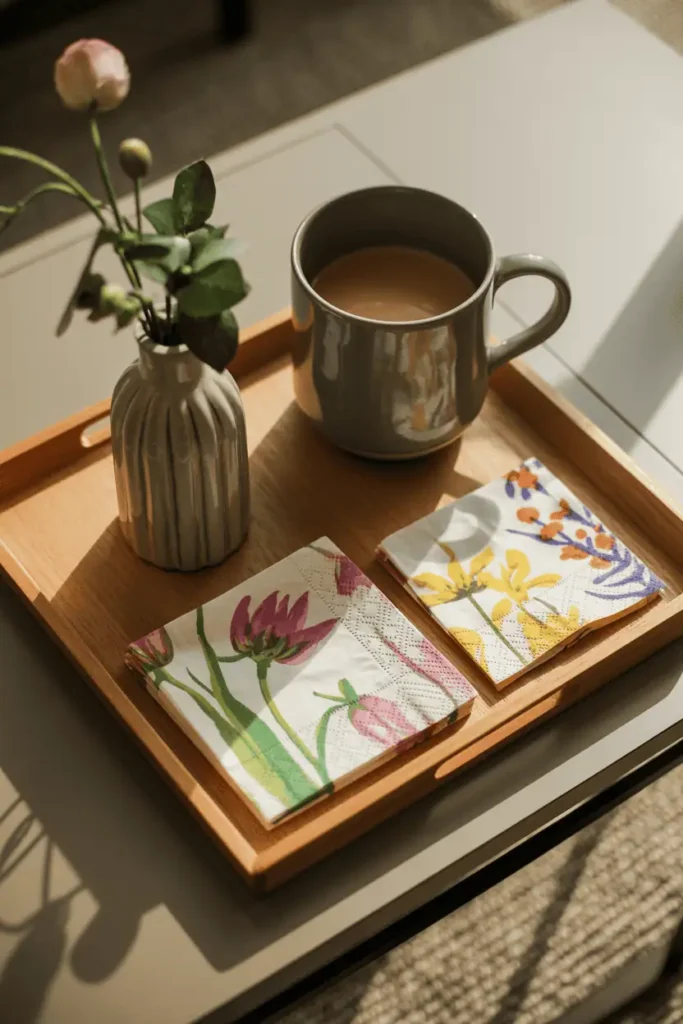
Decorative paper napkins with spring patterns—florals, birds, botanical prints—can be decoupaged onto plain wooden or thrifted trays using Mod Podge. The process is straightforward: separate the top printed layer of the napkin, position it on the tray, and brush decoupage medium over the top. Let dry and add several more coats for durability.
These trays work as functional decor—holding coffee mugs on an ottoman, corralling bathroom items, or organizing a nightstand. The napkin patterns feel more sophisticated than typical craft paper, and the finished product looks more expensive than the materials cost.
Thrift stores often have plain wooden trays for a few dollars. A little sanding and a fresh coat of paint on the edges before decoupaging elevates the whole piece.
Spring Wreath Alternatives for Small Spaces
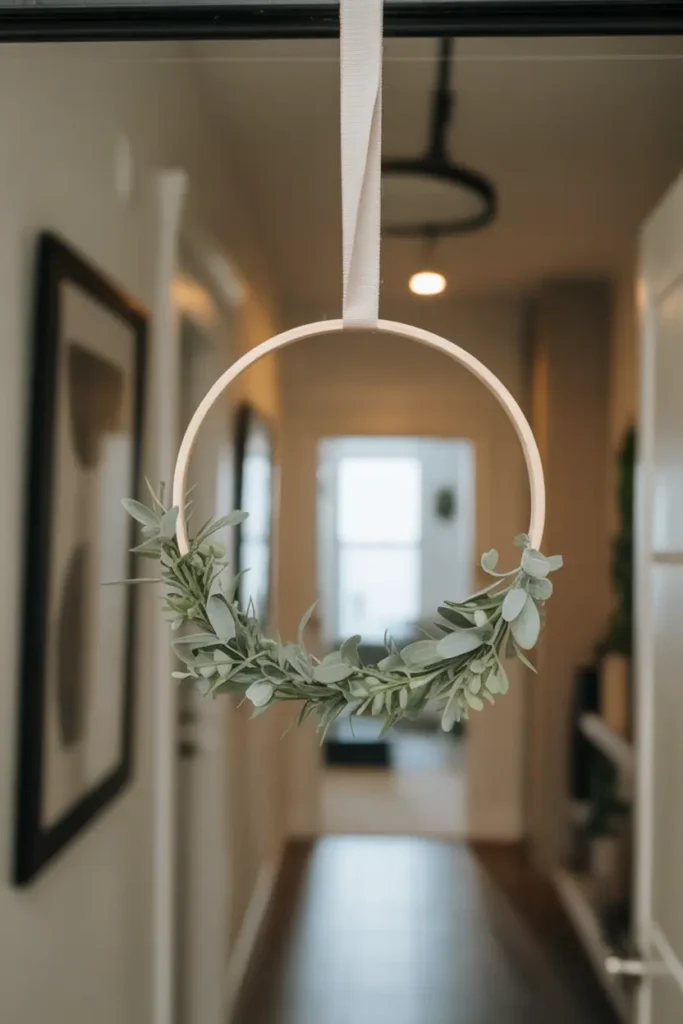
Not everyone has space for a traditional wreath, but smaller alternatives work just as well. Embroidery hoop wreaths use a wooden hoop as the base and can be wrapped with fabric, ribbon, or greenery. They're lighter and thinner than traditional wreaths, which makes them easier to hang and store.
Another option is a simple branch arrangement—tie together a few budding branches with twine and hang vertically on a door or wall. Add a ribbon bow at the top and tuck in a few faux blooms if desired. This minimal approach feels modern and takes up almost no visual space.
Small wreaths or alternatives work well in apartments, condos, or homes where you don't want a large focal piece on the front door. They acknowledge the season without dominating the entrance.
Crafts That Double as Gifts or Sale Items
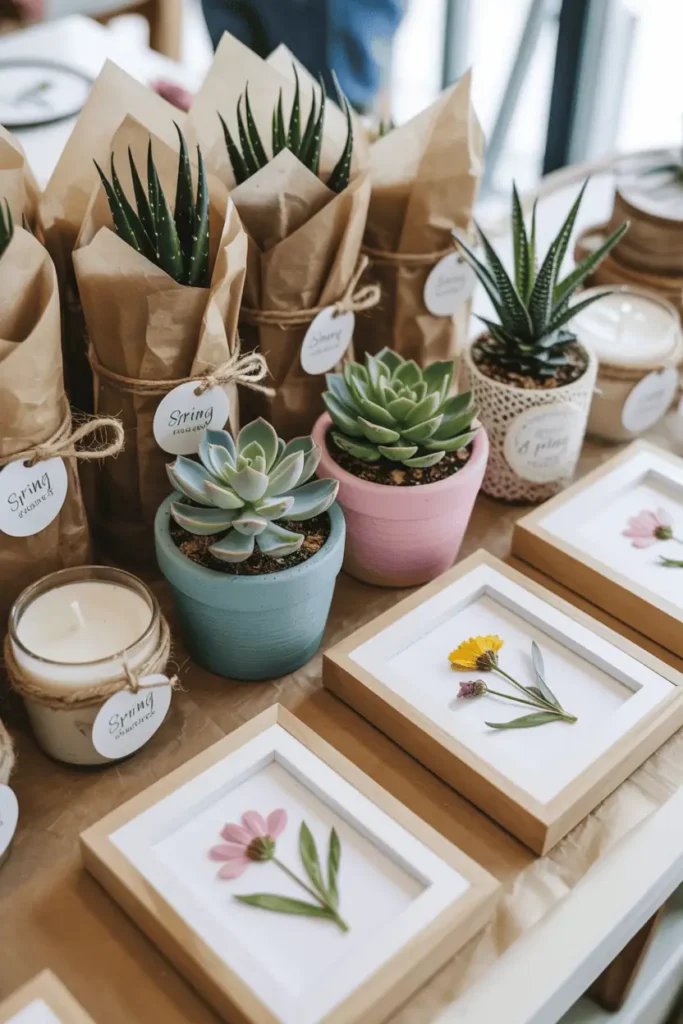
If you're crafting with the intention to give or sell, focus on items people will actually use or display. Small potted succulents in painted pots, framed pressed flowers, seasonal napkin rings, or wrapped candles with spring tags all feel thoughtful without being overly personal.
Presentation matters when gifting or selling. Wrap items in tissue paper, tie with twine or ribbon, and add a simple tag. Even basic crafts feel more valuable when packaged with care.
Keep in mind: Price handmade items to cover materials and time, but stay realistic about what people will pay for DIY crafts. Items in the $10-$25 range tend to move faster than higher-priced pieces unless your craftsmanship is exceptionally polished.
Timing and When to Start Spring Crafting
Most spring crafts can be started in late February or early March and displayed through April and into May. Craft projects that take longer—like pressed flowers—should be started earlier to allow for drying time.
If you're making items to sell at spring markets or online, start at least a month before you need them finished. This gives you time to troubleshoot, remake pieces that don't turn out, and build up inventory without last-minute stress.
Easter-specific crafts should be completed by early April to get full use out of them before the holiday passes. More general spring crafts have a longer window and can transition into early summer without feeling dated.
Budget Tips and Material Sourcing
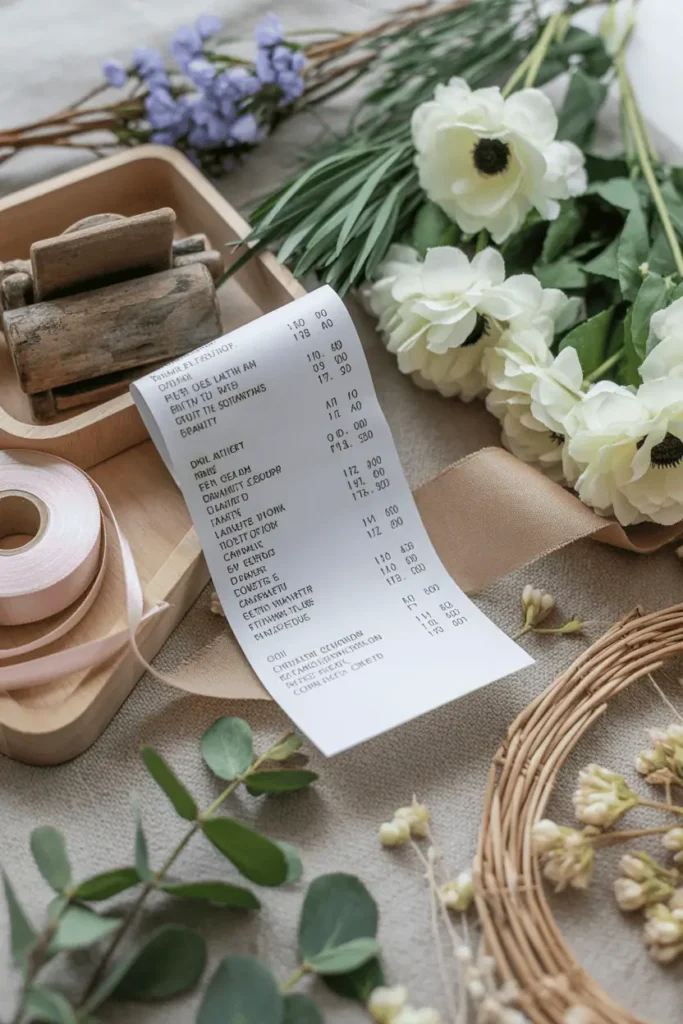
Crafting doesn't need to be expensive. Thrift stores, dollar stores, and discount retailers carry most of what you'll need for spring projects. Buy faux flowers after Easter when they go on clearance and save them for next year.
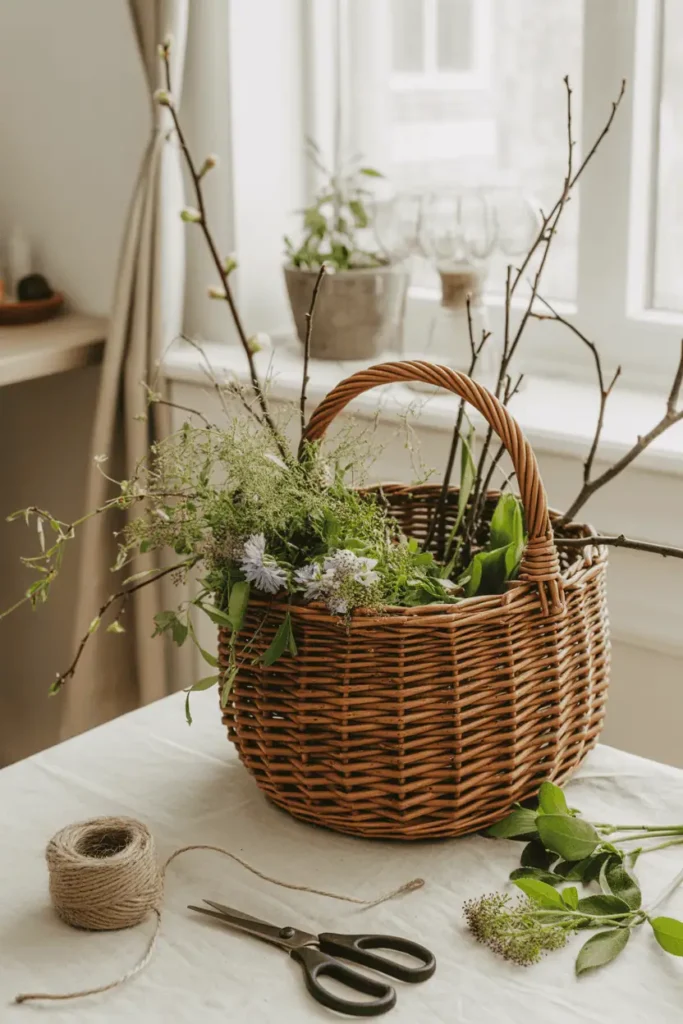
Natural materials—branches, greenery, flowers from your yard—cost nothing and often look better than synthetic alternatives. Forage responsibly and only take what you'll use. A few stems go further than an armful that wilts before you can craft with it.
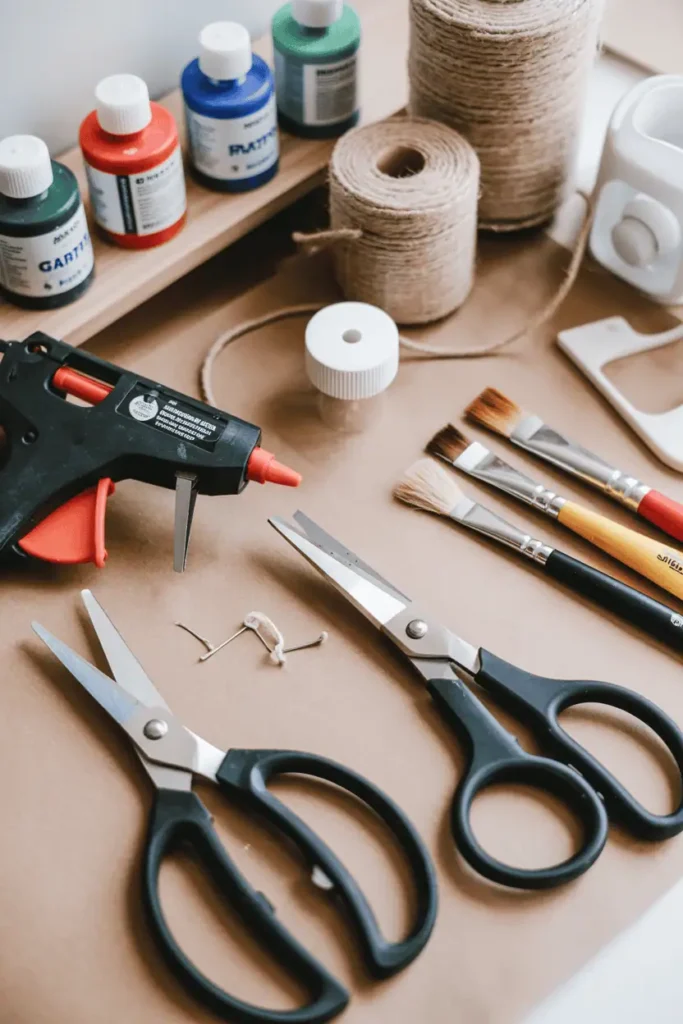
Invest in a few quality tools—a good hot glue gun, sharp scissors, wire cutters—and buy cheaper consumables like glue sticks, paint, and ribbon. The tools will last for years while the materials get used up project by project.
Mistakes to Avoid When Crafting for Spring
Don't overbuy supplies before you know what you're making. It's tempting to grab everything that looks spring-themed, but you'll end up with excess materials that don't coordinate and clutter your craft space.
Avoid projects that require too many steps or specialized skills if you're new to crafting. Start simple and build complexity as you gain confidence. A well-executed simple project always looks better than an ambitious one that didn't quite work.
Don't force yourself to finish a project that isn't working. Sometimes an idea looks good in theory but doesn't translate in practice. It's okay to stop, save the materials, and try something else. Crafting should feel enjoyable, not like an obligation.
Spring crafting works best when it feels like a choice, not a chore. The projects you make should add lightness to your home and satisfaction to your afternoons, not stress about perfection or pressure to keep up with trends.
Start with one simple project this week. See how it feels. Notice which materials you enjoy working with and which processes suit your patience and skill level. Let your crafting practice evolve based on what brings you genuine enjoyment, not what you think you should be making.
Save ideas that resonate, and revisit them when you have time and energy. For more seasonal inspiration and practical projects, explore other guides focused on real homes and realistic crafting.