There's something quietly satisfying about swapping out winter's evergreen wreath for something lighter. Maybe it's the first weekend in March when the air loses its sharp edge, or the moment you notice your front door still feels like January. A pastel Easter wreath changes that instantly—not with bold statements, but with texture, color, and the kind of softness that makes a home feel current without trying too hard.
Pastel wreaths work because they don't announce a holiday as much as they welcome a season. Soft lilac, blush pink, pale yellow, mint green—they all feel like spring without feeling costumey. And when you make your own, you control the mood. Some people want cottagecore abundance with layered florals and trailing ribbon. Others prefer something minimal: a simple grapevine base with three well-placed blooms and linen fabric.
The best part about DIY Easter wreaths is that they don't require floral design experience—they just need intention. You're not aiming for perfection. You're aiming for something that feels like your home in early spring.
Start With the Right Base for Your Style
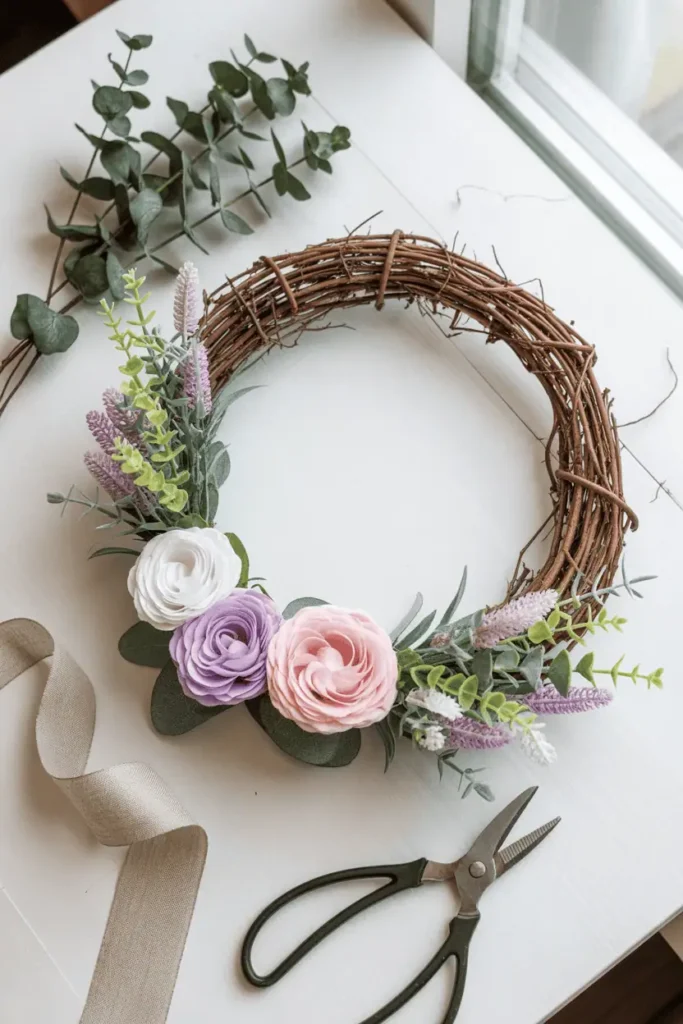
Your wreath base sets the entire tone, and it's worth spending a few extra minutes choosing one that aligns with how you actually want the wreath to look. Grapevine bases feel organic and cottage-style. Foam bases wrapped in fabric or moss give you a smoother, more modern look. Wire frames work well if you're weaving fresh greenery or creating something sculptural.
If you're drawn to abundance and texture, go with grapevine—it holds stems beautifully and hides mistakes. If you want something sleek and editorial, foam wrapped in linen or burlap gives you control. Wire frames are best for people who want to see through the wreath or build something asymmetrical.
You can find bases at craft stores year-round, but late February and early March bring out the best spring-specific options. Look for 14- to 18-inch diameters for front doors. Smaller wreaths work better indoors on interior doors or walls.
Layer Faux Florals in Odd Numbers
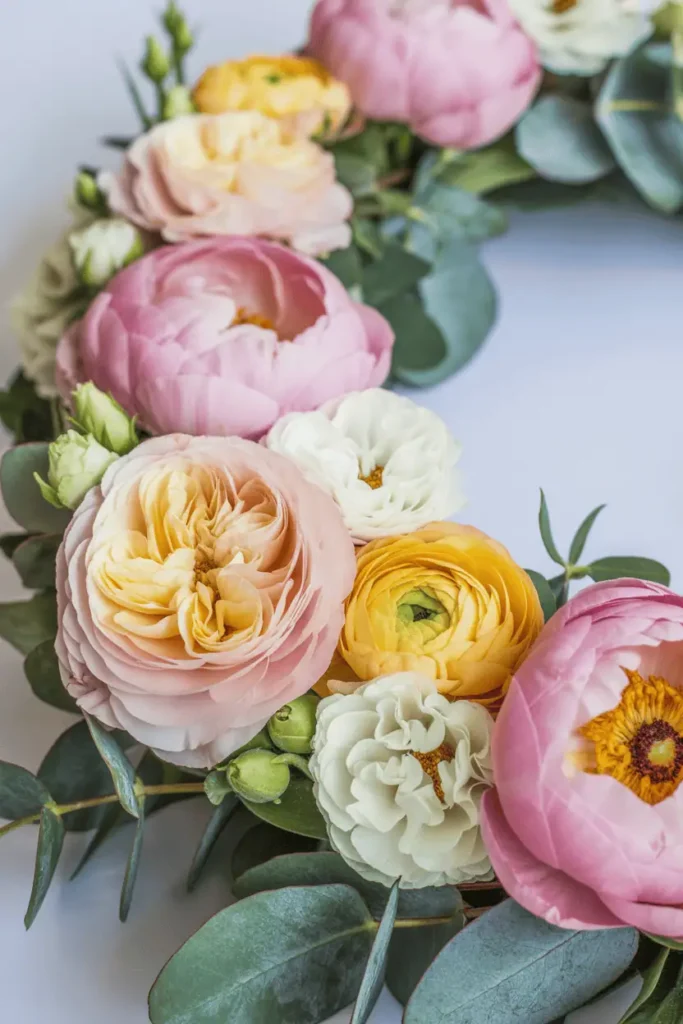
Real flowers are beautiful, but they don't last through a six-week Easter season. High-quality faux florals give you the look without the maintenance, and the quality gap has narrowed significantly in recent years. Look for stems with varied textures—matte petals, realistic leaves, slightly irregular shapes.
Start by choosing three to five types of florals in your pastel palette, and arrange them in odd-numbered clusters. This creates visual balance without symmetry. For example: three blush peonies, five cream ranunculus, three lavender sweet peas. Insert the largest blooms first to establish your focal points, then fill in with medium-sized flowers, and finish with small accent blooms like filler flowers or berries.
Don't distribute flowers evenly around the entire wreath. Cluster them on one side or the bottom half for a more intentional, less craft-fair look. Leave some of the base visible—it adds depth and keeps the wreath from feeling too busy.
Add Eucalyptus or Lamb's Ear for Softness
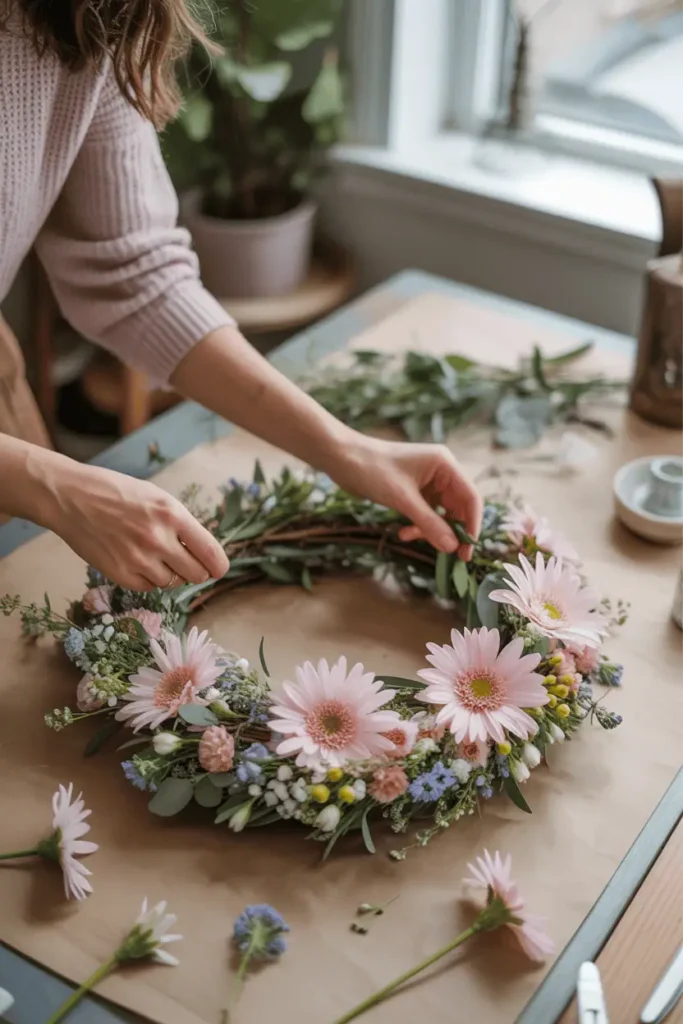
Greenery grounds a pastel wreath and keeps it from feeling too sweet. Eucalyptus works in nearly every spring wreath because of its muted sage tone and slightly silvery finish. It pairs beautifully with blush, lavender, and soft yellow without competing for attention.
Lamb's ear is another excellent choice if you want something more textural and cottage-inspired. Its fuzzy, pale green leaves add dimension and a tactile quality that makes the wreath feel more handmade. You can tuck stems between florals or let them trail slightly downward for movement.
If you prefer a cleaner look, use eucalyptus sparingly—just a few sprigs behind your main florals. For a fuller, more romantic wreath, weave greenery throughout the base before adding flowers. Both approaches work; it depends on whether you want breathing room or abundance.
Include One Unexpected Texture
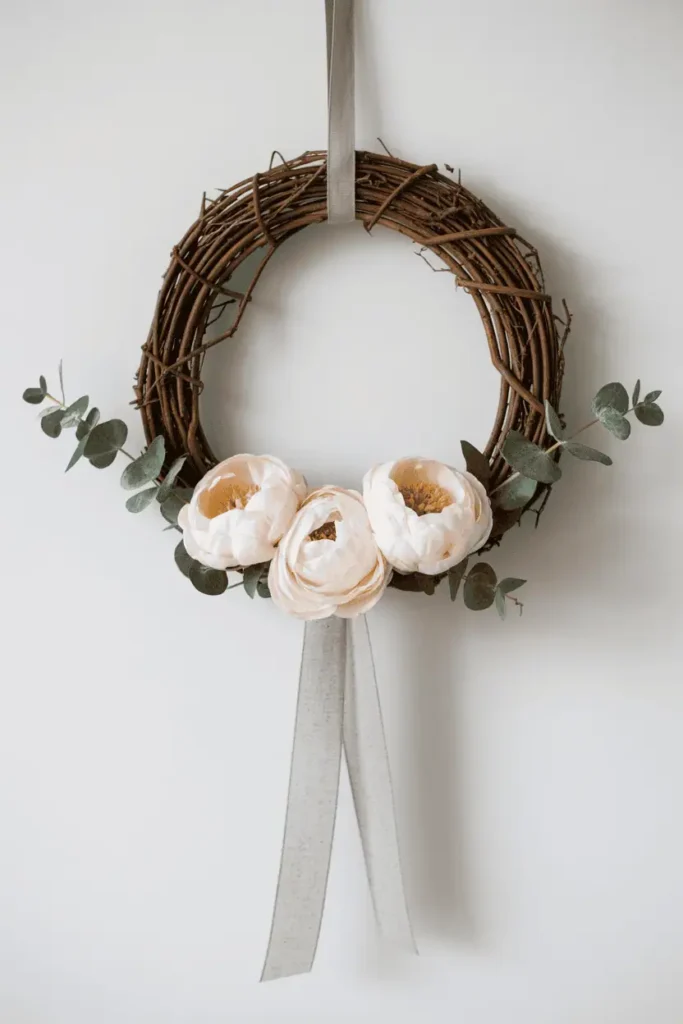
The wreaths that feel most interesting usually have one element that surprises you—something that isn't floral but adds character. This could be:
- Dried wheat or pampas grass for a farmhouse-meets-modern vibe
- Twine or jute rope wrapped loosely around sections of the base
- Small wooden beads threaded onto wire and tucked between blooms
- Fabric strips in linen or cotton tied in loose bows
- Feathers in cream or soft gray for subtle movement
These additions make the wreath feel less predictable and more personal. They also give your eye something to rest on besides flowers. Keep it subtle—one or two unexpected pieces are enough.
A single linen ribbon bow tied at the bottom can completely change the wreath's personality, making it feel more polished or more relaxed depending on how you tie it.
Work With a Bunny Silhouette for Playfulness
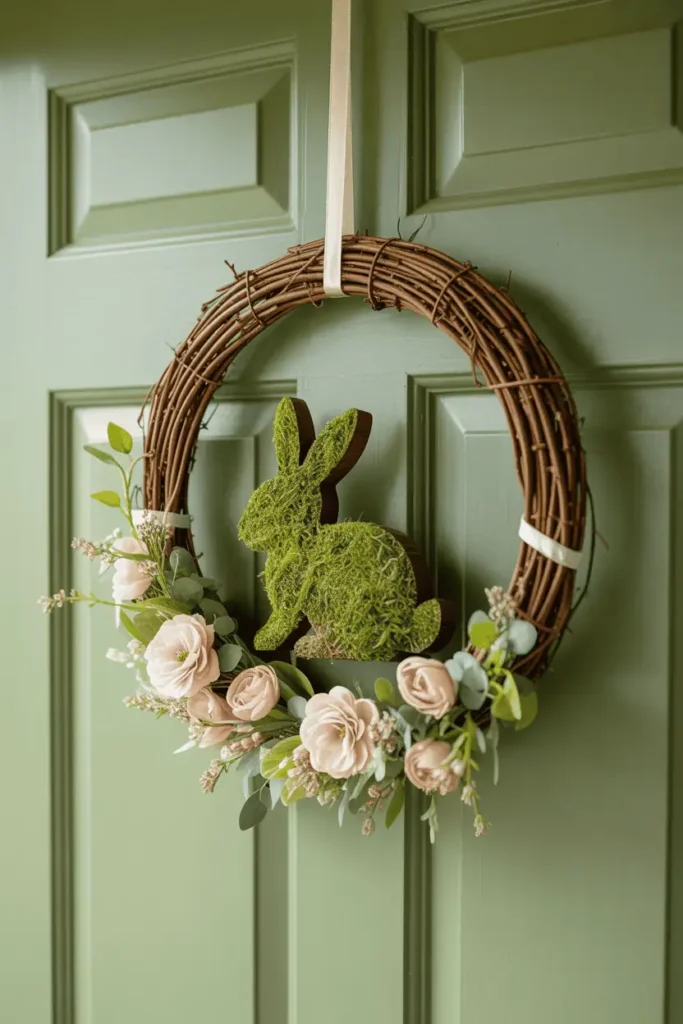
If you want your wreath to lean more Easter than general spring, adding a bunny element keeps it charming without feeling juvenile. This doesn't mean hot-gluing a plastic rabbit to your wreath. It means working with bunny-shaped moss forms, wire silhouettes, or even a small ceramic bunny that sits nestled among the florals.
Moss-covered bunny shapes are widely available in spring and blend naturally into a wreath. You can wire one into the side or bottom, partially hidden by flowers, so it feels discovered rather than displayed. Wire bunny silhouettes work similarly—they add whimsy without taking over.
If you prefer subtlety, skip the bunny shape entirely and just work with pastel tones and soft textures. Not every Easter wreath needs an obvious Easter reference. Sometimes the palette is enough.
Choose Your Ribbon Carefully
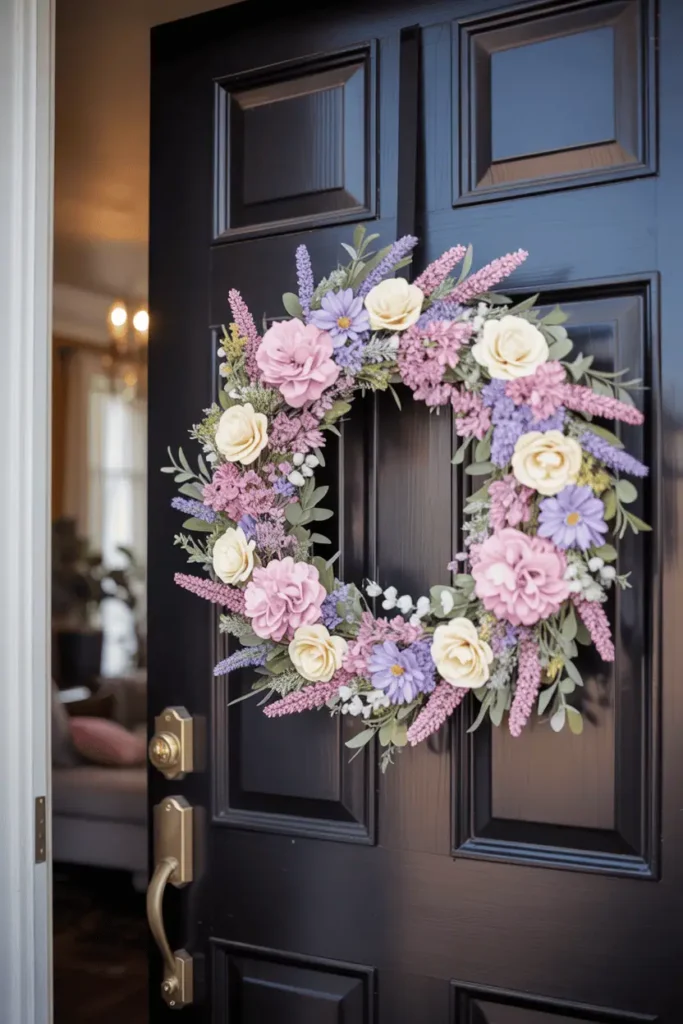
Ribbon can make or break a wreath's overall feel. Sheer organza ribbon in pale pink or lavender adds softness and movement without weight. Linen or cotton ribbon feels more grounded and modern. Burlap works if you're going for farmhouse style, but use it sparingly—it can overwhelm pastels.
If you're using ribbon as a bow, consider where you place it. A bow at the top center feels traditional. A bow at the bottom or side feels more editorial and unexpected. You can also skip the bow entirely and just use ribbon to hang the wreath, letting the florals speak for themselves.
For a more relaxed look, tie the ribbon in a loose, undone knot rather than a structured bow. Let the tails hang long and uneven. This works especially well with linen or cotton ribbon.
Build Around a Focal Flower
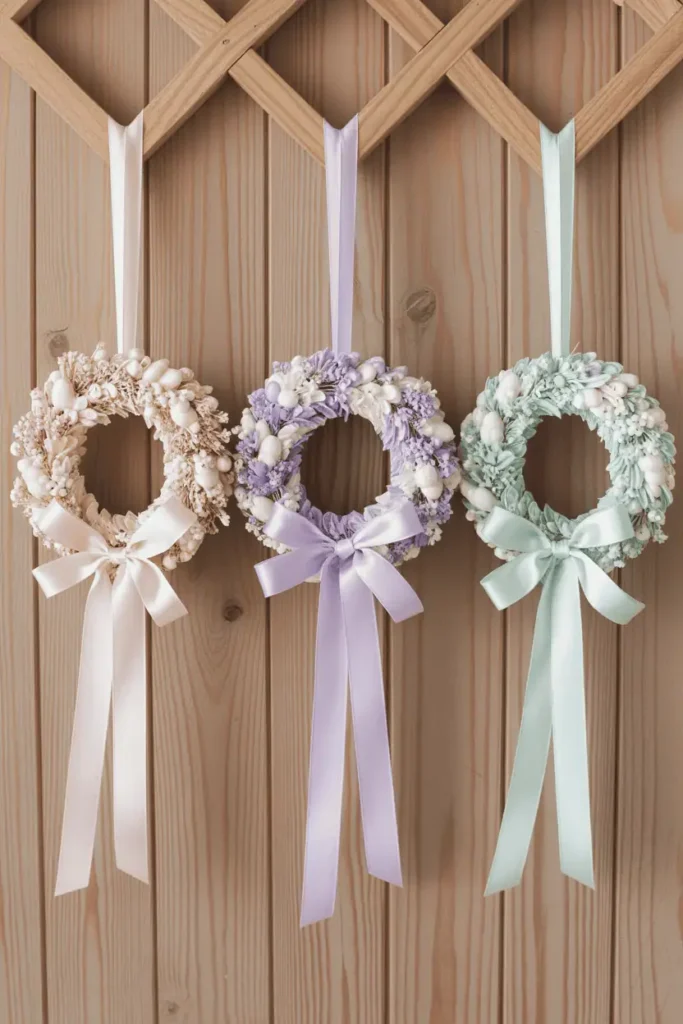
Every strong wreath has a starting point—a flower or cluster that anchors everything else. This is usually your largest or most visually interesting bloom. It might be a pale pink peony, a cream garden rose, or a cluster of soft yellow ranunculus.
Place this focal flower first, slightly off-center. Then build around it by adding supporting florals that complement its color and scale. Smaller flowers should frame the focal bloom, not compete with it. Greenery should tuck behind and around it to create depth.
Once your focal area feels balanced, you can add smaller clusters elsewhere on the wreath. But that first placement sets the tone for everything that follows. If it feels right, the rest of the wreath will fall into place more easily.
Consider Scale for Your Front Door
A wreath that looks beautiful on a craft table can feel too small or too large once it's on your door. Before you commit to a size, consider your door's proportions and how much visual weight you want the wreath to carry.
For standard front doors, an 18-inch wreath feels substantial without overwhelming the space. Smaller doors or interior doors work better with 14- to 16-inch wreaths. If your door has sidelights or windows, factor in how much of the door's surface you want covered.
Also think about depth. A flat wreath can look elegant and modern. A deeply layered wreath with trailing elements feels more romantic and abundant. Both work—it just depends on your home's style and your personal preference.
Work in Stages, Not All at Once
Wreath-making benefits from pauses. Add your base layer of greenery, then step back. Add your focal florals, then walk away for ten minutes. When you return, you'll see what's missing or what feels overdone. This prevents the common mistake of over-layering until the wreath loses definition.
If you're working with hot glue, this approach also lets you adjust before everything is permanently attached. You can reposition stems, swap out colors, or remove elements that don't feel right. Wreath design is more forgiving than it seems, but only if you give yourself permission to edit.
Some people prefer to lay everything out on a flat surface first, arranging stems without attaching them. This works well if you're visual and want to see the full composition before committing. Others prefer to build directly on the wreath base, adding elements intuitively. Neither method is better—choose the one that feels less stressful.
Use a Color Story, Not Just Pastels
"Pastel" is a broad category, and not all pastels work together. A wreath with blush pink, mint green, and pale yellow can feel cohesive and spring-fresh. But add lavender, peach, and baby blue to that mix, and it starts to feel scattered.
Limit yourself to two or three main pastel tones, plus white or cream as a neutral. This gives you enough variety to create interest without losing focus. For example:
- Blush pink, cream, and soft peach for a warm, romantic palette
- Lavender, white, and pale yellow for a classic Easter look
- Mint green, ivory, and soft gray-green for a modern, understated palette
Once you choose your palette, stick to it. Every floral stem, ribbon, and accent should support that color story. This is what makes a wreath feel intentional rather than randomly assembled.
Hang With Intention
How you hang your wreath affects both its longevity and its appearance. Over-the-door hooks are convenient but can damage doors or slip with heavier wreaths. Command hooks work well for lightweight wreaths and remove cleanly. For heavier or more permanent displays, consider a small nail or screw placed just above eye level.
If you're hanging on a glass door or window, a suction hook designed for wreaths distributes weight better than standard suction cups. Make sure the hook is rated for your wreath's weight—most DIY Easter wreaths with faux florals weigh between one and three pounds.
Adjust the wreath's position slightly after hanging. It should sit centered on the door or window, with the focal area visible at eye level. If it's tilting or rotating, add a second small hook or a dab of museum putty on the back to stabilize it.
Plan for Weather Exposure
If your wreath will hang outside, especially on a covered porch or under an overhang, plan for some weather exposure. Faux florals fade over time in direct sunlight, and moisture can damage foam bases or loosen glue.
Choose UV-resistant faux florals when possible, and consider bringing the wreath inside during heavy rain or wind. If you live in a particularly sunny or humid climate, refresh your wreath every three to four weeks by replacing faded stems or reinforcing loose elements.
For fully outdoor wreaths, grapevine bases hold up better than foam. Avoid delicate ribbon or fabric accents that will fray or discolor. Stick with sturdier materials like jute, twine, or weather-resistant wired ribbon.
Adapt the Look for Small Spaces
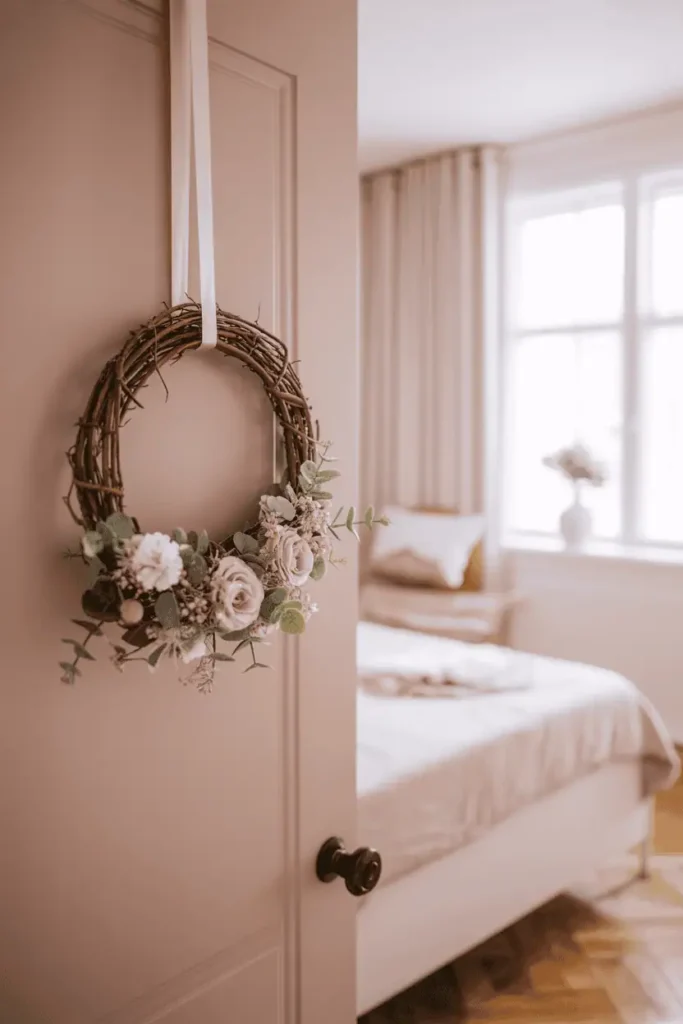
Not everyone has a front door or outdoor space for a wreath. If you're working with a small apartment or limited display area, scale down without losing impact. A 10- to 12-inch wreath works beautifully on interior doors, bedroom walls, or even as a table centerpiece with a pillar candle in the center.
You can also simplify the design for smaller wreaths. Instead of layering multiple florals, choose one or two statement blooms and keep the rest minimal. A small grapevine base with three blush peonies and a linen bow can feel just as intentional as a larger, more complex wreath.
Another option: create a wreath garland instead. Use the same pastel florals and greenery, but attach them to a length of twine or wire that drapes across a mantel, doorway, or headboard. This gives you the spring aesthetic without needing wall space for a traditional wreath.
Avoid These Common Mistakes
Even simple DIY projects have pitfalls. Here are a few to watch for:
- Using too much hot glue, which creates visible buildup and makes adjustments impossible
- Spacing florals too evenly around the wreath, which feels mechanical
- Choosing florals that are too matchy—same size, same shape, same tone
- Overloading one side and leaving the other sparse
- Skipping greenery entirely, which makes pastels feel flat
If your wreath feels off but you're not sure why, step back and check for balance. Are there equal amounts of visual weight on both sides, even if the arrangement isn't symmetrical? Does your eye have somewhere to land, or is it searching for a focal point?
Quick styling tip: If a wreath feels too busy, start removing elements one by one until it feels lighter. You can always add back in, but it's harder to edit once everything is glued down.
When to Start Displaying Spring Wreaths
There's no firm rule, but most people start swapping to spring wreaths in early to mid-March, depending on their climate. If your area is still experiencing freezing temperatures and snow, you might wait until late March. If spring arrives early, you can transition as soon as late February.
Easter-specific wreaths usually go up two to three weeks before the holiday and stay up through the week after. If your wreath leans more "spring" than "Easter," you can leave it up through April or even into early May. Pastel wreaths work well for the entire spring season because they're soft and neutral enough to bridge multiple holidays and occasions.
Some people prefer to create one wreath that lasts all season and a second, more Easter-focused wreath for the holiday itself. This gives you flexibility without needing to constantly swap decor.
Budget-Friendly Material Swaps
Wreath-making doesn't require expensive supplies, but costs can add up if you're buying premium faux florals. Here are a few ways to keep the project affordable:
- Shop post-Easter sales for next year's wreath base and florals
- Use stems from previous projects or repurpose flowers from old arrangements
- Buy florals in bulk packs rather than individual stems
- Supplement faux flowers with natural elements like twigs, moss, or dried grasses you can gather yourself
- Choose one or two high-quality statement flowers and fill in with less expensive filler blooms
Dollar stores and discount craft retailers often carry seasonal florals that work well when mixed with higher-quality pieces. The key is blending—one beautiful peony surrounded by budget-friendly filler flowers still reads as elevated.
Let the Wreath Reflect Your Home's Style
The most successful DIY wreaths are the ones that feel consistent with the rest of your home. If your space is modern and minimal, a wreath with clean lines, limited florals, and neutral tones makes sense. If your home is cozy and cottage-inspired, a full, abundant wreath with layered textures fits better.
Don't feel pressured to follow trends if they don't align with your aesthetic. A wreath that feels true to your home will always look better than one that's technically on-trend but doesn't match your style. Pay attention to the colors, textures, and finishes you already use inside, and let those guide your wreath design.
If you're unsure, start simple. You can always add more later, but it's hard to strip back a wreath that's already overloaded. A well-edited wreath with thoughtful placement always outperforms a busy one.
Spring doesn't need to be loud to feel like a shift. Sometimes it's just the softness of pastels on your front door, a simple wreath you made on a Sunday afternoon, and the quiet awareness that the season has changed. These wreaths work because they're gentle, personal, and surprisingly easy to make your own.
If you're looking for more seasonal decor ideas, explore other spring styling guides on the site—there's plenty to save and revisit as the season unfolds.