Who doesn’t love a dessert on a stick? Chocolate cake pops are bite-sized morsels of joy—a mix of moist cake, creamy frosting, and chocolatey shell all rolled up and dipped to perfection.
These are perfect for parties, gifting, or anytime you want to jazz up your dessert game without much fuss. They’re playful, portable, and a guaranteed crowd-pleaser. Plus, decorating them can be just as much fun as eating them.
Never made cake pops before? No problem! I’ll walk you through it step by step.
More handheld sweets to try: Brownie Bites, Mini Lemon Tarts, or Cookie Dough Truffles!
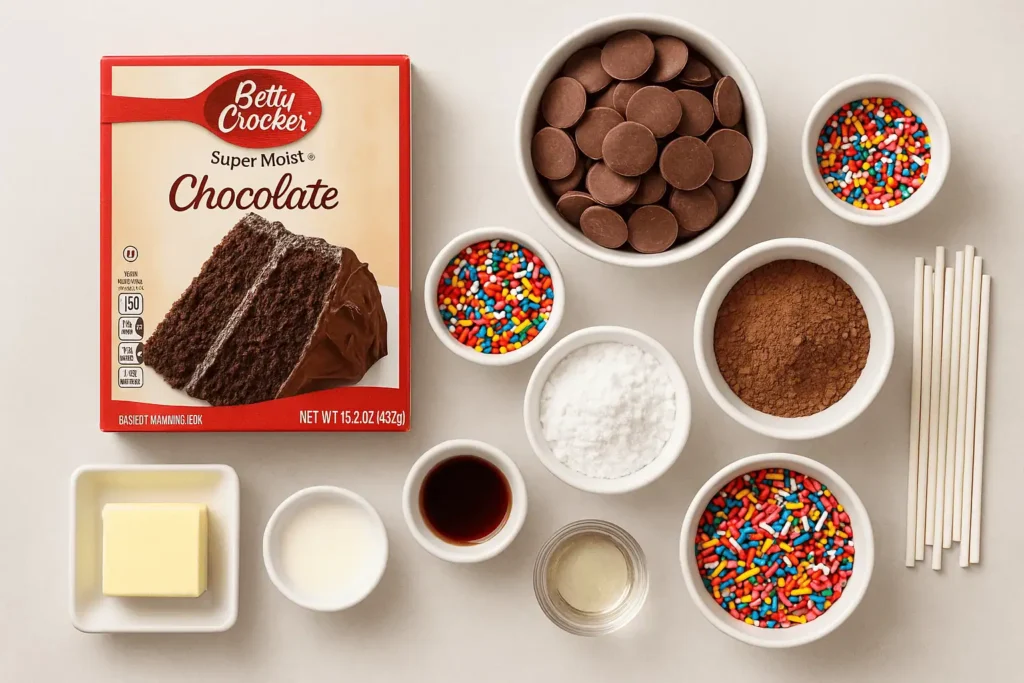
📝 Ingredients:
For the cake base:
- 1 box chocolate cake mix (and whatever ingredients it calls for)
Frosting mixture:
- 1/2 cup unsalted butter, softened
- 1 1/2 cups powdered sugar
- 1/4 cup unsweetened cocoa powder
- 1–2 tbsp milk
- 1/2 tsp vanilla extract
To coat and decorate:
- 16 oz chocolate melting wafers or almond bark
- Sprinkles or other toppings (optional)
- Lollipop sticks
🍳 Instructions:
1. Bake the cake: Follow the box instructions and bake in a 9x13 pan. Let it cool fully.
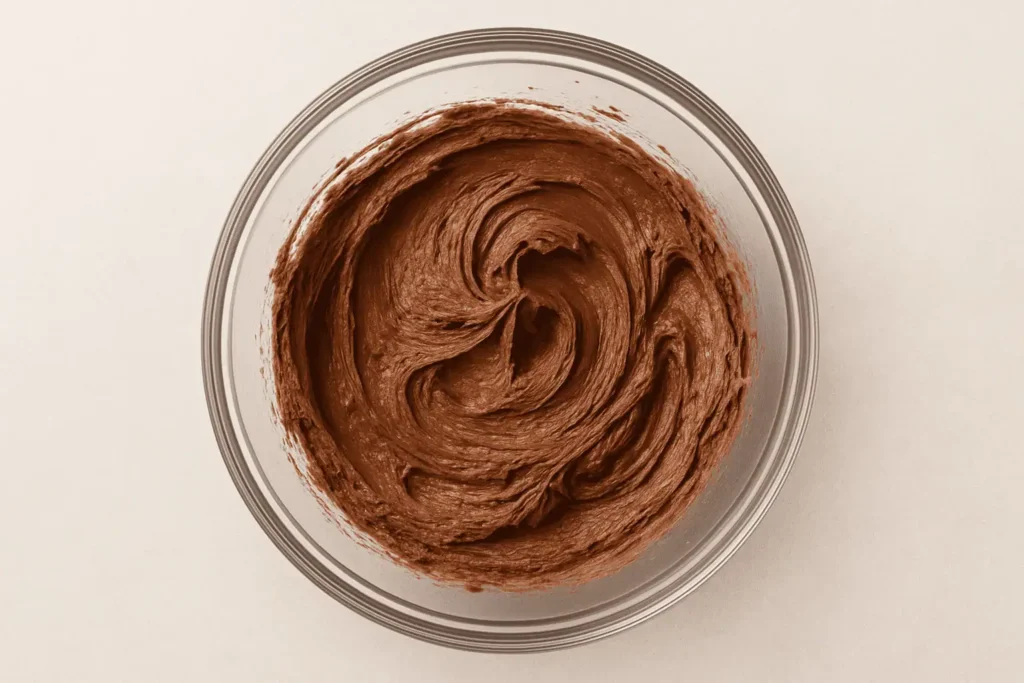
2. Make the frosting: Beat the butter until smooth. Add in powdered sugar, cocoa powder, vanilla, and milk until creamy and spreadable.
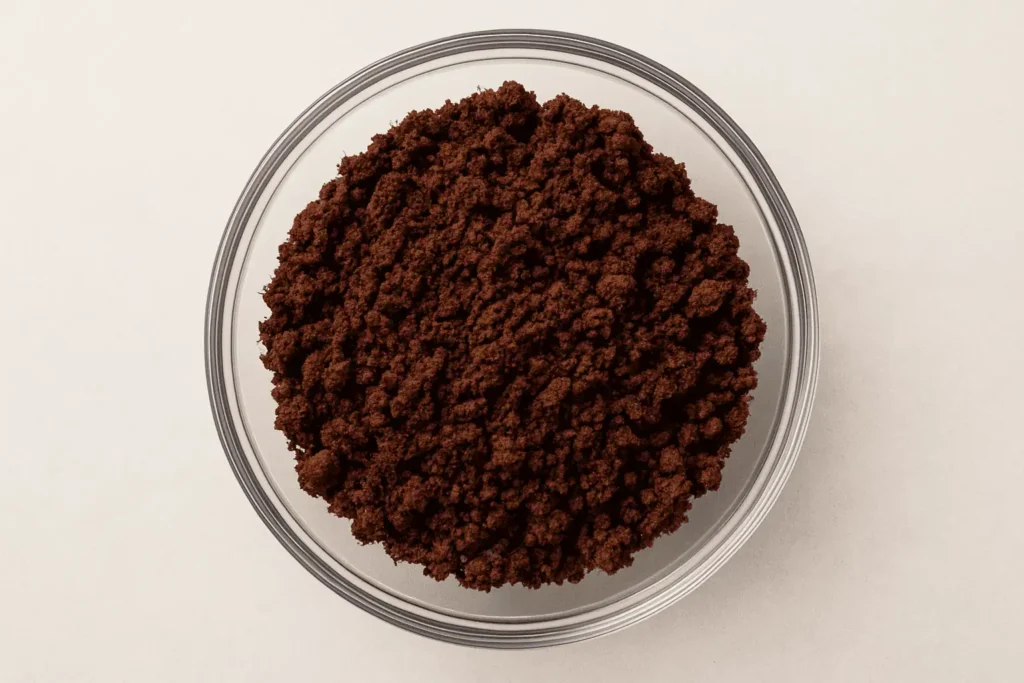
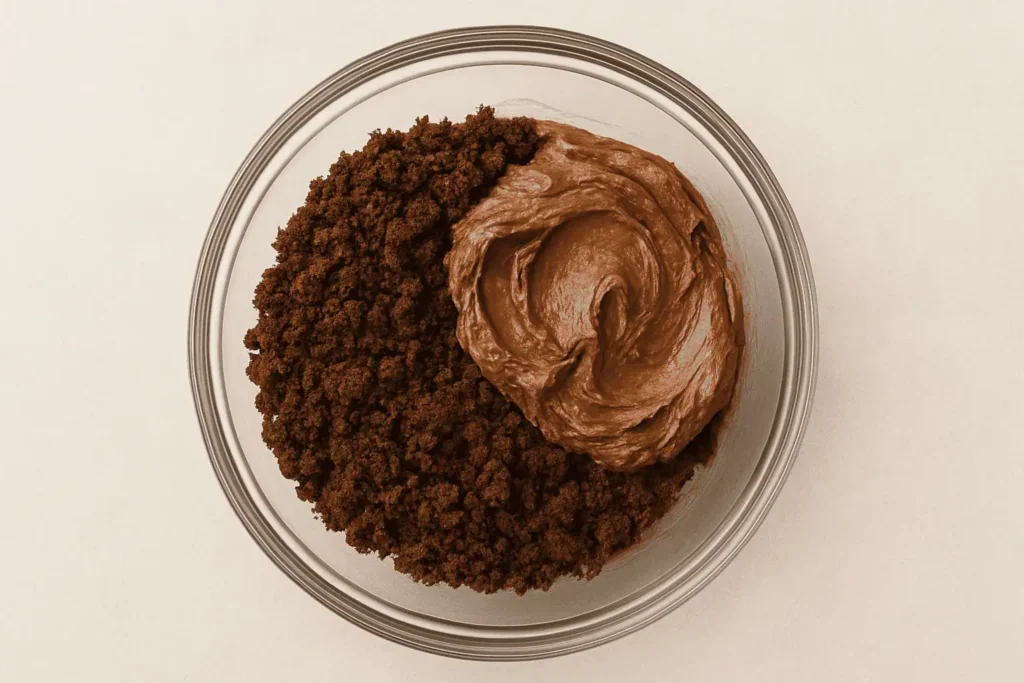
3. Break and mix: Crumble the cooled cake into a large bowl. Mix with frosting—start small and add more until the texture is like soft dough.
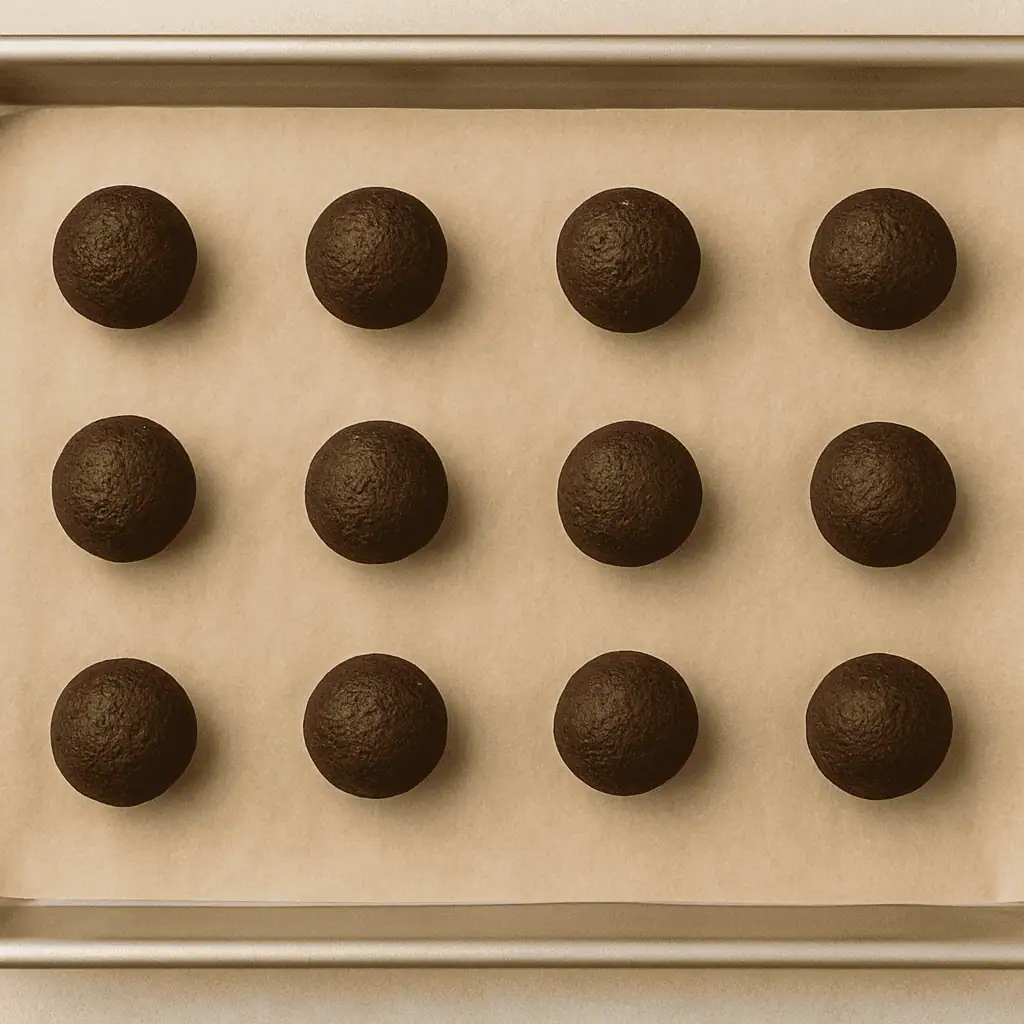
4. Form balls: Roll into small balls, about 1 inch. Line them on a tray and chill for 1 hour (or 20 mins in the freezer).
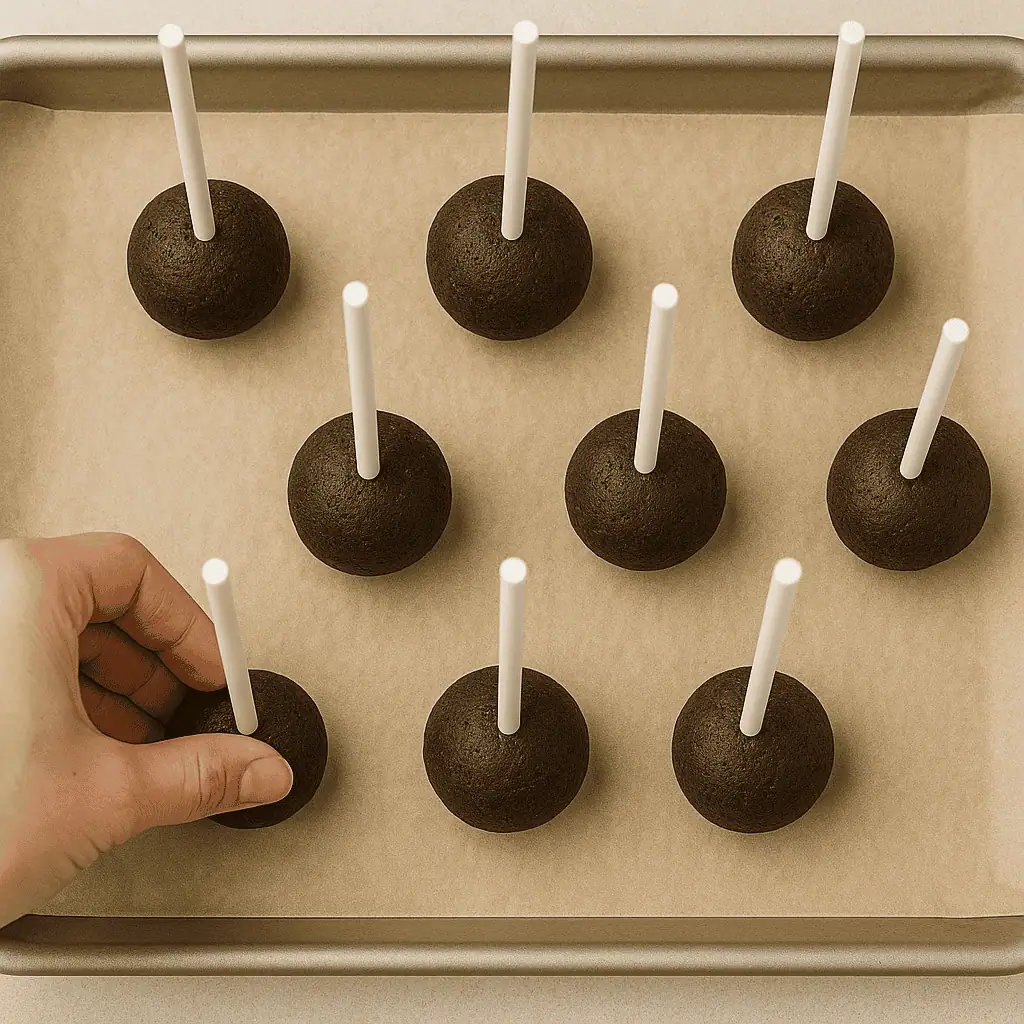
5. Stick prep: Dip each lollipop stick into a bit of melted chocolate before inserting into the balls—this helps them stay secure.
6. Dip & decorate: Melt coating chocolate. Dip each pop fully and gently shake off the excess. Add sprinkles while the coating is wet.
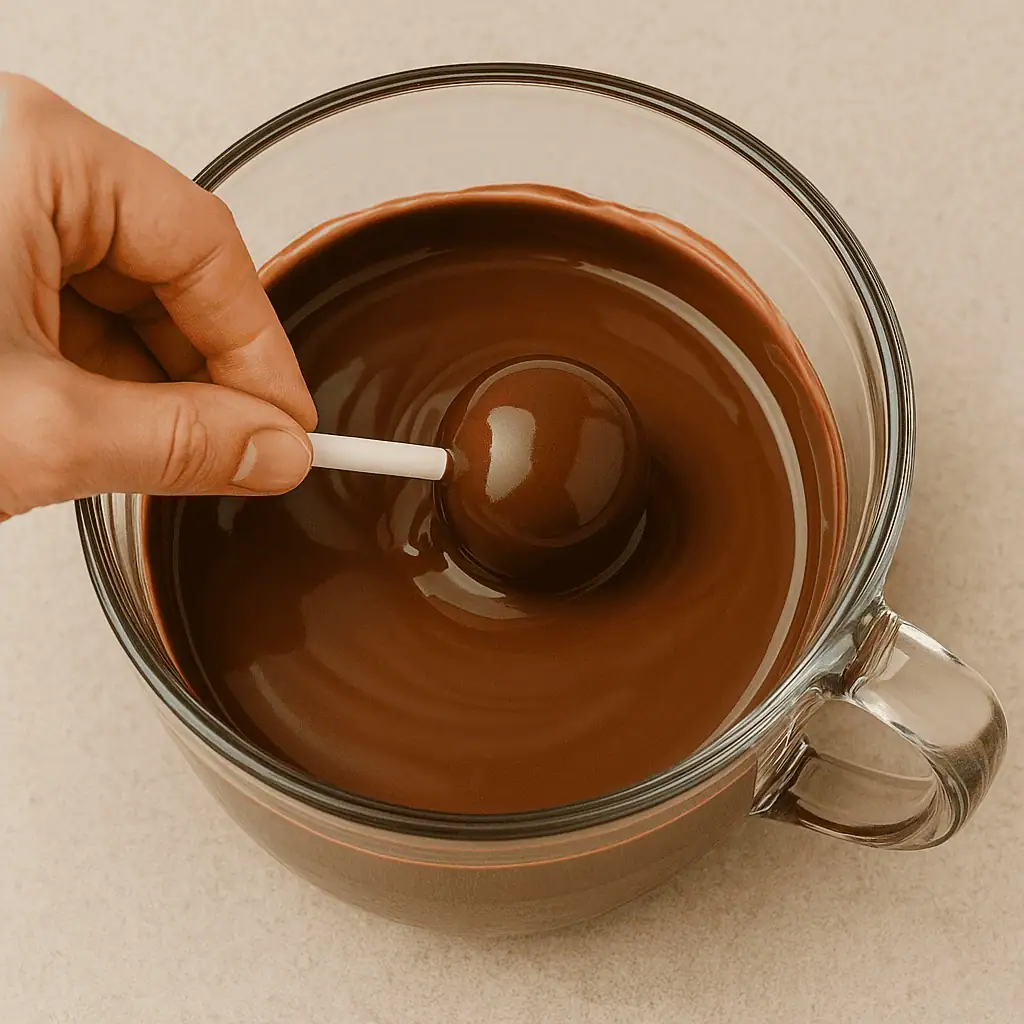
7. Let them set: Stand them up to dry in a foam block or box with holes.
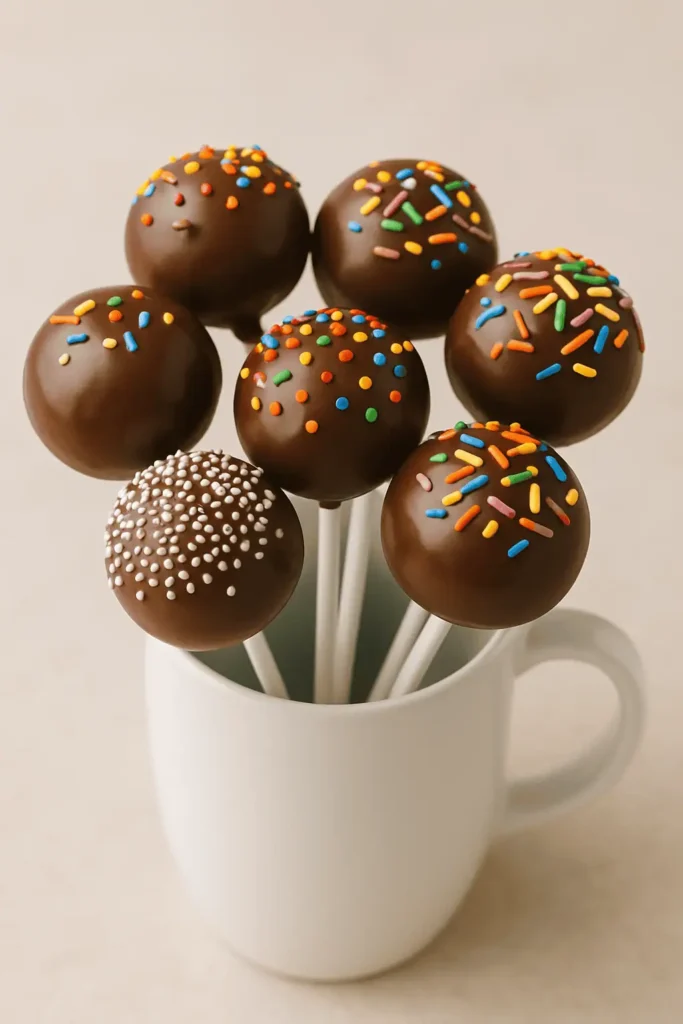
🍽️ Serving & Presentation Tips:
- Stand pops in a decorated mug or mini pail
- Match sprinkle colors to your theme or holiday
- Wrap in treat bags and tie with ribbon for favors
🎨 Festive Flavor Variations:
- 🎆 Firecracker Pops: Decorate with red, white & blue sprinkles and stand them in mini mason jars for Independence Day.
- 🍁 Cozy Harvest: Mix in pumpkin spice and top with gold dust or cinnamon sugar.
- 🎃 Spooky Bites: Use candy melts in Halloween orange or black and finish with themed candy toppers.
- ❄ Snowy Sparkle: White chocolate coating rolled in coconut or edible shimmer powder—perfect for December gatherings.
- 💘 Love Pops: Red or pink candy melts and mini heart confetti make these irresistible for Valentine’s Day.
- 🌼 Bloom Bites: Use pastel candy melts and decorate with pressed edible flowers or soft sugar pearls.
🧛 FAQ:
Can I skip homemade frosting?
Yep! Store-bought frosting works in a pinch.
Do they need to be refrigerated?
If it’s warm where you are, yes. Otherwise room temp for a day or two is fine.
How long do they keep?
Up to 5 days in the fridge or freeze for later.
🔁 Storage Info:
Store covered in the fridge up to 5 days or freeze uncoated pops for 1 month.
Chocolate Cake Pops
For the cake:
- 1 box chocolate cake mix plus ingredients listed on box
For the frosting:
- 1/2 cup 1 stick unsalted butter (softened)
- 1 1/2 cups powdered sugar
- 1/4 cup unsweetened cocoa powder
- 1 –2 tbsp milk
- 1/2 tsp vanilla extract
For the coating:
- 16 oz chocolate candy melts or almond bark
- Sprinkles crushed nuts (or toppings (optional))
- Lollipop sticks
- Bake the cake: Prepare the chocolate cake according to the package directions. Let it cool completely.
- Make the frosting: Beat butter until creamy. Add powdered sugar, cocoa powder, vanilla, and a bit of milk until it’s light and fluffy.
- Crumble the cake: Once cooled, crumble the cake into a large bowl until it looks like fine crumbs.
- Mix with frosting: Start with half the frosting and mix it into the cake crumbs. Add more as needed until the mixture holds together like playdough.
- Shape and chill: Roll into 1-inch balls. Place on a baking sheet lined with parchment. Chill for 1–2 hours or freeze for 20 minutes.
- Insert sticks: Melt a little bit of chocolate and dip the tip of each lollipop stick in it before inserting into the cake ball—this helps them stay put.
- Dip and decorate: Melt the chocolate coating according to package directions. Dip each pop to coat fully, gently tap off excess, and decorate with sprinkles. Stand them upright in a styrofoam block or drying stand.
- Set: Let the coating harden completely at room temperature
- Make sure cake is completely cooled before mixing.
- Freeze uncoated cake balls for later dipping.
Nutrition (per pop):Calories: 160 | Carbs: 19g | Fat: 9g | Protein: 1g | Sugar: 14g
An automated tool is used to calculate nutritional information. Accuracy is not guaranteed.
Making chocolate cake pops is easier than you think—and SO worth it. Whether you're baking for fun, a party, or just a chocolate craving, these are bound to be a hit. Share your creations with me—I’d love to see them!