Getting kids involved in Easter baking is one of those activities that sounds messier than it needs to be, and honestly, it probably will get a little messy—but that's part of the fun. These easy Easter treats are designed for small hands and short attention spans, with simple steps that don't require advanced techniques or a dozen specialty tools. Most use ingredients you already have, and the decorating is forgiving enough that every creation feels like a success.
Whether you're planning Easter snacks for a party, need fun treats for a school celebration, or just want a weekend activity that results in something delicious, these recipes work. They're kid-friendly without being overly cutesy, and they taste good enough that adults will sneak a few too. Some require supervision near the oven or stovetop, but the mixing, shaping, and decorating parts are all things kids can handle with minimal help. The goal here is to let them feel proud of what they made, not to create Instagram-perfect desserts.
No-Bake Bunny Bites
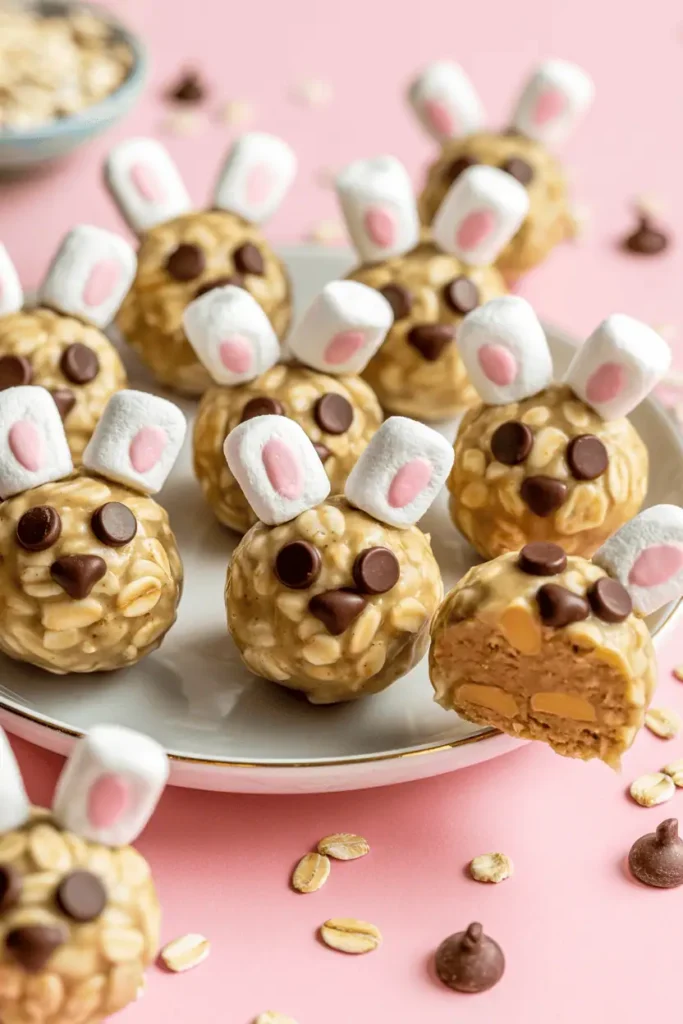
These little energy bites get shaped into bunny faces using mini marshmallows for ears and chocolate chips for eyes. They're sweet but not candy-level sweet, and the oat and peanut butter base means they're actually somewhat filling. Kids love the assembly-line process of rolling and decorating.
Ingredients:
- 1 cup old-fashioned oats
- 1/2 cup peanut butter (or sunflower seed butter)
- 1/4 cup honey
- 1/2 cup mini chocolate chips
- Mini marshmallows for ears
- Extra chocolate chips for decorating
Instructions:
- Mix oats, peanut butter, honey, and mini chocolate chips in a large bowl until everything sticks together.
- Roll mixture into tablespoon-sized balls and place on a parchment-lined tray.
- Press two mini marshmallows into the top of each ball for bunny ears.
- Use chocolate chips to add eyes and a nose, pressing gently so they stick.
- Refrigerate for 30 minutes to firm up before serving.
Why This Recipe Works:
- No oven needed, so kids can do most steps independently
- Forgiving recipe that holds together even with enthusiastic mixing
- Can be made a day ahead and stored in the fridge
Variations: Use almond butter instead of peanut butter, or swap honey for maple syrup. Add shredded coconut to the mixture for extra texture.
Storage Tip: Keep these in an airtight container in the refrigerator for up to 5 days. They're perfect for packing in lunchboxes throughout the week.
Rainbow Jello Cups
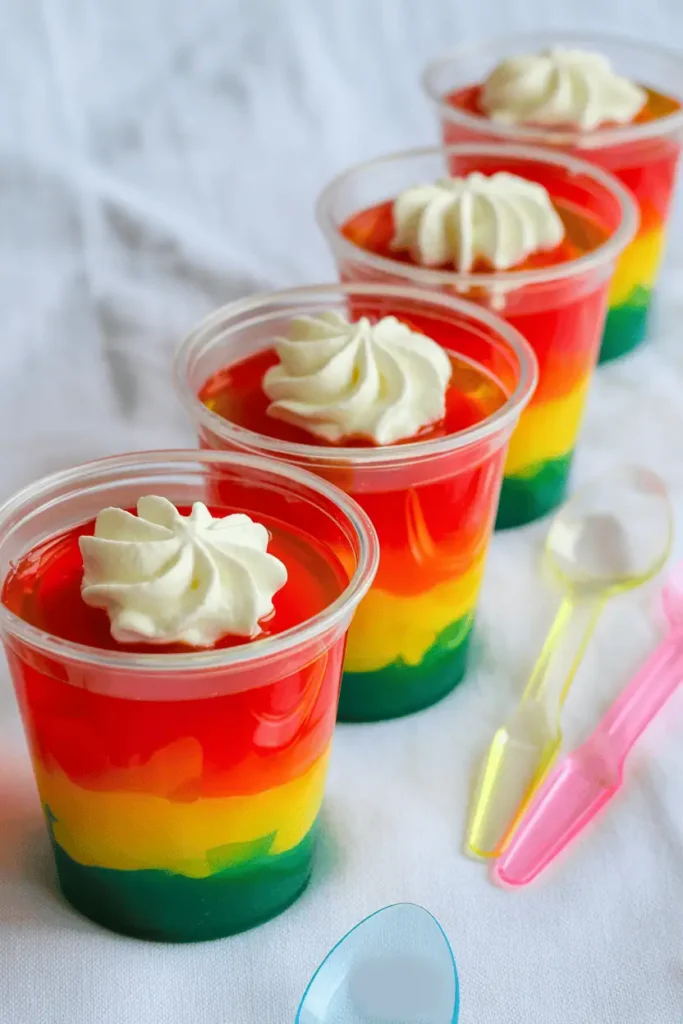
Layered jello cups look impressive but are surprisingly easy for kids to make. Each layer sets while you're working on the next color, and the end result is a bright, wobbly Easter snack that kids find hilarious and delicious.
Ingredients:
- 4 boxes of jello in different colors (try pink, orange, yellow, green)
- Boiling water as directed on packages
- Clear plastic cups
- Whipped cream for topping (optional)
Instructions:
- Make the first jello color according to package directions, using slightly less water than called for to help layers set firmer.
- Pour a thin layer into each cup and refrigerate for 30-45 minutes until completely set.
- While the first layer sets, make the second color and let it cool to room temperature.
- Once the first layer is firm, carefully pour the second layer on top and refrigerate again.
- Repeat with remaining colors, letting each layer fully set before adding the next.
- Top with whipped cream and serve with a spoon.
Why This Recipe Works:
- Kids can measure and pour with supervision
- The waiting between layers builds anticipation
- Each cup can have different color combinations
Variations: Use one color and alternate with whipped cream layers for a simpler version. Add fruit pieces between layers for extra flavor.
Make-Ahead Tip: These can be made completely the day before and kept covered in the refrigerator. Just add whipped cream right before serving.
Easter Egg Sugar Cookies
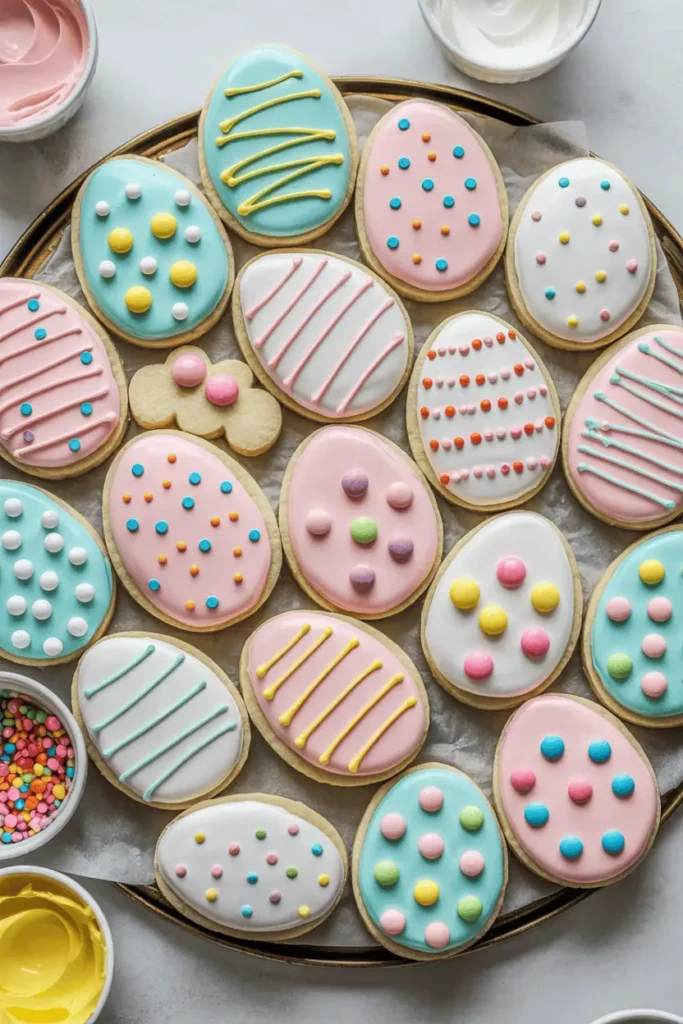
Simple sugar cookies cut into egg shapes give kids a blank canvas for decorating. The dough is easy to work with, doesn't spread much during baking, and holds up well to enthusiastic frosting application.
Ingredients:
- 2 3/4 cups all-purpose flour
- 1 teaspoon baking soda
- 1/2 teaspoon salt
- 1 cup softened butter
- 1 1/2 cups sugar
- 1 egg
- 1 teaspoon vanilla extract
- Frosting and sprinkles for decorating
Instructions:
- Mix flour, baking soda, and salt in a bowl. In a separate large bowl, cream together butter and sugar until fluffy.
- Beat in egg and vanilla, then gradually add flour mixture until a soft dough forms.
- Divide dough in half, wrap in plastic, and refrigerate for at least 1 hour.
- Roll dough to 1/4-inch thickness on a floured surface and cut out egg shapes. Place on parchment-lined baking sheets.
- Bake at 375°F for 8-10 minutes until edges are lightly golden. Cool completely before decorating.
- Let kids frost and decorate with sprinkles, colored sugar, or candies.
Why This Recipe Works:
- Dough is sturdy enough for little hands to roll
- Cookies hold their shape without spreading
- Decorating is the fun part where kids take over
Variations: Add food coloring to the dough itself for pastel cookies. Use different cookie cutters for bunnies, chicks, or carrots.
Decorating Station Tip: Set up bowls of different frostings, sprinkles, and candies so kids can create their own designs without fighting over supplies.
Chocolate Covered Pretzel Rods
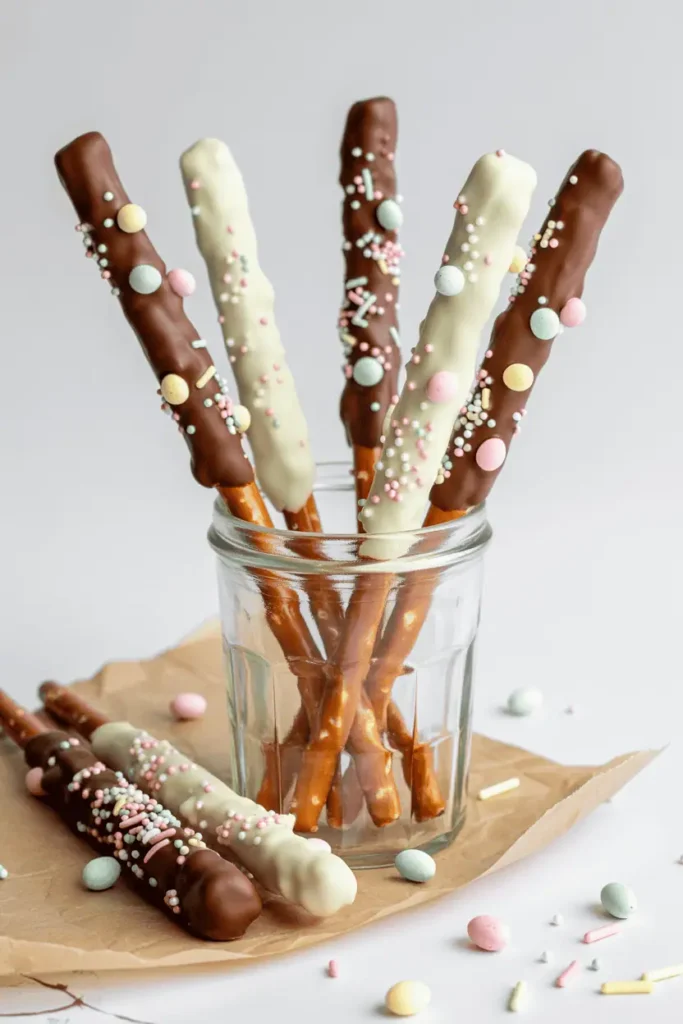
Pretzel rods dipped in melted chocolate and decorated with pastel sprinkles are one of those treats that look fancier than the effort required. Kids can dip and decorate while you supervise the chocolate melting.
Ingredients:
- 12-15 pretzel rods
- 2 cups chocolate chips (milk, dark, or white)
- 2 tablespoons coconut oil
- Pastel sprinkles, mini eggs, or colored sugar
Instructions:
- Line a baking sheet with parchment paper and set aside.
- Melt chocolate chips with coconut oil in a microwave-safe bowl in 30-second intervals, stirring between each, until smooth.
- Dip each pretzel rod about two-thirds of the way into the chocolate, letting excess drip off.
- Immediately sprinkle with toppings before the chocolate sets.
- Place on the prepared baking sheet and refrigerate for 15-20 minutes until chocolate is firm.
Why This Recipe Works:
- Simple dipping process that kids master quickly
- Chocolate and coconut oil mixture sets smoothly
- Results look professional with minimal skill
Variations: Use different chocolate types for variety. Drizzle a contrasting chocolate color over the set coating for stripes.
Serving Tip: Stand pretzel rods upright in a jar or cup for a festive display at Easter parties.
Carrot Patch Pudding Cups
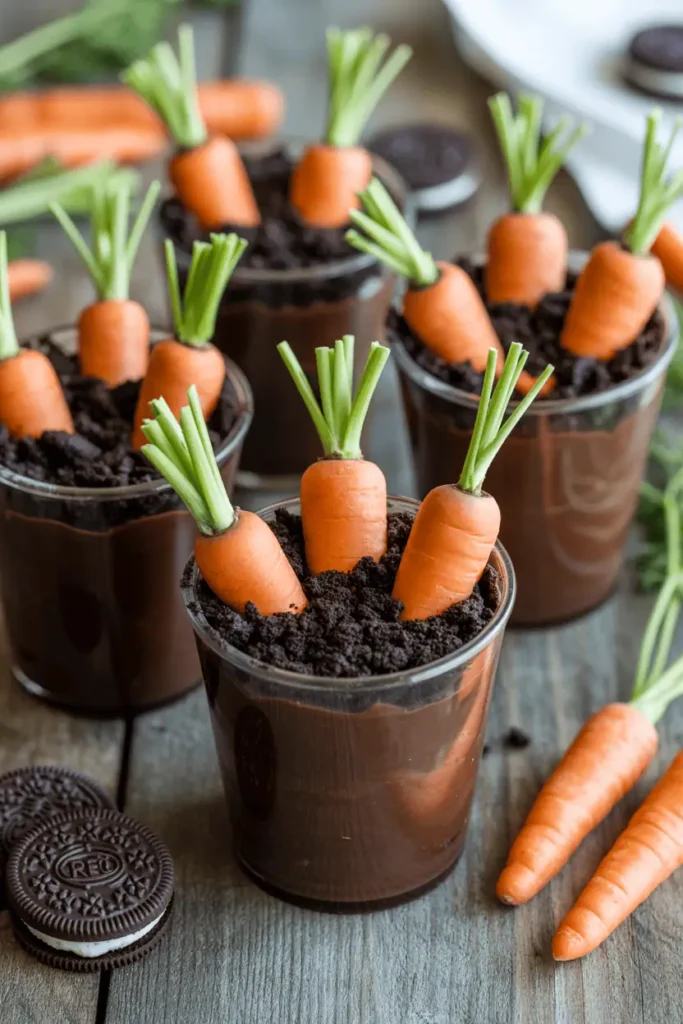
These pudding cups use crushed cookies for "dirt" and carrot-shaped candies or actual baby carrots with green frosting tops to create an edible garden. It's a fun Easter snack idea that works for school parties or family gatherings.
Ingredients:
- 1 package instant vanilla or chocolate pudding
- 2 cups milk
- 10-12 Oreo cookies, crushed
- Orange candies or baby carrots
- Green frosting or green fruit leather cut into carrot tops
- Clear cups for serving
Instructions:
- Prepare pudding according to package directions and refrigerate for 5 minutes to thicken slightly.
- Crush Oreos in a plastic bag using a rolling pin or your hands until they resemble dirt.
- Spoon pudding into clear cups, filling about two-thirds full.
- Top each cup with a layer of crushed cookies.
- If using baby carrots, pipe or spread a small amount of green frosting on top to look like carrot greens. Push carrots or candies into the "dirt" so they peek out.
Why This Recipe Works:
- No baking required and minimal adult help needed
- Kids love the interactive assembly
- Can be customized with different "vegetables"
Variations: Use chocolate pudding for darker dirt. Add gummy worms for extra fun. Use colored Goldfish crackers as "fish" in a garden pond variation.
Make-Ahead Tip: Assemble pudding cups up to 4 hours before serving. Add crushed cookies right before serving to keep them crunchy.
Rice Krispie Easter Nests
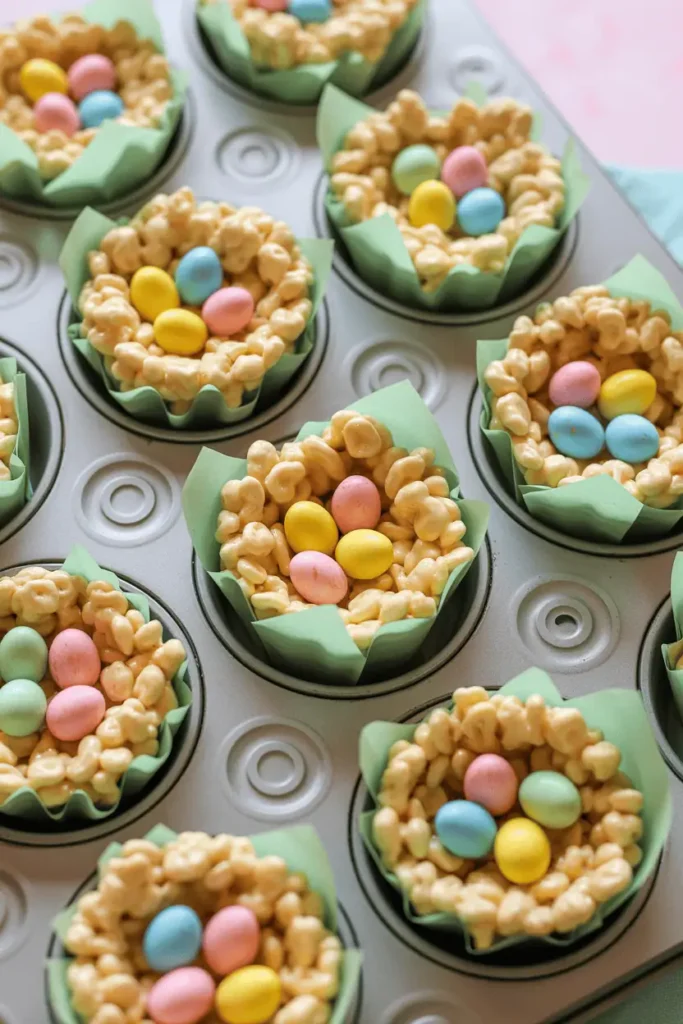
Classic rice cereal treats get shaped into nests and filled with candy eggs. The cereal mixture is easy for kids to press into muffin tins, and the decorating happens once they cool.
Ingredients:
- 3 tablespoons butter
- 4 cups mini marshmallows
- 6 cups rice cereal
- Green food coloring (optional)
- Small candy eggs or jellybeans
Instructions:
- Melt butter in a large pot over low heat, then add marshmallows and stir until completely melted.
- Remove from heat and add a few drops of green food coloring if desired, stirring to distribute color.
- Pour in rice cereal and stir quickly until evenly coated.
- Let kids press mixture into greased muffin tins, making an indent in the center of each for the nest shape.
- Allow to cool completely, then remove from tins and fill centers with candy eggs.
Why This Recipe Works:
- Comes together in under 15 minutes
- Kids can safely handle the warm (not hot) mixture
- Makes 12 individual portions perfect for sharing
Variations: Use different cereal shapes or add coconut to the mixture. Shape into bunny faces instead of nests using candy decorations.
Timing Tip: Make these the morning of your party. They stay fresh at room temperature and don't need refrigeration.
Bunny Tail Donut Holes
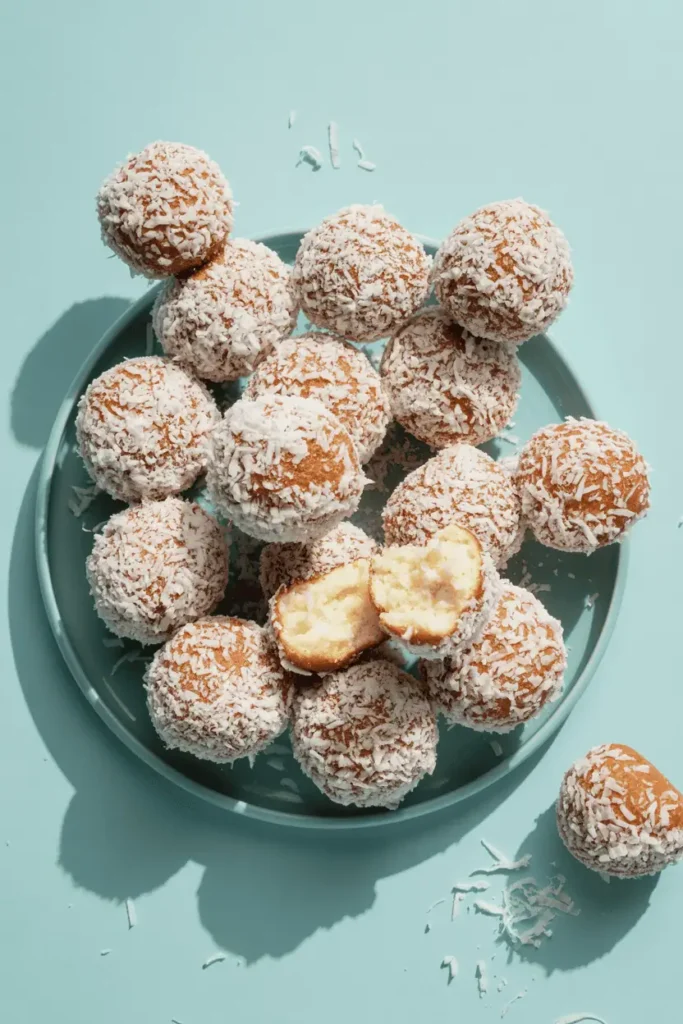
Store-bought or homemade donut holes get rolled in shredded coconut to look like fluffy bunny tails. This is one of the easiest Easter treats for kids to make since most of the work is already done.
Ingredients:
- 24 plain donut holes (store-bought or homemade)
- 1/2 cup powdered sugar
- 2-3 tablespoons milk
- 1 teaspoon vanilla extract
- 2 cups sweetened shredded coconut
Instructions:
- Whisk together powdered sugar, milk, and vanilla in a shallow bowl until smooth.
- Place coconut in a separate shallow bowl.
- Let kids dip each donut hole in the glaze, coating completely.
- Roll glazed donut holes in coconut, pressing gently so it sticks.
- Place on a wire rack and let glaze set for 10 minutes before serving.
Why This Recipe Works:
- Store-bought donut holes make this super quick
- Rolling in coconut is satisfying and easy for kids
- Results look cute and taste delicious
Variations: Add a drop of food coloring to the coconut for pastel bunny tails. Use chocolate glaze instead of vanilla.
Serving Tip: Arrange on a platter with fresh strawberries and melon for a balanced Easter snack spread.
Peeps S'mores
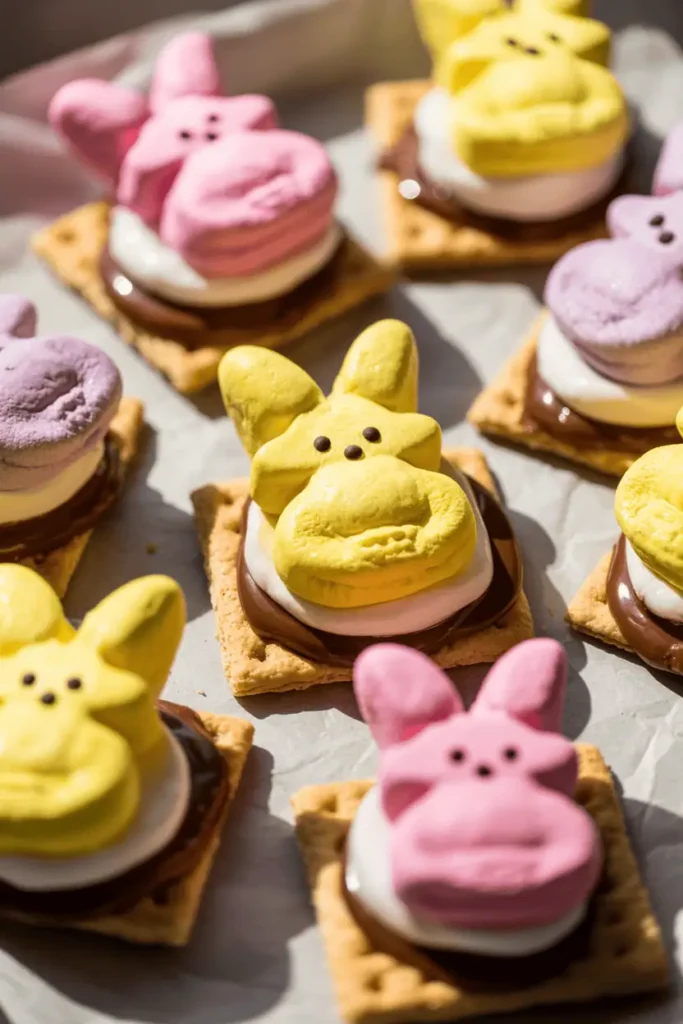
Graham crackers layered with chocolate and topped with Peeps marshmallows, then broiled until toasted. It's a fun twist on classic s'mores that celebrates Easter candy.
Ingredients:
- Graham crackers, broken into squares
- Chocolate bars, broken into pieces
- Peeps marshmallows (any color)
Instructions:
- Preheat oven to broil and line a baking sheet with foil.
- Place graham cracker squares on the baking sheet and top each with a piece of chocolate.
- Add one Peep marshmallow on top of the chocolate.
- Broil for 30-60 seconds, watching carefully, until Peeps are toasted and puffy.
- Top with another graham cracker square and let cool for 1 minute before eating.
Why This Recipe Works:
- Uses Easter candy in a creative way
- Quick cooking time keeps kids engaged
- The toasted Peep factor is endlessly entertaining
Variations: Use different Peeps flavors or colors. Add peanut butter between the graham cracker and chocolate.
Safety Note: Adults should handle the broiling, but kids can assemble the s'mores before and after cooking.
Decorated Chocolate Bark

Melted chocolate spread on a sheet pan and topped with Easter candies, sprinkles, and dried fruit creates a simple bark that kids love breaking into pieces.
Ingredients:
- 3 cups chocolate chips (any variety)
- Mini eggs, sprinkles, crushed cookies, dried fruit, or any Easter candy
- Sea salt (optional)
Instructions:
- Line a baking sheet with parchment paper.
- Melt chocolate in a microwave-safe bowl in 30-second intervals, stirring between each, until completely smooth.
- Pour melted chocolate onto the prepared baking sheet and spread into an even layer about 1/4-inch thick.
- Let kids sprinkle toppings all over the chocolate, pressing gently so they stick.
- Refrigerate for 30 minutes until completely firm, then break into irregular pieces.
Why This Recipe Works:
- Kids can choose their own topping combinations
- No precise measurements needed
- Looks impressive and tastes customized
Variations: Use white and dark chocolate swirled together. Add a sprinkle of sea salt for a sweet-salty contrast.
Storage Tip: Keep chocolate bark in an airtight container in the refrigerator for up to 2 weeks.
Fruit and Yogurt Parfait Cups
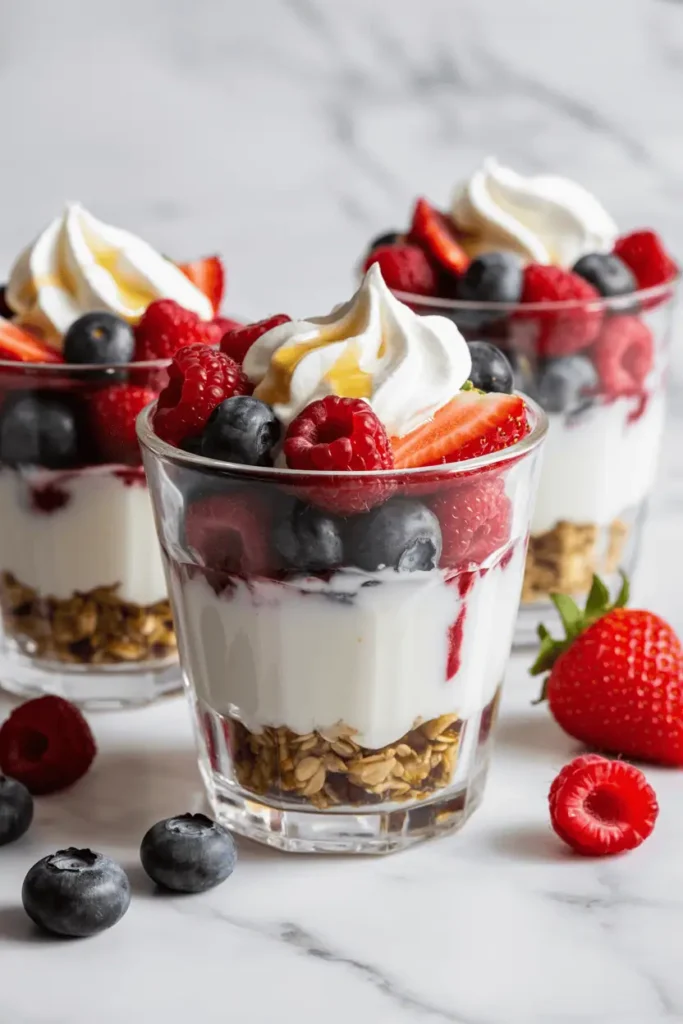
Layered parfaits with vanilla yogurt, granola, and fresh berries give kids a healthier Easter treat option. They can build their own layers and add a dollop of whipped cream on top.
Ingredients:
- 3 cups vanilla Greek yogurt
- 2 cups granola
- 2 cups mixed berries (strawberries, blueberries, raspberries)
- Whipped cream for topping
- Honey for drizzling
Instructions:
- Set out all ingredients in separate bowls for an assembly station.
- Let kids spoon yogurt into the bottom of clear cups.
- Add a layer of granola, then a layer of berries.
- Repeat layers once more, ending with berries on top.
- Add a dollop of whipped cream and a drizzle of honey before serving.
Why This Recipe Works:
- No cooking required at all
- Kids control their own portions and combinations
- Balances out the sweeter Easter goodies
Variations: Use flavored yogurt or add mini chocolate chips between layers. Try different fruit combinations like mango and pineapple.
Party Tip: Set up a parfait bar where kids build their own at an Easter brunch or egg hunt.
When to Make Easter Treats with Kids
Easter baking with kids works best when you build it into the schedule naturally rather than trying to cram everything into Easter morning. Most of these treats can be made 1-2 days ahead, which means you can spread the fun across multiple afternoons during Easter week. No-bake options like the bunny bites and jello cups are perfect for younger kids who get impatient waiting for things to bake.
If you're bringing treats to a school party or egg hunt, make them the night before and store them properly so they stay fresh. The chocolate bark, sugar cookies, and pretzel rods all travel well and don't need refrigeration.
Tips for Baking with Kids
Set up stations for messy steps like decorating. Cover your counter with parchment paper and give each kid their own workspace with all the supplies they need within reach.
Choose age-appropriate tasks. Younger kids can stir, pour, and decorate. Older kids can measure ingredients, crack eggs, and help with oven tasks under supervision.
Embrace imperfection. Wonky bunny faces and uneven layers are part of the charm. The goal is for kids to feel accomplished, not to create magazine-worthy desserts.
Prep ingredients ahead. Measure out everything before you start so kids can focus on the fun parts without waiting while you dig through the pantry.
Make extra. Kids will eat at least a few treats during the making process, so plan accordingly.
Making Easter Treats Work for You
These easy Easter treats fit into busy schedules because they don't require specialty skills or hard-to-find ingredients. Most use pantry staples and grocery store candy, which means you can decide to bake on a whim without a special shopping trip. The recipes that require oven time can bake while kids are doing another activity, and the no-bake options work for days when you need something quick.
If you're making multiple recipes for a party, choose a mix of no-bake and baked treats so you're not waiting for oven space. The jello cups and bunny bites can be made entirely ahead, while cookies and s'mores are better fresh. Having a variety also means kids with different dietary needs can find something that works—there are nut-free options, naturally gluten-free choices like the jello cups, and fruit-based treats that feel lighter.
Save whichever recipes become favorites for next year, and don't hesitate to adjust them based on what your kids actually like. The best Easter treat is the one your family will make together and enjoy eating, not the one that looks perfect in photos.