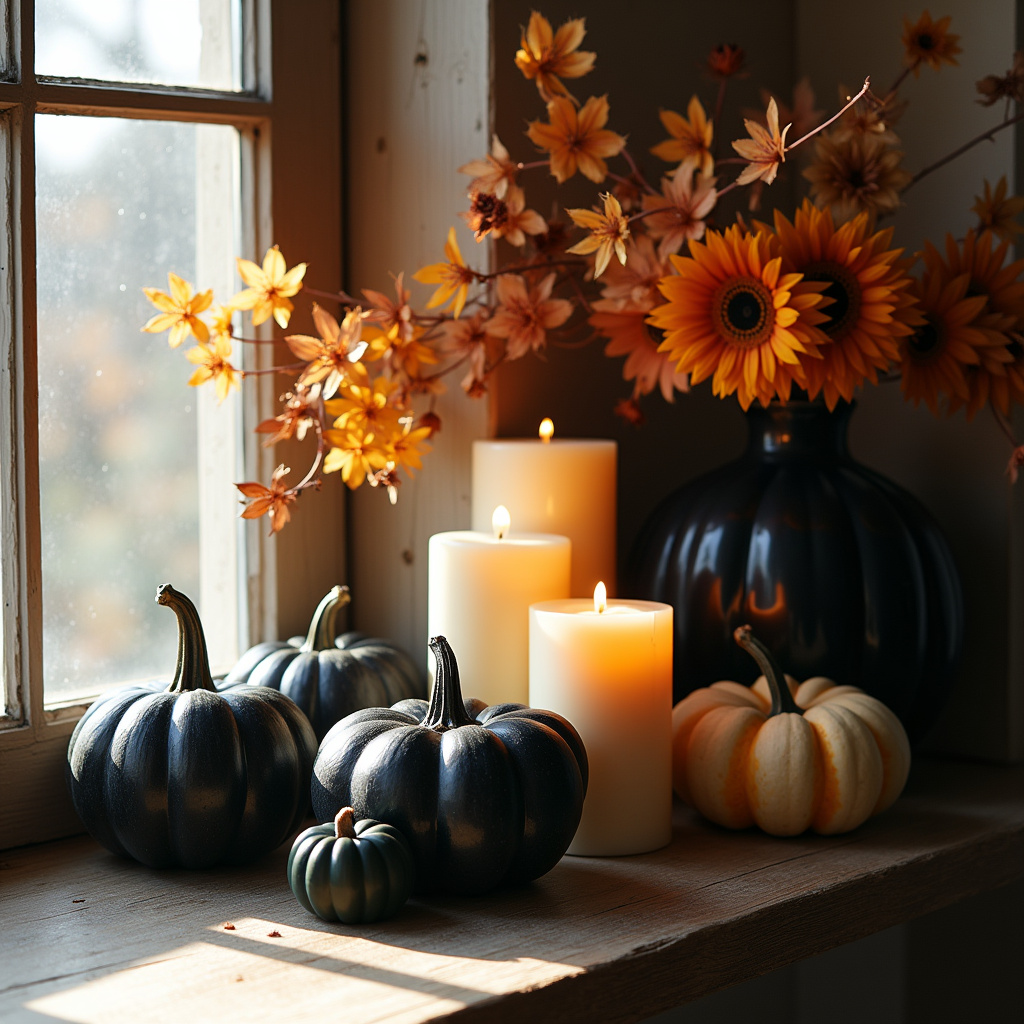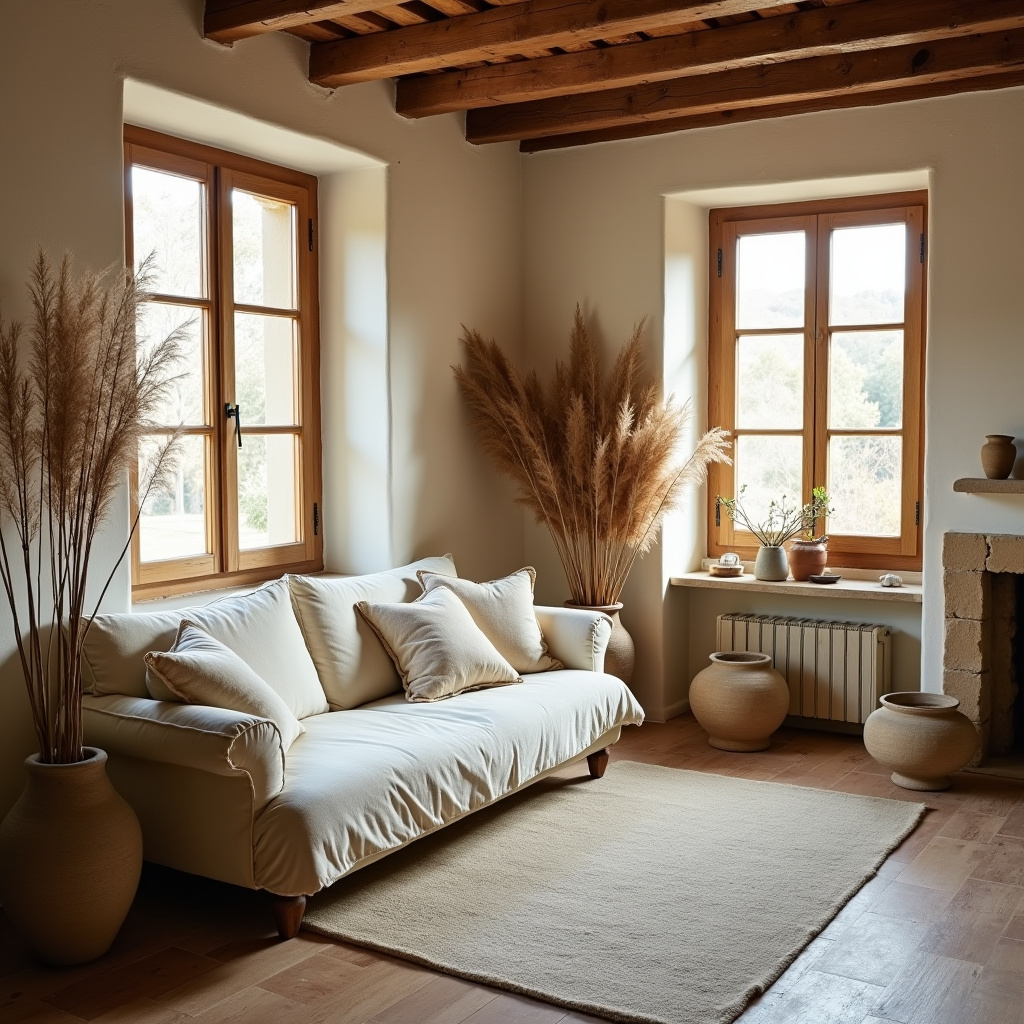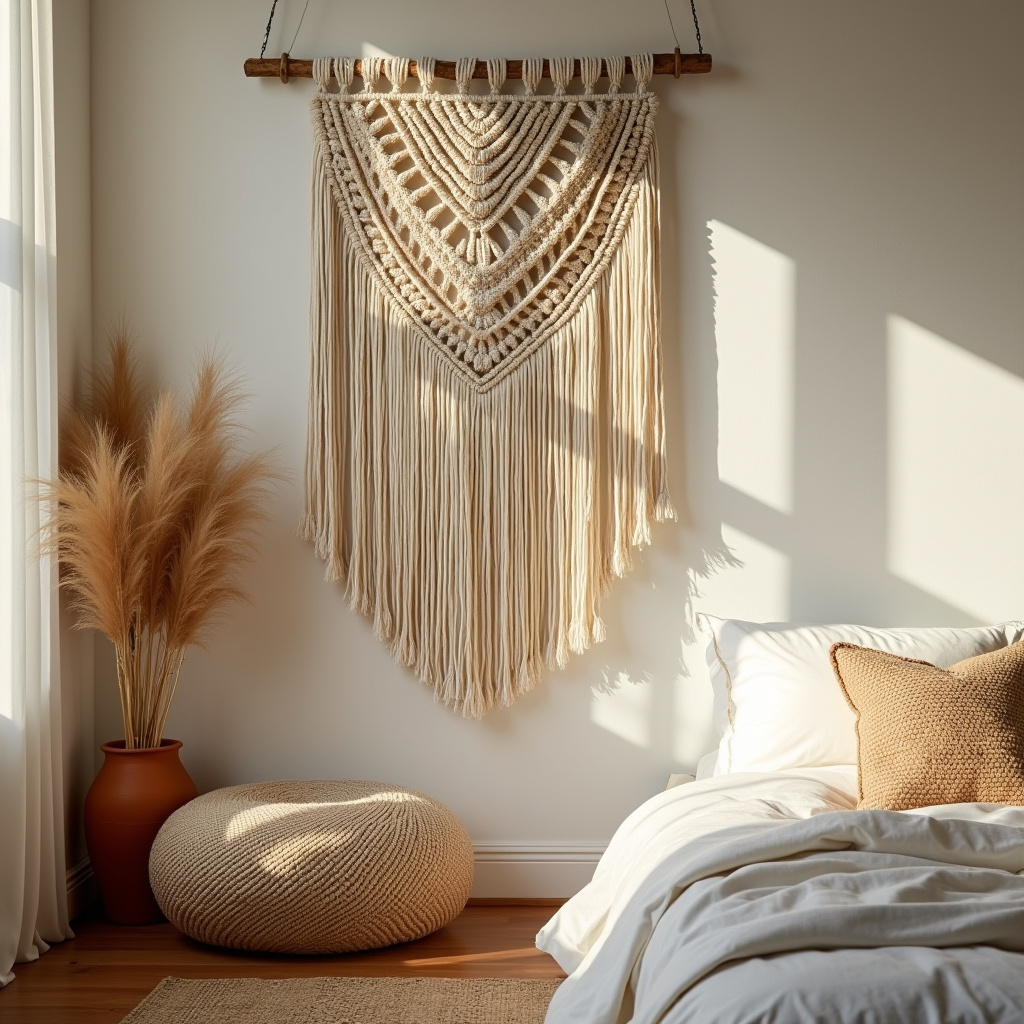
You scroll through styled home accounts and wonder how they make everything look so polished. Then you see the price tags — and reality hits. But what if I told you that half the things making those rooms look expensive are DIY projects under $20? The kind you can knock out on a Sunday afternoon with supplies you already own or can grab at the dollar store. You don't need a designer budget. You just need the right ideas — and today, you're getting 25 of them.
1. Frame Fabric Scraps Like Fine Art
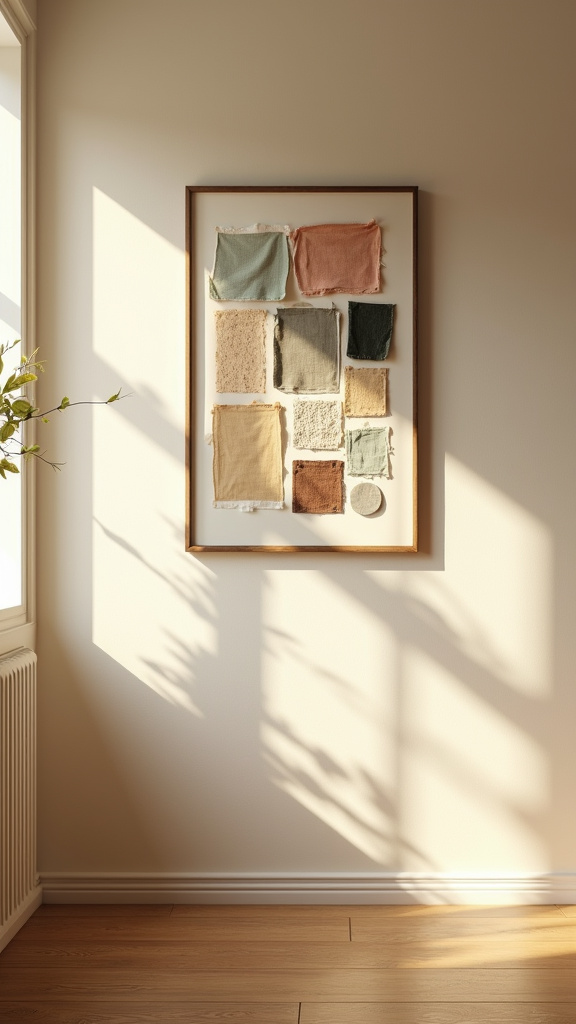
That leftover fabric from your curtain project? Don't toss it. Stretch it over a cheap canvas frame or mount it behind glass in a thrift store frame, and suddenly you have custom art that looks like it came from an Anthropologie clearance sale. The key is choosing fabric with a pattern or texture that reads as intentional — think botanical prints, vintage florals, or even a textured linen in a rich terracotta.
- Use fabric glue or a staple gun to secure fabric tightly around canvas
- Choose frames in matching finishes for a gallery wall effect
- Mix sizes — one large statement piece flanked by two smaller ones
Best For
Renters who can't paint or anyone wanting bedroom or living room art on a $5-per-piece budget.
2. Spray Paint Thrift Store Frames in One Cohesive Color
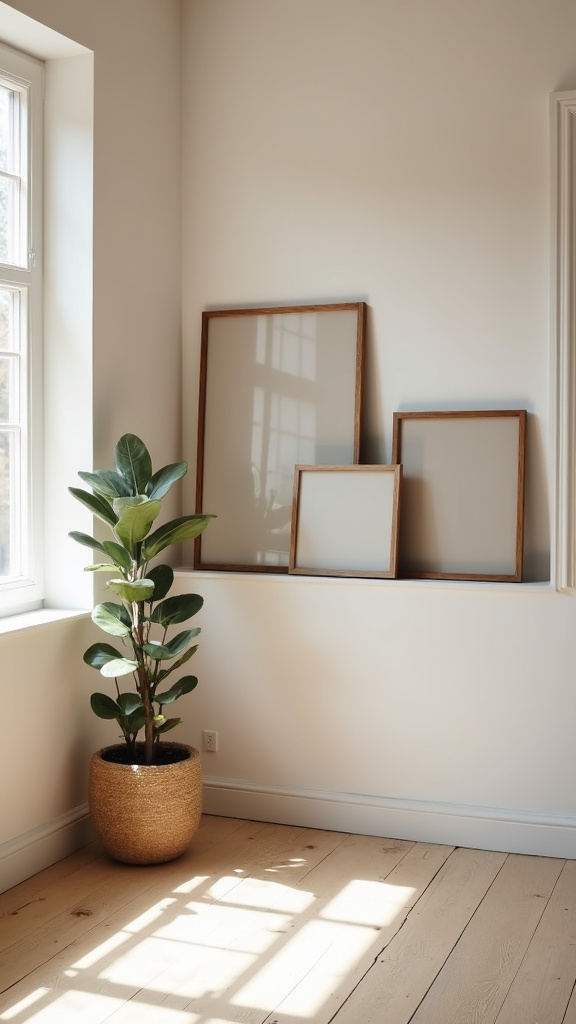
Mismatched frames look cheap. The exact same frames, all painted matte black or soft white, look curated. Hit up Goodwill, grab six different styles, and spray them all in SW Tricorn Black or a warm white. Uniform color creates instant cohesion, even when shapes vary. This trick works for mirrors too — a $3 ornate gold mirror becomes modern and sculptural in matte black.
- Use primer first for smooth coverage
- Matte finish reads more expensive than glossy
- Let dry completely between coats (patience = professional results)
3. Create a Faux Built-In Look With Open Shelving
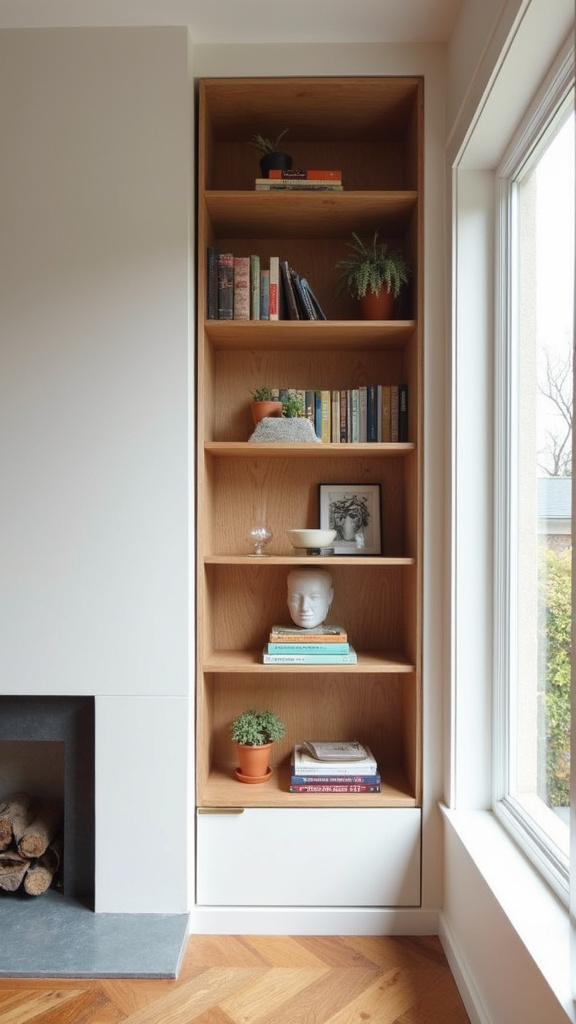
Built-ins cost thousands. A wall of floating shelves painted the same color as your wall? Under $50 at IKEA. Mount three LACK shelves vertically beside a window or flanking a TV, style them with books and plants, and suddenly your rental looks like it has custom millwork. The secret is painting the shelves to match your walls — it tricks the eye into seeing architecture instead of add-ons.
- Use a level and measure twice before drilling
- Style in odd numbers: stack three books, add one sculptural object
- Leave some empty space — overcrowding kills the effect
4. DIY a Chunky Knit Throw Blanket
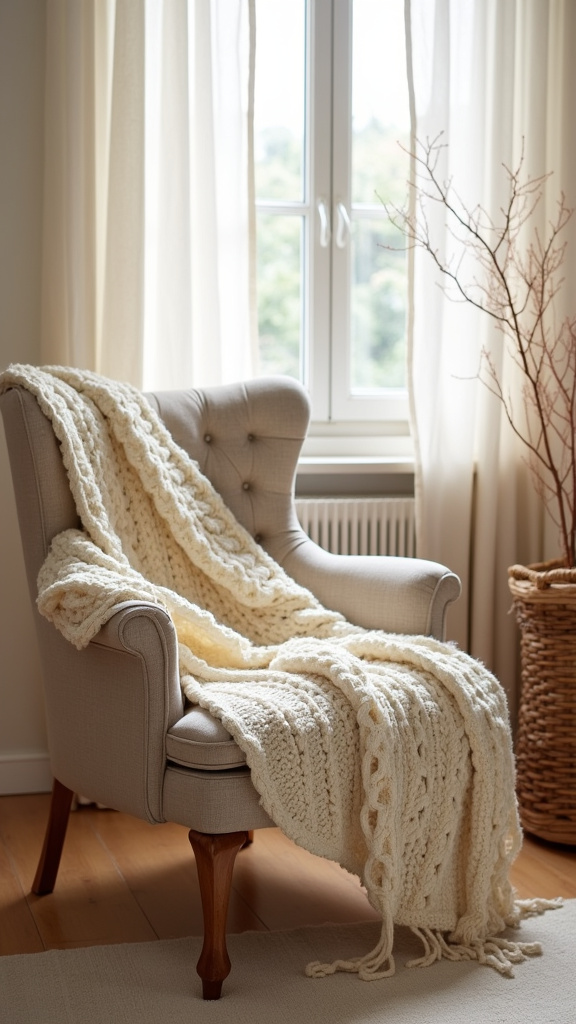
Those chunky knit blankets that cost $200 at West Elm? You can arm-knit one in two hours with $30 worth of chenille yarn from Michaels. The oversized texture instantly makes a sofa or bed look styled, cozy, and expensive. Chunky knits add that layered, lived-in luxury that design blogs obsess over, and no one will believe you made it yourself.
- Choose a neutral color (cream, oatmeal, soft gray) for maximum versatility
- Watch a 15-minute YouTube tutorial — it's easier than it looks
- Drape casually over one arm of your sofa, not perfectly centered
💕 Shop The Look
Look for jumbo chenille yarn in neutral tones at craft stores — expect to spend $25-35 for enough yarn to make a throw blanket. Pair it with simple linen pillow covers in complementary earthy shades for a fully styled sofa under $60 total.
5. Add Crown Molding (The Peel-and-Stick Kind)
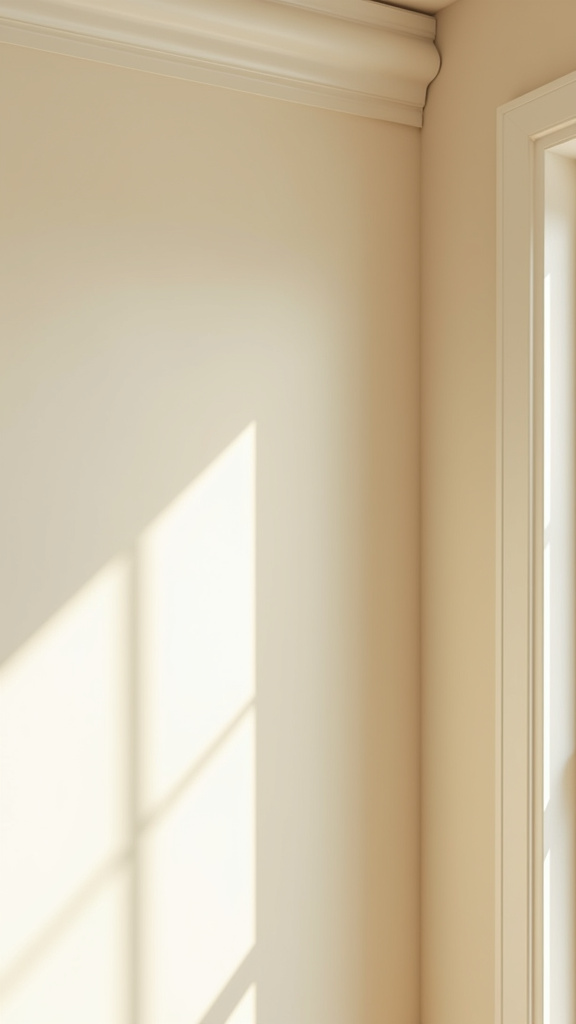
Real crown molding installation costs hundreds. Peel-and-stick molding from Amazon costs $25 and takes an afternoon. It adds architectural detail that immediately elevates a room, especially when painted the same color as your ceiling. Crown molding creates the illusion of higher ceilings and finished construction — the kind of thing that whispers "thoughtfully designed."
- Measure your room perimeter before ordering
- Cut corners at 45-degree angles for seamless joins
- Paint before or after installation (before is easier)
6. Style a Coffee Table Tray Like a Pro
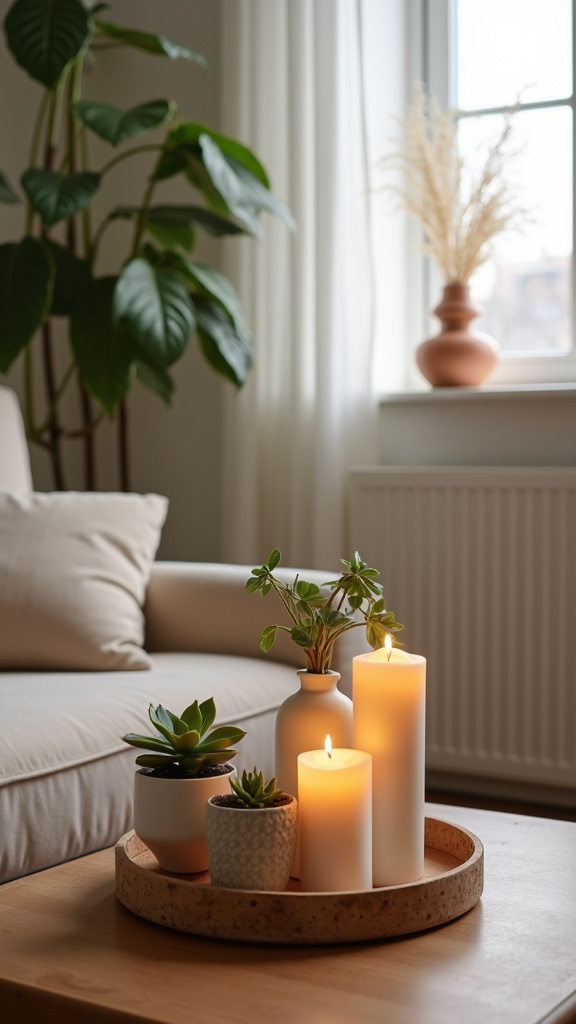
A wooden or marble-look tray (under $20 at Target) corrals coffee table clutter into something that looks intentional. Add a small candle, a short stack of books, and one organic element like a sprig of eucalyptus, and you've just styled your table like a magazine spread. The tray creates boundaries and visual order, which is the foundation of expensive-looking design.
- Stick to three objects maximum
- Vary heights — one tall item, one flat, one medium
- Use a neutral tray so it works year-round
7. Hang Curtains High and Wide
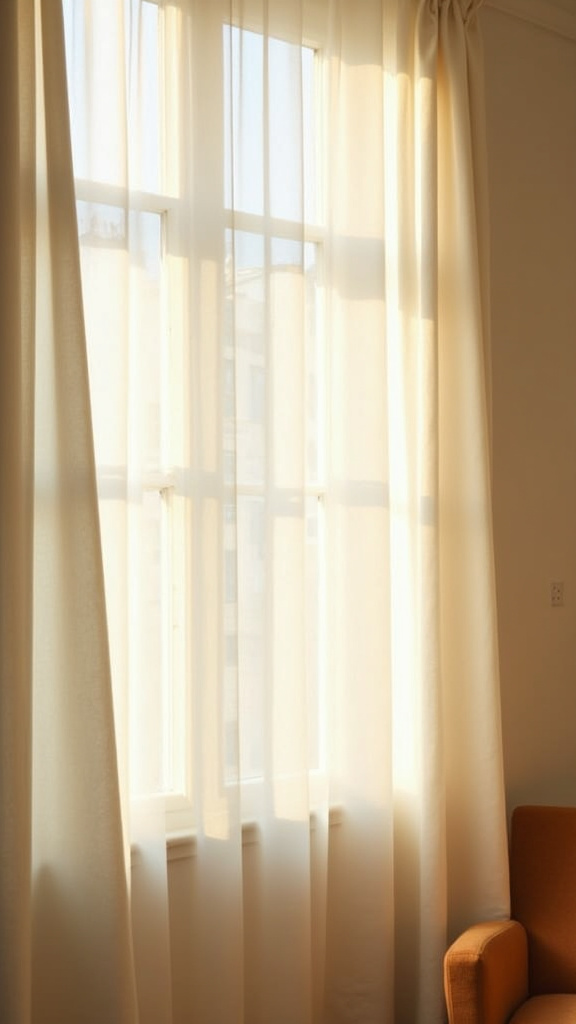
This isn't technically a DIY project, but it's a trick that costs nothing and changes everything. Hang your curtain rod as close to the ceiling as possible and extend it several inches beyond your window frame on each side. Suddenly your windows look taller, your ceilings look higher, and your $30 IKEA curtains look custom. The proportions are what create the expensive look, not the fabric itself.
- Mount the rod 2-4 inches below the ceiling line
- Extend rod 6-8 inches past the window on each side
- Let curtains puddle slightly on the floor for extra luxury
8. Create a Gallery Wall With Free Prints
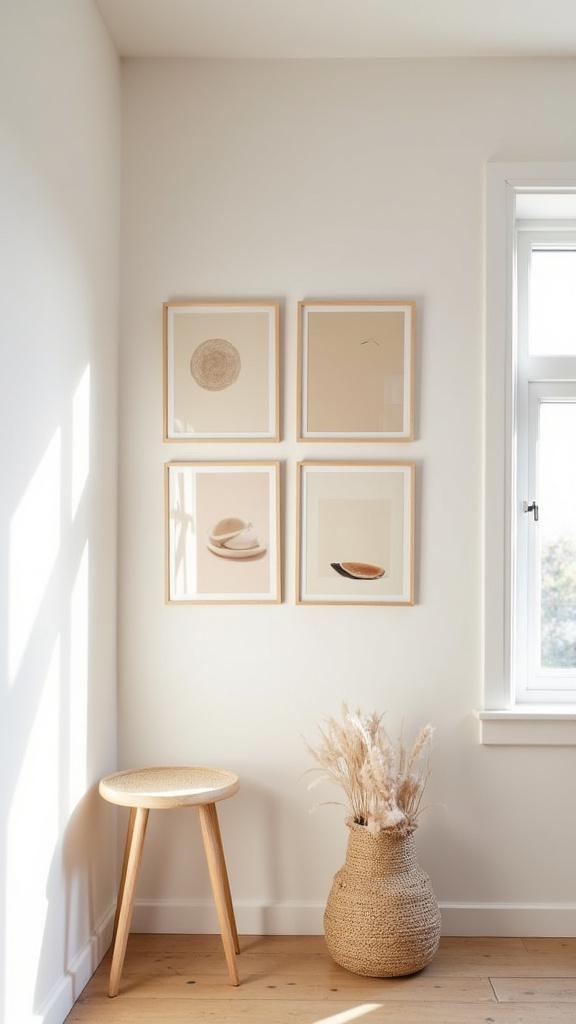
Sites like Unsplash and The Met's open collection offer free high-resolution images you can print at Walgreens for under $2 each. Choose a cohesive color palette or theme, print 6-9 images, frame them in matching frames (see tip #2), and hang them in a grid. The repetition and intentional curation make it look expensive, even though your total cost is under $30.
- Choose a theme: all black and white, all botanicals, all vintage maps
- Use a paper template to plan layout before hammering nails
- Keep spacing consistent — 2-3 inches between frames
💕 Shop The Look
Basic frames from IKEA (RIBBA or FISKBO lines) run $3-10 depending on size. For a gallery wall of nine frames, budget around $50 total including prints. Choose all black or all white frames for that curated, expensive look.
9. Paint an Accent Wall in a Moody Tone
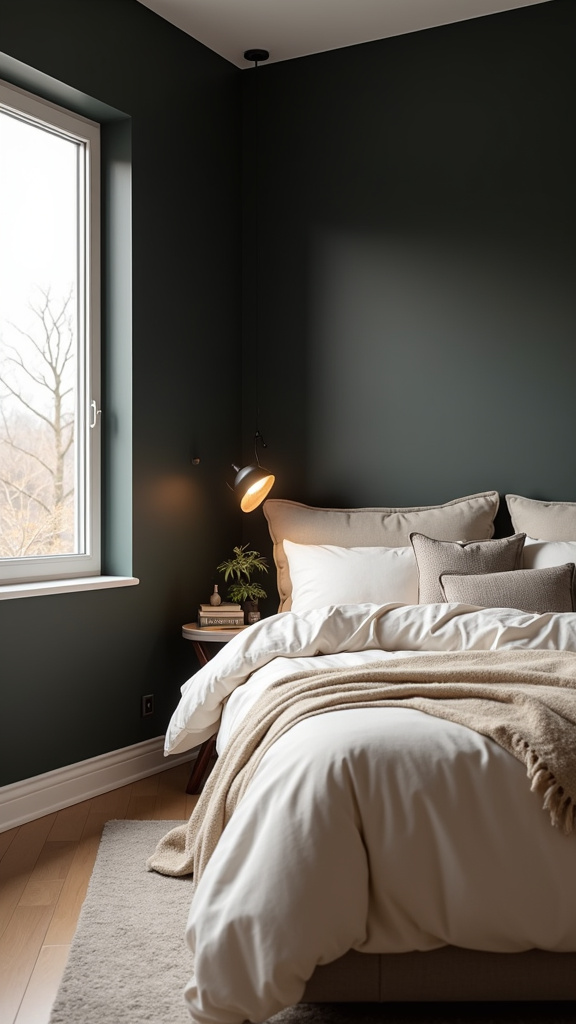
One gallon of paint costs $30-40. One accent wall in a rich, saturated color like SW Urbane Bronze or BM Hale Navy instantly adds depth and sophistication to a room. Dark accent walls create the illusion of custom design and make the room feel more intimate and curated. It's the fastest way to transform a space with minimal effort.
- Choose the wall behind your bed or sofa for maximum impact
- Use painter's tape for crisp lines
- Consider a matte or eggshell finish for a more expensive look than satin
10. Swap Out Builder-Grade Hardware
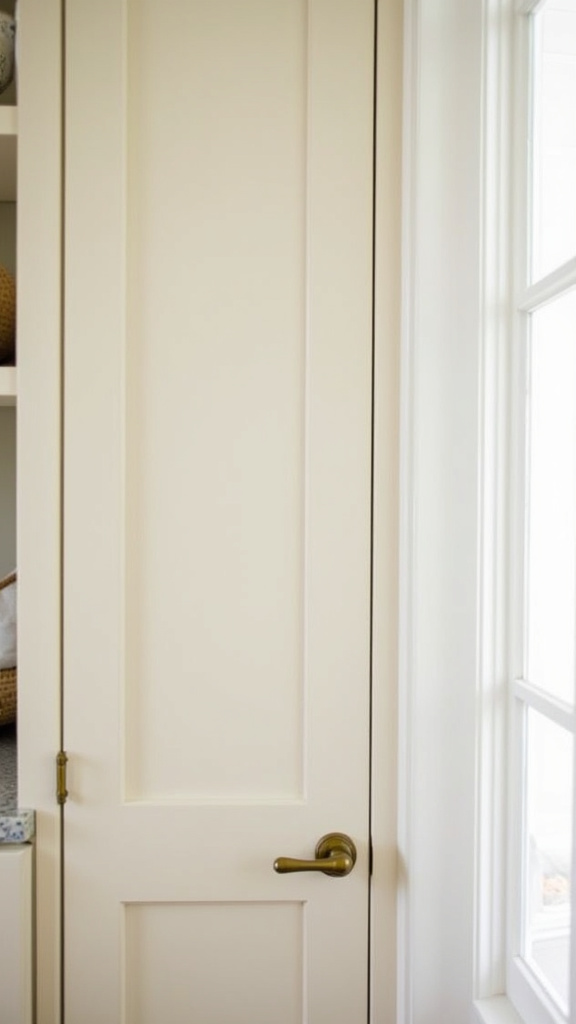
Those shiny brass cabinet pulls that came with your apartment? Replace them with matte black or brushed brass knobs from Amazon (under $3 each), and your kitchen or bathroom immediately looks updated. Hardware is jewelry for your cabinets — and it's one of the smallest changes with the biggest visual payoff.
- Measure your current hardware spacing before ordering
- Keep finish consistent throughout the room
- Matte black works with almost every style
11. Layer Rugs for a Designer Look
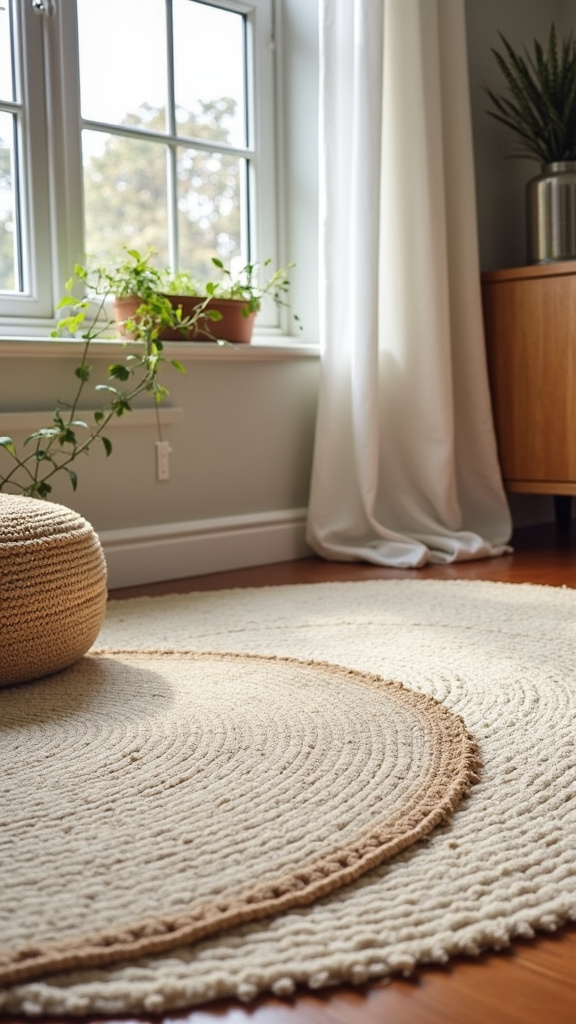
One large neutral jute rug (IKEA, under $60) plus one smaller vintage-style rug (Target clearance or thrifted, under $30) layered on top creates instant warmth and dimension. Layering is a trick designers use to add texture without commitment, and it makes a space feel collected over time rather than bought all at once.
- Use the larger rug as the base — jute or sisal works best
- Layer a smaller patterned or colorful rug at an angle on top
- Make sure at least the front legs of your furniture sit on the rugs
12. Make a Faux Concrete Planter
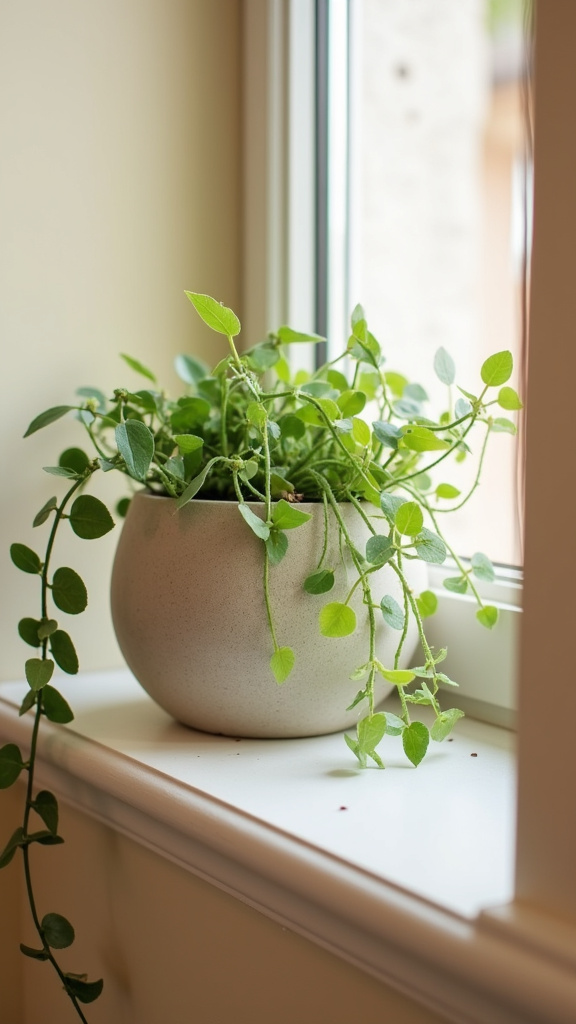
Real concrete planters cost $40+. A plastic planter painted with textured gray paint? $5. Use a sea sponge to dab on layers of light and dark gray acrylic paint, let it dry, and seal it. The result looks like poured concrete, especially when you add a sculptural plant like a snake plant or fiddle leaf fig. The matte, textured finish mimics high-end minimalist planters.
- Start with a cheap plastic planter from the dollar store
- Use acrylic paint in three shades of gray for depth
- Seal with matte Mod Podge for durability
💕 Shop The Look
Pick up inexpensive plastic planters in modern shapes (cylinders or tapered styles work best), then grab basic acrylic craft paint in gray tones. Total investment: under $10 for a planter that looks like it came from West Elm.
13. Install Peel-and-Stick Wallpaper on One Wall
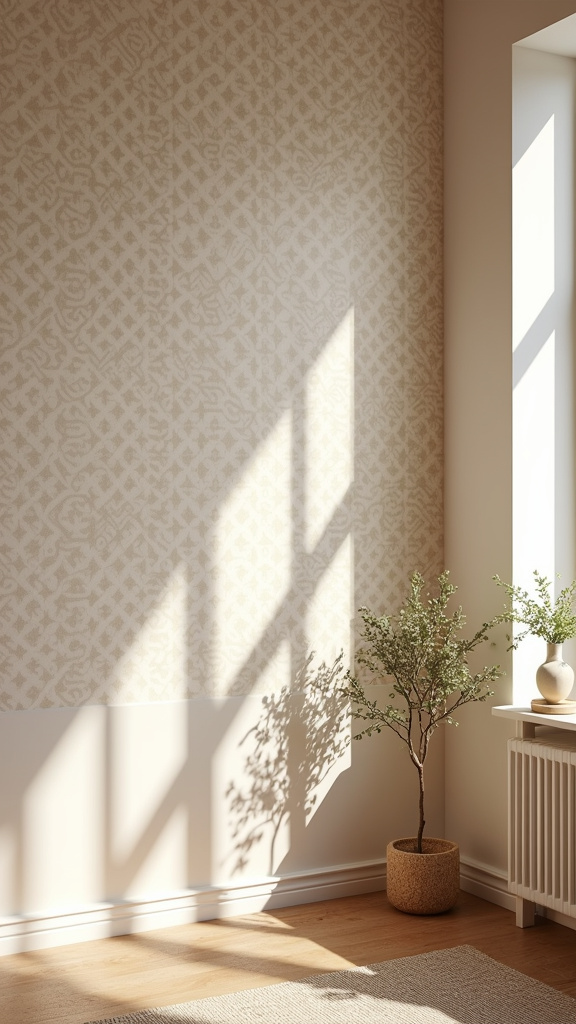
Peel-and-stick wallpaper has come a long way. A single roll covering one accent wall costs $30-50 and transforms a room in under two hours. Choose something subtle — a textured grasscloth look, delicate floral, or soft geometric. Wallpaper adds pattern and personality without the commitment or mess of traditional wallpaper, and it reads as a custom design choice.
- Measure your wall carefully and order 10% extra
- Start from the top corner and smooth as you go
- Use a credit card to push out air bubbles
14. Create a Statement Headboard With Plywood
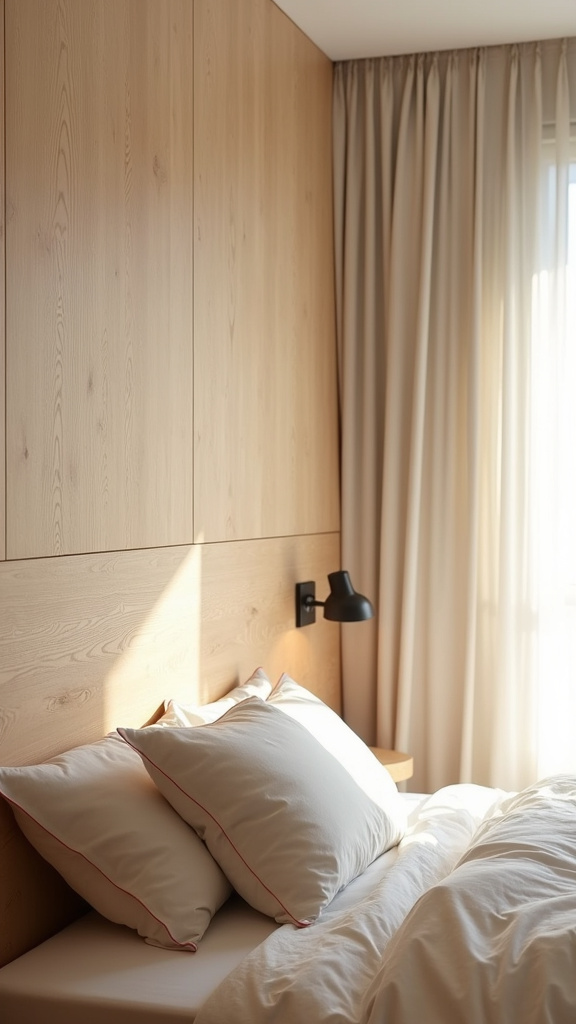
Buy a piece of plywood cut to size at Home Depot (around $20), wrap it in batting and fabric, staple the fabric to the back, and mount it to the wall. You've just made a custom upholstered headboard for a fraction of the cost. An upholstered headboard adds softness and a hotel-like feel that instantly elevates your bedroom.
- Choose linen or velvet fabric in a neutral tone
- Use spray adhesive to attach batting before wrapping in fabric
- Mount with heavy-duty picture hanging strips or French cleats
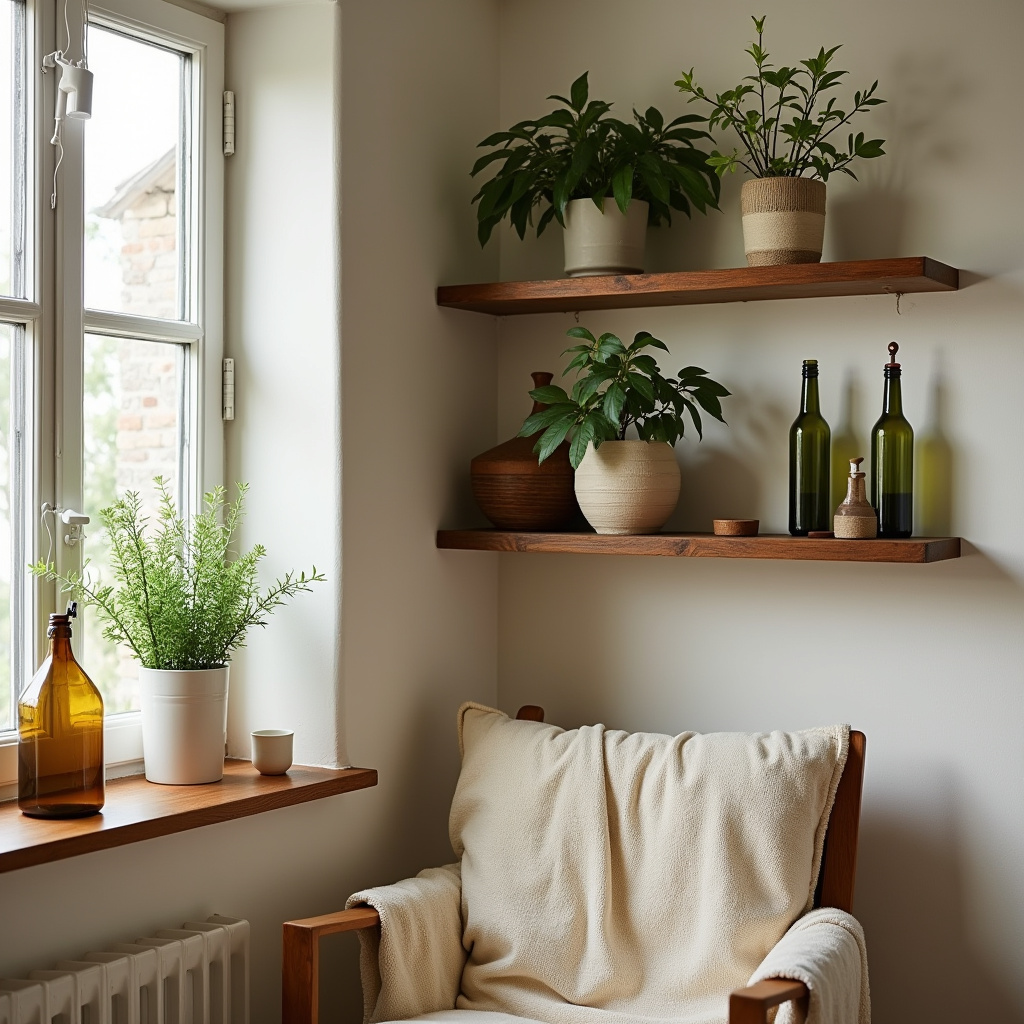
15. Style Open Shelves Like a Magazine
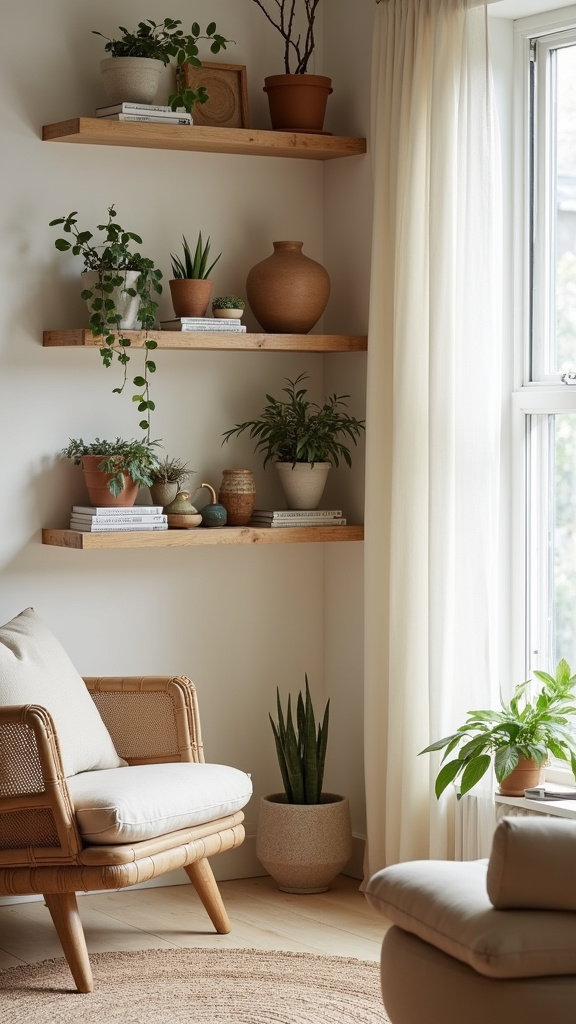
You probably already have open shelving — a bookcase, floating shelves, or kitchen shelves. The difference between styled and cluttered is intentionality. Group books by color, add one plant, one decorative object, and leave some empty space. Negative space is what makes styling look expensive. Overcrowding is what makes it look chaotic.
- Follow the rule of thirds: one-third books, one-third objects, one-third empty
- Vary heights and textures
- Use small baskets or boxes to hide clutter
16. Hang Mirrors to Reflect Light
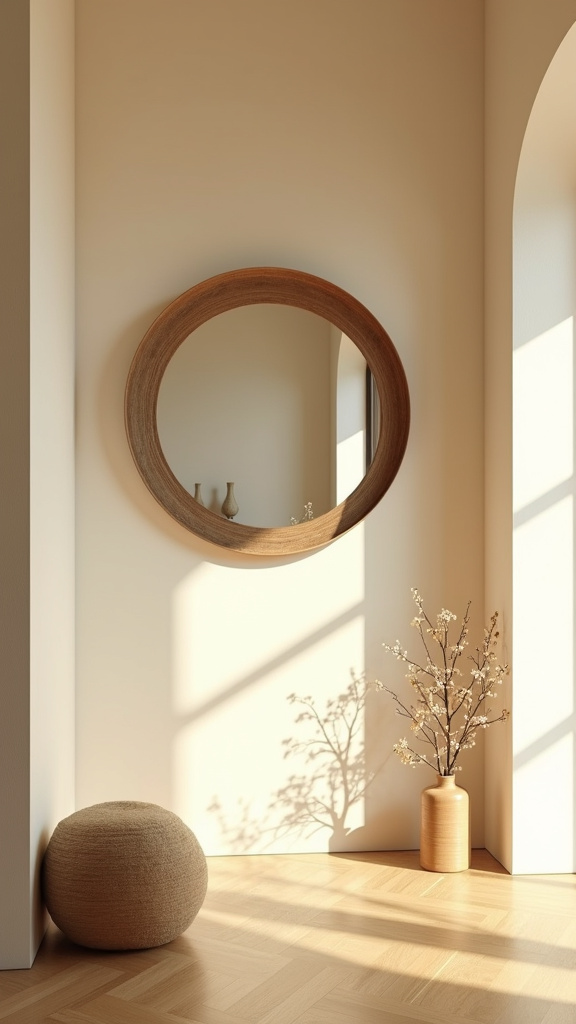
A large mirror from HomeGoods or a thrift store (under $30) placed opposite a window doubles the natural light in your room and makes it feel twice as big. Mirrors are the oldest designer trick in the book — they add depth, light, and the illusion of space. Hang one in your entryway, living room, or bedroom for instant impact.
- Position mirrors to reflect windows or light sources
- Lean a large mirror against the wall for a casual, collected look
- Spray paint the frame if it doesn't match your style
💕 Shop The Look
Look for oversized mirrors (at least 24" x 36") at thrift stores or HomeGoods clearance sections. Expect to spend $20-40. A leaning floor mirror creates especially dramatic impact in bedrooms and makes small spaces feel larger.
17. Make Your Own Abstract Art With Paint Samples
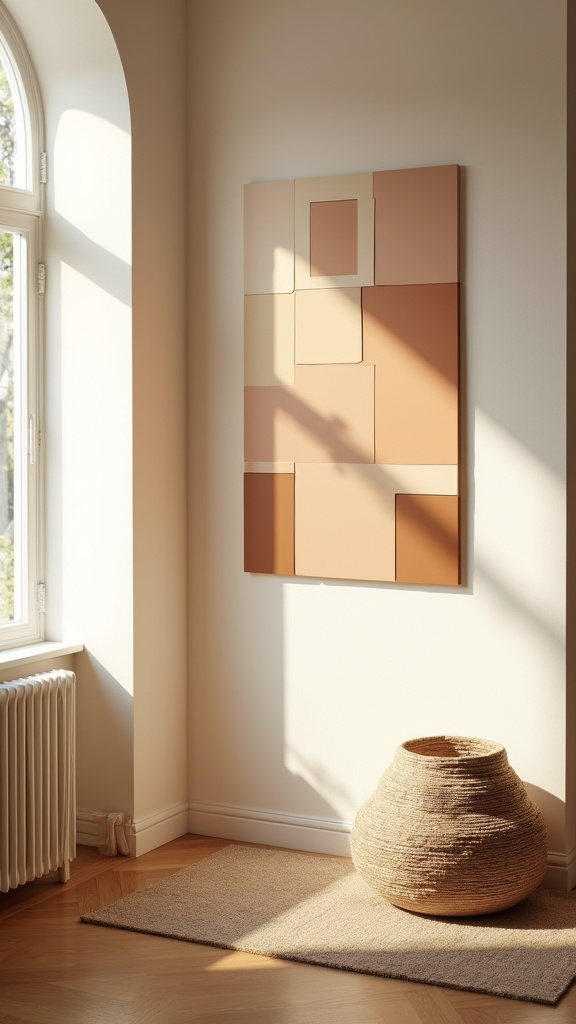
Grab free paint samples from your local hardware store in a cohesive color palette. Cut them into shapes — circles, rectangles, organic blobs — and arrange them on a canvas or poster board in an abstract composition. Glue them down, frame it, and you have custom colorblock art. The geometric simplicity looks modern and intentional, and no one needs to know it cost exactly $0.
- Choose 3-5 colors in the same family for cohesion
- Use a white or cream background for contrast
- Frame in a simple black or natural wood frame
18. Add Texture With a Macramé Wall Hanging
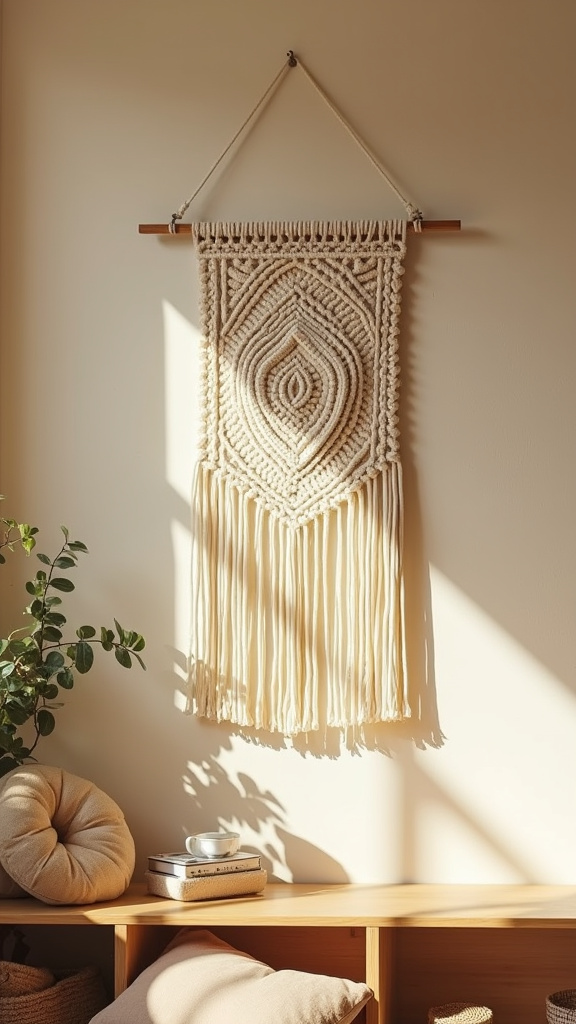
You can learn basic macramé knots from a 20-minute YouTube video and make a wall hanging with $10 worth of cotton cord from Michaels. The woven, organic texture adds warmth and boho sophistication to any room. Handmade fiber art looks expensive because it requires time and skill — but the skill part is easier than you think.
- Start with a simple pattern — you don't need to go elaborate
- Use natural cotton cord in cream or ivory
- Hang from a wooden dowel or driftwood branch for extra texture
19. Paint Your Front Door a Bold Color
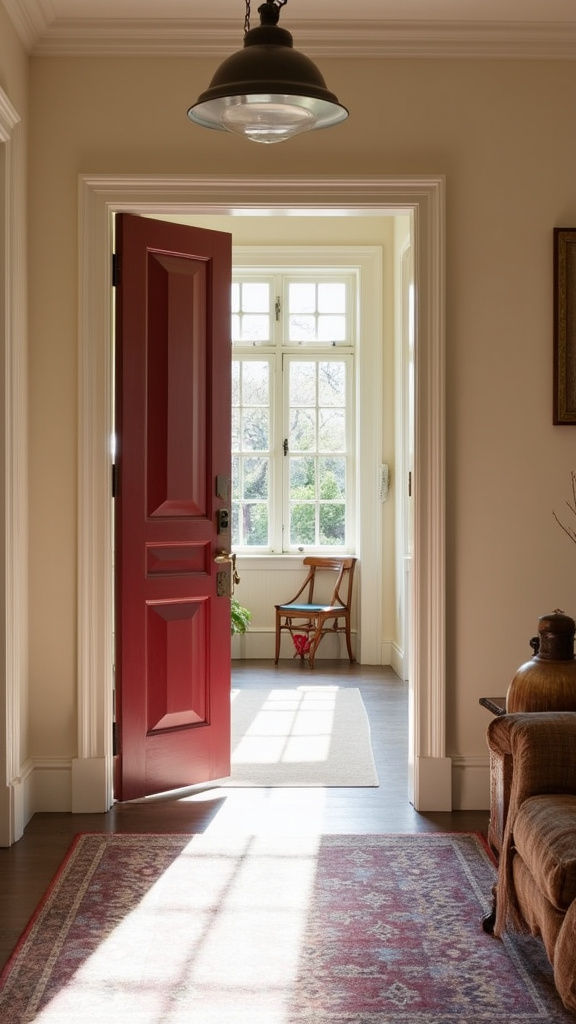
One quart of exterior paint costs $15. A front door painted in a rich jewel tone like forest green, deep navy, or charcoal black transforms your home's curb appeal instantly. A bold front door signals that someone with taste lives here — it's a small detail that makes a disproportionately large impression.
- Choose a color that complements your home's exterior
- Use painter's tape to protect hardware and glass
- Apply two coats for even, professional coverage
20. Frame and Hang a Vintage Scarf
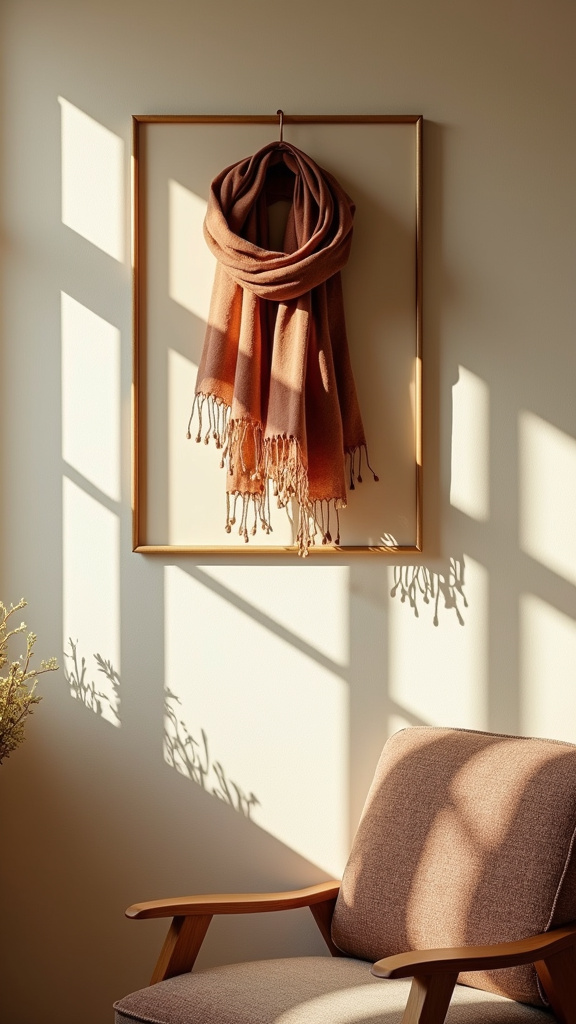
Thrift stores are full of beautiful vintage scarves for $2-5. Frame one in a shadow box or regular frame, and it becomes instant textile art. Look for bold patterns, interesting graphics, or delicate florals. Vintage textiles have a patina and uniqueness that new art can't replicate, and framing elevates them into something gallery-worthy.
- Iron the scarf before framing for a crisp look
- Choose a frame that's slightly smaller so the fabric stretches taut
- Look for silk scarves with graphic patterns for maximum impact
💕 Shop The Look
Shadow box frames from Michaels (with a coupon) run around $15-20. Pair with a vintage scarf from Goodwill or an estate sale, and you have one-of-a-kind art for under $25 that looks like it came from an Anthropologie collaboration.
21. Create a Faux Shiplap Wall With Plywood
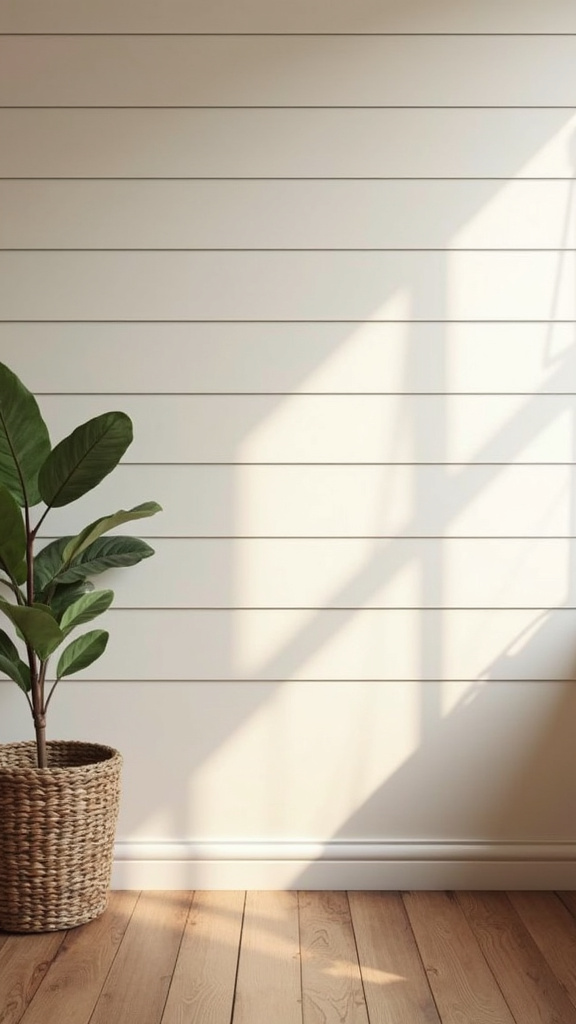
Real shiplap installation is expensive and permanent. Thin plywood strips painted white and nailed horizontally with small gaps between? Under $50 and renter-friendly if you're careful. The horizontal lines add texture and farmhouse charm without the commitment. Shiplap creates architectural interest and a backdrop that makes everything else look more styled.
- Use 1/4" plywood ripped into 6" strips
- Paint strips before installing for easier coverage
- Use nickel spacers between boards for consistent gaps
22. DIY a Leather Drawer Pull Upgrade
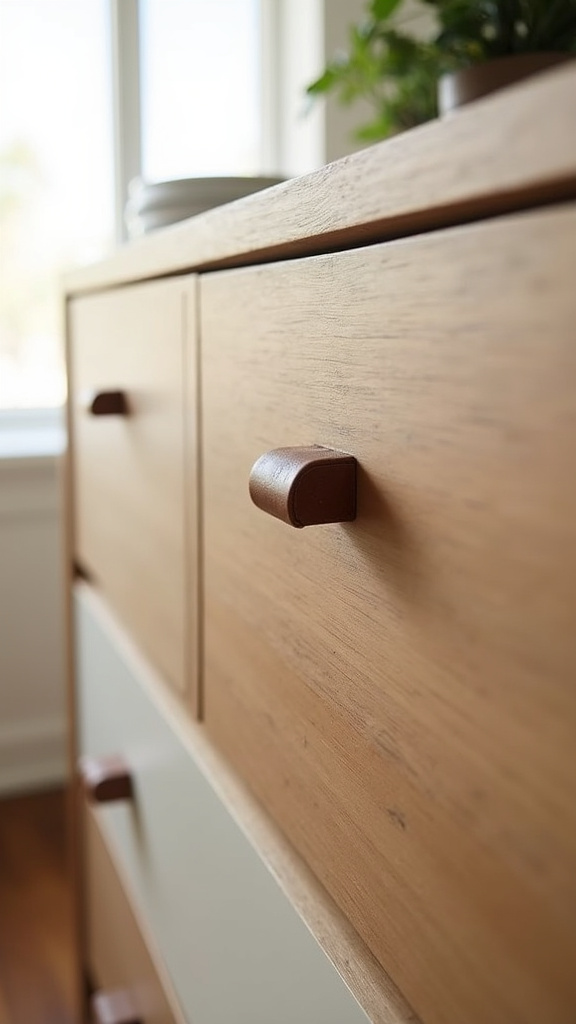
Buy leather cord or strips from a craft store, cut them into equal lengths, fold them in half, and attach to drawer fronts with small screws. This works especially well on plain IKEA dressers or vintage furniture. Leather pulls add a Scandinavian, minimalist vibe that feels handcrafted and high-end, and they cost about $1 per pull.
- Use vegetable-tanned leather for a natural, warm tone
- Cut strips about 8-10 inches long
- Attach with small brass screws for a cohesive look
23. Style Your Bed With European Pillow Shams
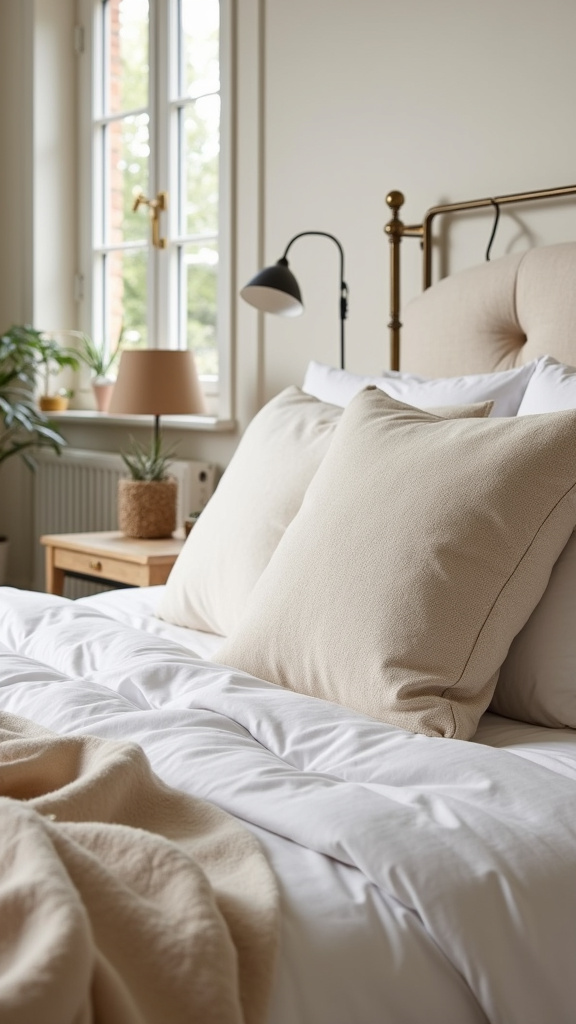
European pillow shams (26" x 26" square pillows) are what hotels use to make beds look lush and layered. You can buy inserts at Target for $10 each and covers for $15. Line up three across your bed behind your regular pillows, and suddenly your bed looks like it belongs in a boutique hotel. The oversized proportions and layering create instant luxury.
- Use white or neutral linen covers for a classic look
- Layer in front of regular sleeping pillows
- Add a lumbar pillow at the very front for extra dimension
24. Make a DIY Entryway Catch-All Tray
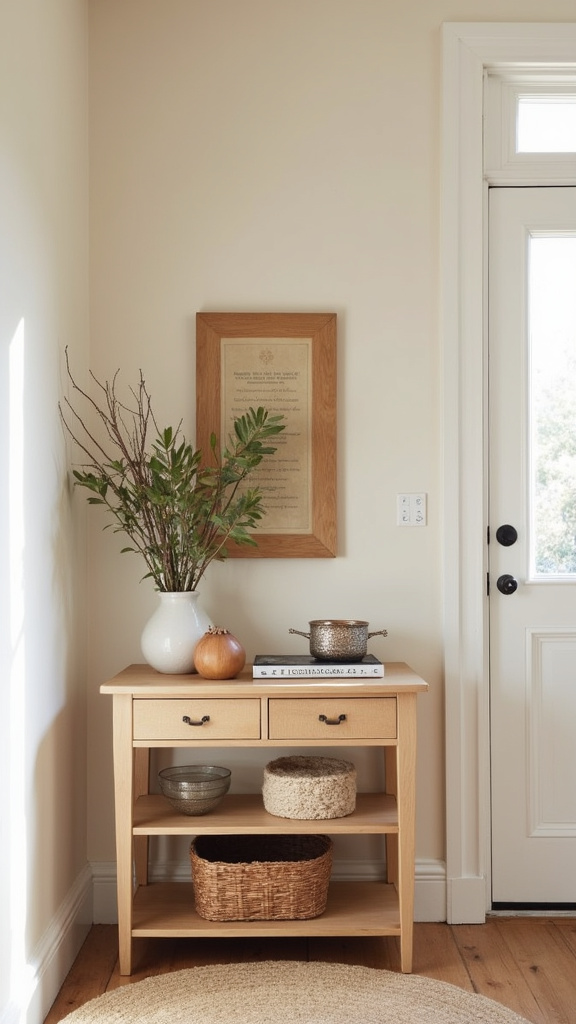
Buy a plain wooden tray from a craft store for $8, paint it a moody color or stain it dark, and add adhesive felt to the bottom. Place it on your console table or dresser to corral keys, sunglasses, and jewelry. A catch-all tray contains visual chaos and makes everyday objects look like a curated vignette. It's one of those tiny touches that signals intentional design.
- Choose a tray with handles or a simple rectangular shape
- Paint it in a color that complements your room
- Keep contents minimal — just the essentials
25. Hang Floating Shelves in the Bathroom
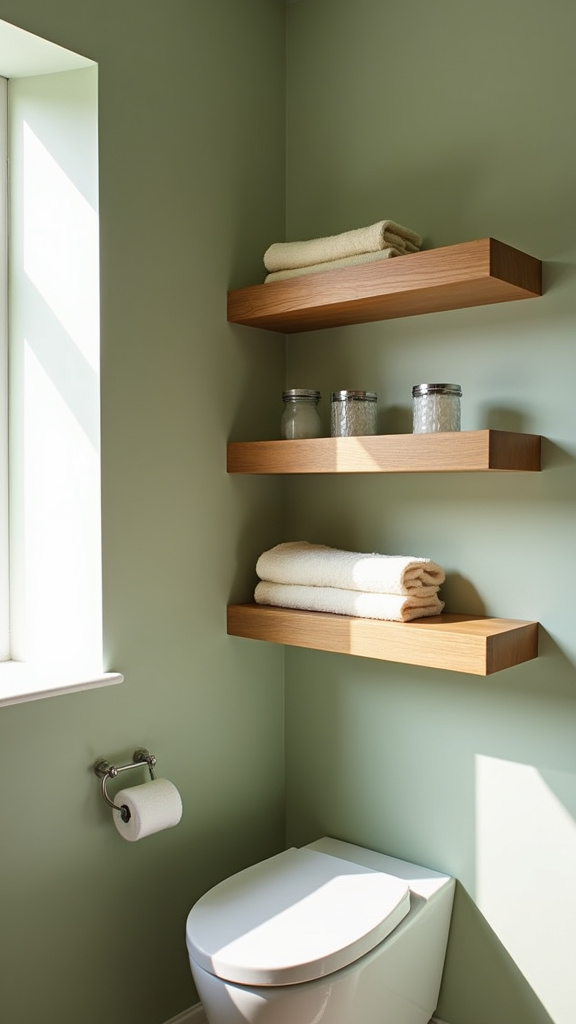
Bathroom counter clutter makes even the nicest space feel chaotic. Install two floating shelves above your toilet or beside your mirror, style them with rolled towels, a small plant, and a pretty soap dispenser, and you've added storage and style. Vertical storage makes small bathrooms feel more spacious and organized, and it costs under $20 for two IKEA shelves.
- Use a level to ensure shelves are straight
- Style with functional items that also look good: glass jars, woven baskets
- Keep color palette cohesive — all white, all natural, or all matte black
💕 Shop The Look
IKEA's LACK floating shelves come in white, black, and wood tones for under $10 each. Pair with matching storage baskets or glass apothecary jars from Target to keep your bathroom looking spa-like and clutter-free for under $40 total.
Frequently Asked Questions
What DIY home decor looks most expensive?
Projects that add architectural detail or texture tend to look the most expensive — think crown molding, shiplap walls, upholstered headboards, and chunky knit throws. These items mimic custom millwork and high-end textiles that typically cost hundreds or thousands of dollars, but can be DIY'd for under $50.
How can I make my home look expensive on a budget?
Focus on three key principles: cohesion (matching frames, uniform hardware, consistent color palette), texture (layered rugs, chunky throws, natural materials), and intentional styling (negative space, curated vignettes, proper proportions). These cost nothing but create the visual language of expensive design.
What are the cheapest DIY home decor projects?
The cheapest projects use what you already have or cost under $10: framing fabric scraps, spray painting thrift store finds, creating art from paint samples, making catch-all trays, and styling what you own more intentionally. Many high-impact changes like hanging curtains higher or styling shelves differently cost literally nothing.
Where should I start with DIY home decor?
Start with one room and one high-impact project — an accent wall, a gallery wall, or updating hardware. Choose something you can complete in a weekend so you see results quickly. Success builds momentum, and you'll be more motivated to tackle the next project once you see how much transformation is possible on a small budget.
You don't need a designer or a trust fund to create a home that feels expensive and intentional. You need a free Saturday, a few budget-friendly supplies, and the willingness to try something new. Every single one of these projects transforms your space in ways that photographs beautifully and makes you feel proud when guests walk in. Start with the one that excites you most — the one you've been pinning for months — and prove to yourself what's possible. Save this for your next weekend project, and explore more home decor ideas at Top Lifestyle News.